
Raspberry Pi’s first foray into the world of microcontrollers, the RP2040, was a very interesting chip. Its standout features were the programmable input/output units (PIOs) which enabled all sorts of custom real-time shenanigans. And that’s not to discount the impact of the Pi Pico, the $4 dev kit built around it.
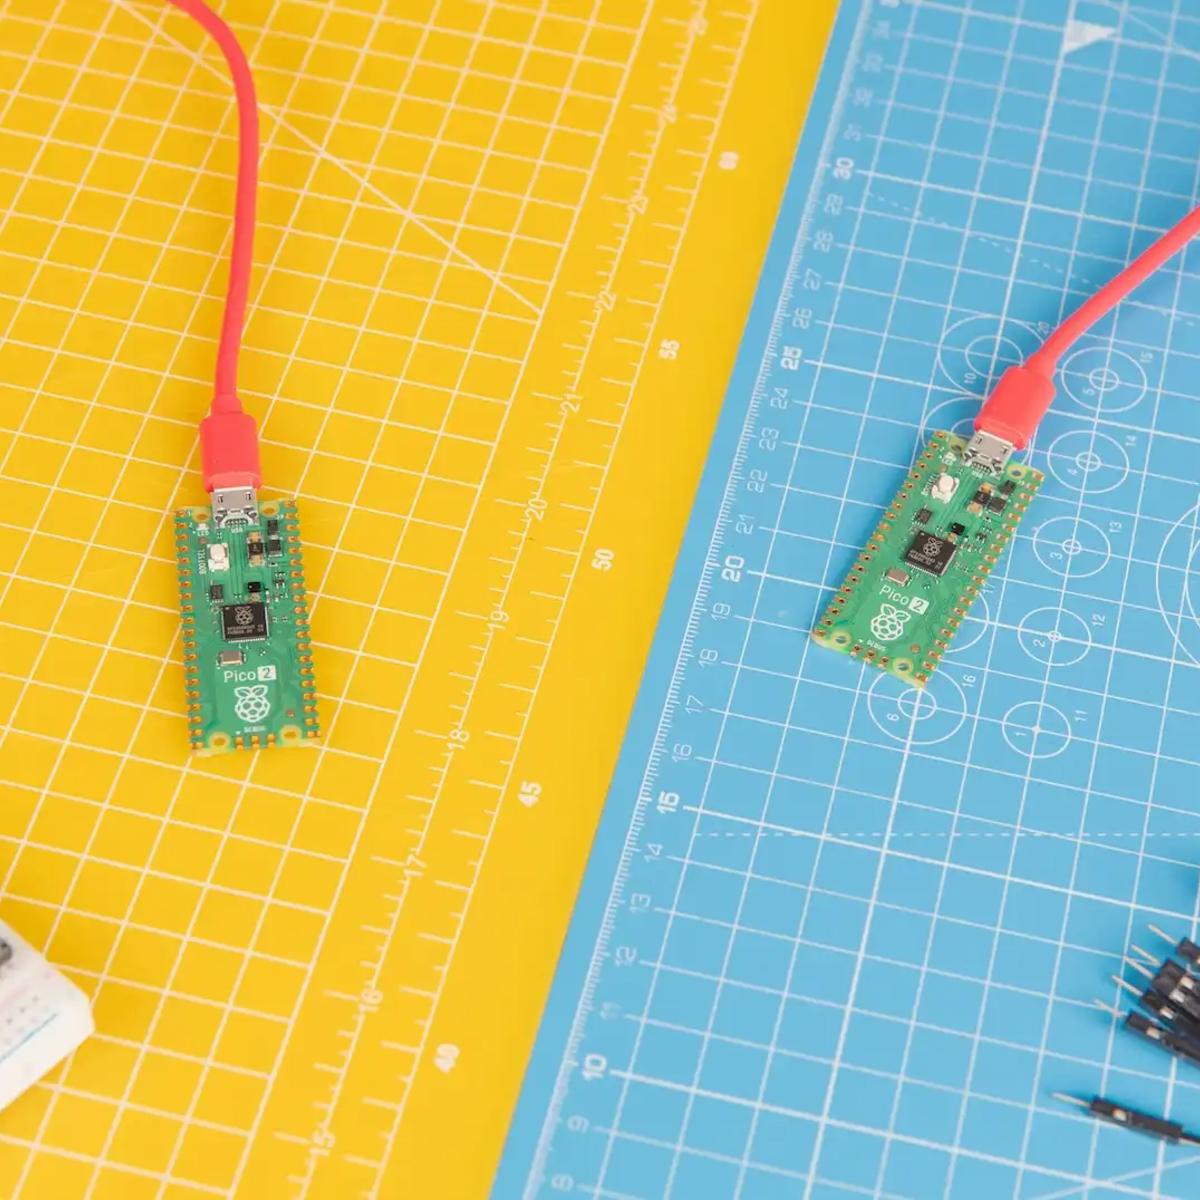
Today, they’re announcing a brand-new microcontroller: the RP2350. It will come conveniently packaged in the new Pi Pico 2, and there’s good news and bad news. The good news is that the new chip is better in every way, and that the Pico form factor will stay the same. The bad news? It’s going to cost 25% more, coming in at $5. But in exchange for the extra buck, you get a lot.
For starters, the RP2350 runs a bit faster at 150 MHz, has double the on-board RAM at 520 kB, and twice as much QSPI flash at 4 MB. And those sweet, sweet PIOs? Now it has 12 instead of just 8. (Although we have no word yet if there is more program space per PIO – even with the incredibly compact PIO instruction set, we always wanted more!)
As before, it’s a dual-core chip, but now the cores are Arm Cortex M33s or RISC-V Hazard3s. Yes, you heard that right, there are two pairs of processors on board. Raspberry Pi says that you’ll be able to select which style of cores runs either by software or by burning one-time fuses. So it’s not a quad core chip, but rather your choice of two different dual cores. Wild!
Raspberry Pi is also making a big deal about the new Arm TrustZone functionality. It has signed boot, 8 kB of OTP key-storage memory, SHA-256 acceleration, a hardware RNG, and “fast glitch detectors”. While this is probably more aimed at industry than at the beginning hacker, we’re absolutely confident that some of you out there will put this data-safe to good use.
There is, as of yet, no wireless built in. We can’t see into the future, but we can see into the past, and we remember that the original Pico was wireless for a few months before they got the WiFi and Bluetooth radio added into the Pico W. Will history repeat itself with the Pico 2?
We’re getting our hands on a Pico 2 in short order, and we’ve already gotten a sneak peek at the extensive software toolchain that’s been built out for it. All the usual suspects are there: Picotool, TinyUSB, and OpenOCD as we write this. We’ll be putting it through its paces and writing up all the details next week.


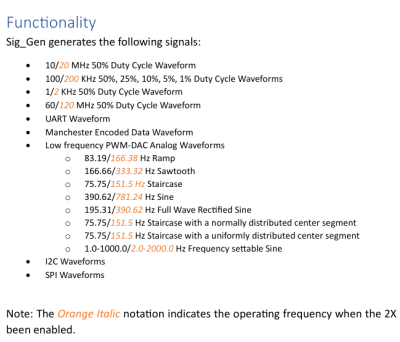 Despite the name it’s not a signal generator as we know it, as it’s not flexible in the signals it generates. Instead, it creates a dozen signals at more or less the same time — from square waves of various frequencies and duty cycles, to a PWM-driven DAC driving eight different waveforms, to Manchester-encoded data I2C/SPI/UART transfers for all your protocol decoder testing.

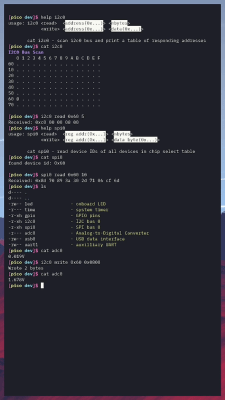 BreadboardOS is built on top of FreeRTOS. It’s aim is to enable quick prototyping with the Pi Pico. Don’t confuse operating system with a graphical environment — BreadboardOS is command-line based. You’d typically interface with it via a serial terminal emulator, but joy of joys, it does support color!


