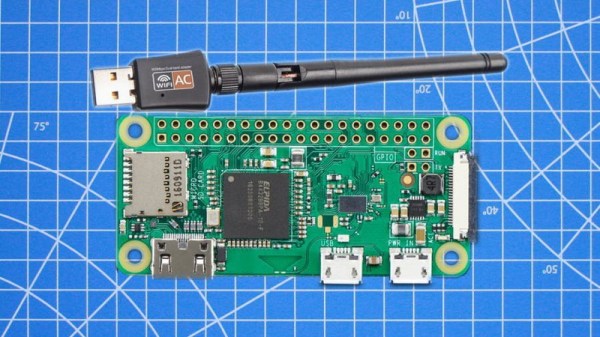
We know a lot of you are sitting on an unused Raspberry Pi Zero W, maybe even several of them. The things are just too small and cheap not to buy in bulk when the opportunity presents itself. Unfortunately, the Zero isn’t exactly a powerhouse, and it can sometimes be tricky to find an application that really fits the hardware.
Which is why this tip from [Tejas Lotlikar] is worth taking a look at. Using the Pi Zero W, a cheap USB WiFi adapter, and some software trickery, you can put together a cheap extender for your wireless network. The Pi should even have a few cycles left over to run ad-blocking software like Pi-hole while it shuffles your packets around the tubes.
[Tejas] explains every step of the process, from putting the Raspbian image onto an SD card to convincing wpa_supplicant to put the Pi’s WiFi radio into Access Point mode. Incidentally, this means that you don’t need to be very selective about the make and model of the USB wireless adapter. Something with an external antenna is preferable since it will be able to pull in the weak source signal, but you don’t have to worry about it supporting Soft AP.
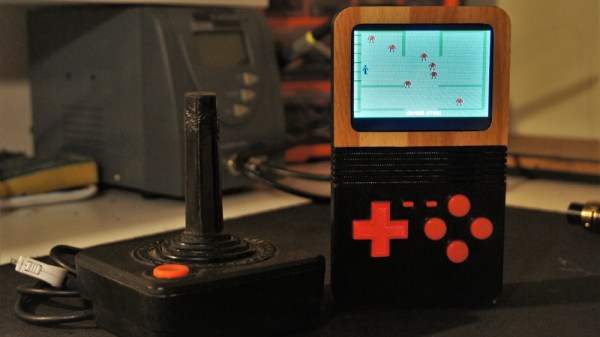
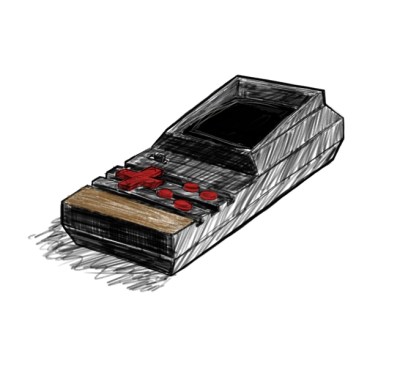
With the software configured, all you need to finish this project off is an enclosure. A custom 3D printed case large enough to hold both the Pi and the external WiFi adapter would be a nice touch.