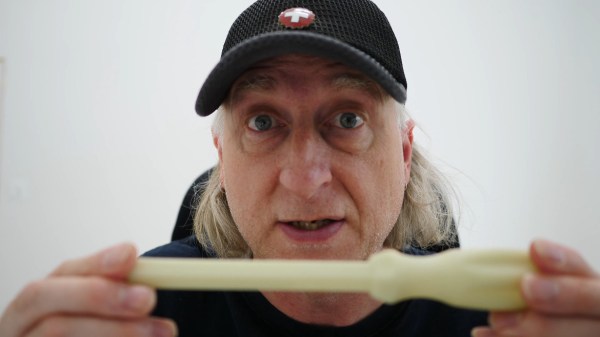
Imagine for a moment that you design products for a living. But you can’t design all the things, so you have to buy some of your stuff from big-box stores just to go about your everyday life. This is more or less what happened to [Eric Strebel], who recently bought a bathroom faucet from IKEA. This particular flat-pack faucet came with a single-use plastic nut driver to be used in putting the faucet together. Since there is no marking that indicates the plastic type, it can’t be easily recycled. Not even the size of the business end is indicated. So between the shoddy plastic construction and the lack of information, most people are going to just throw this thing away. And that’s terrible.
 So what’s to be done? Aside from boycotting IKEA (which [Eric] may do in the future for all we know), there’s not much to do but to offer up solutions on public platform and see what happens. To that end, [Eric] came up with five different ways of making this nut driver that are arguably more sustainable than single-use mystery plastic.
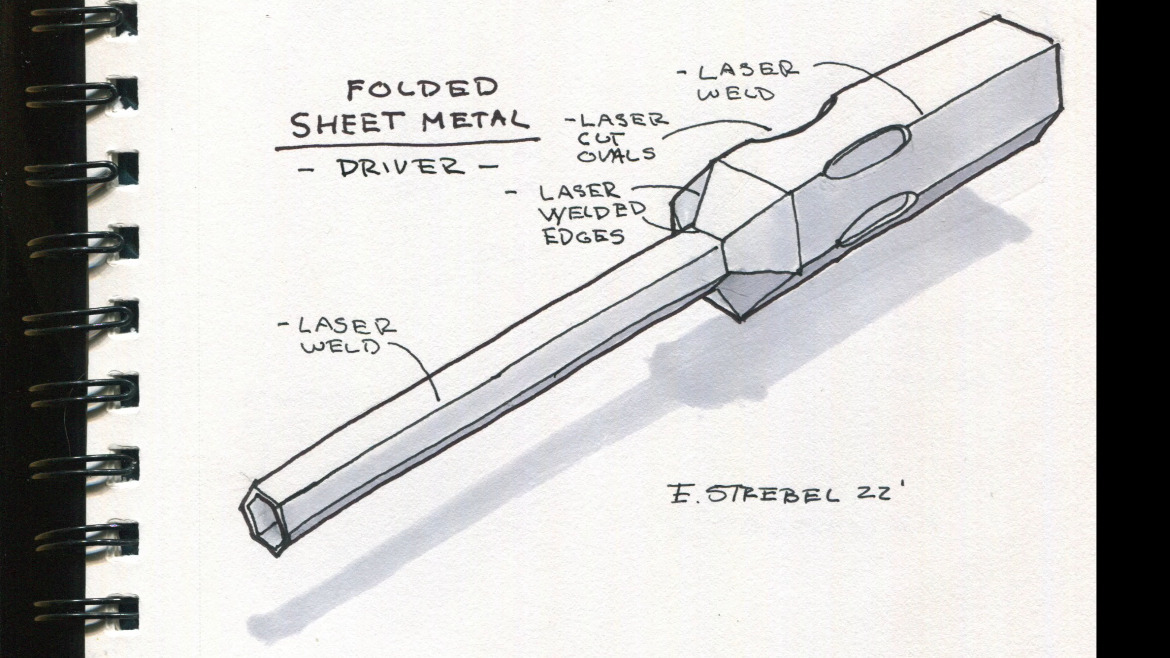
Say what you will about sustainability of using metals, which have to be mined, versus plastic – many of these methods use no tooling, so that’s something. Nut drivers made by [Eric] would instead be laser-cut from flat stock and either folded up and welded, or assembled from a multi-piece cut into a single-piece tool via perpendicular members that slot together. Or as [Eric] points out, the design could stay exactly the same as the plastic original and be die-cast instead.
It’s certainly an interesting exercise in design, and it’s really cool to see a little bit into [Eric]’s thought process when it comes to improving existing things. Be sure to check it out after the break, and let us know how you’d have done it better.
Continue reading “The Tools To Fight Against Single-Use Plastic”