There are a few different ways to take a person’s pulse, with varying utility depending on the categories said patient fits in to. [Nitin Nair]’s method doesn’t really have a medical application, but it’s certainly a neat example of what you can do with modern sensors.
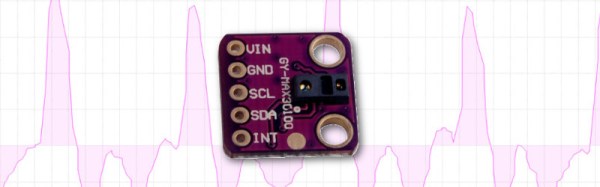
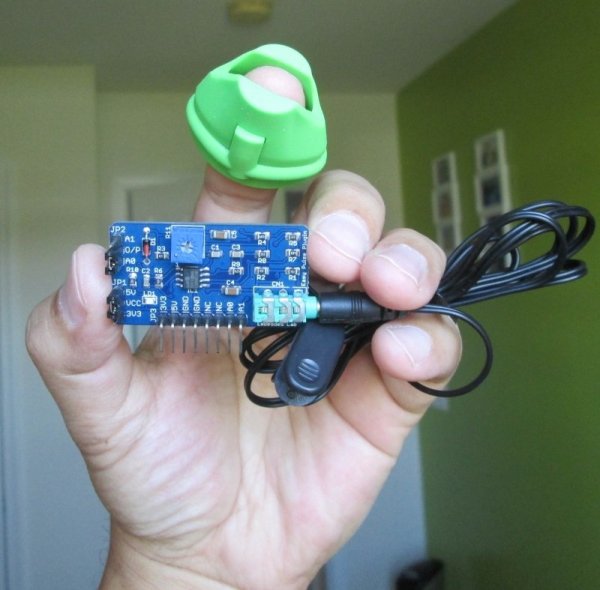
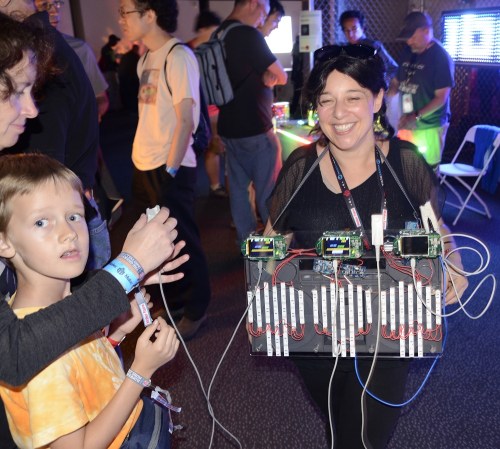
The build combines an EmotiBit sensor platform with an Adafruit Feather and accompanying Charlieplexed LED module. The EmotiBit packs a PPG, or photoplethysmogram sensor, otherwise known as a pulse oximeter, which uses optical methods to detect changes in blood volume beneath the skin. From this data, a pulse rate can be derived, and the LEDs flashed with a heart graphic in concert with the rhythm of the wearer’s heart. The benefit of the PPG in the EmotiBit is that it can be worn on the wearer’s arm, or other location with suitable vascularization. This allows the wearer to place the sensor on the arm, and thus wear their heart on their sleeve.
It’s a cool concept, and we’d love to see it neatly packaged with a smoothly animated fade as a sports accessory. It’d be an easy way to signal how fast your heart rate recovers on a run with friends – the device could brag about your fitness for you. Alternatively, if pulse oximetry isn’t enough for you, go ahead and build an ECG instead!