Although you don’t hear about it very much over the clamor of emulating old video game systems, one of the biggest uses of the Raspberry Pi outside its educational roots is in industry. The Pi makes for a great industrial control system, and if you mount it to a DIN rail, you’re golden. This is the biggest reason the Pi foundation is still making the Pi 1, and it’s one of the big motivations behind the Pi Compute Module.
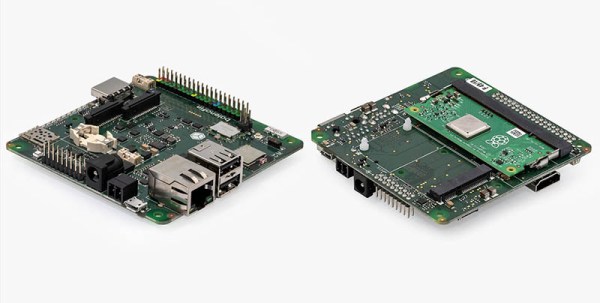
Now that the Pi Compute Module 3 and 3+ have been out for a while, it’s only fitting that these modules get a great carrier board. The balenaFin 1.1 is out now, and it’s the perfect carrier board for the Pi compute module.
Balena (formerly resin.io) is a software stack designed for managing fleets of Linux devices, and there’s no better example of that than a factory filled with Pis fiddling relays and such. Balena has found its way from tracking sea turtles to monitoring oil rigs, and with that comes a need for a developer kit. The Pi compute module is supposed to have a very long support life, so the obvious solution is to make a great carrier board for this fantastic module.
Features of note include two camera connectors, PoE (with a Hat), USB headers, an RGB indicator LED, an industrial temperature range, and a case designed for a DIN rail. So far, so goo, but there’s also a microcontroller with a Bluetooth radio that can operate without the compute module being turned on, and an RTC for time-based operation. There’s a mini PCI express slot designed for cellular modems, and a SIM card slot just for fun.
While most Pi builds we see could make use of these features, they are assuredly one-off builds. You’re not going to be deploying hundreds of Pis if you need to 3D print an enclosure for each one. That’s when actual engineers need to get involved, and if you’re doing that, you might as well go with the Raspberry Pi compute module. If you’re looking for a fleet of Pis, you could do worse than to look at this very nice compute module carrier board.