You’ve heard of smartphones but have you heard of smart projectors? They’ve actually been around for a few years and are sort of like a TV set top box and projector combined, leaving no need for a TV. Features can include things like streaming Netflix, browsing in Chrome, and Skyping. However, they can cost from a few hundred to over a thousand dollars.
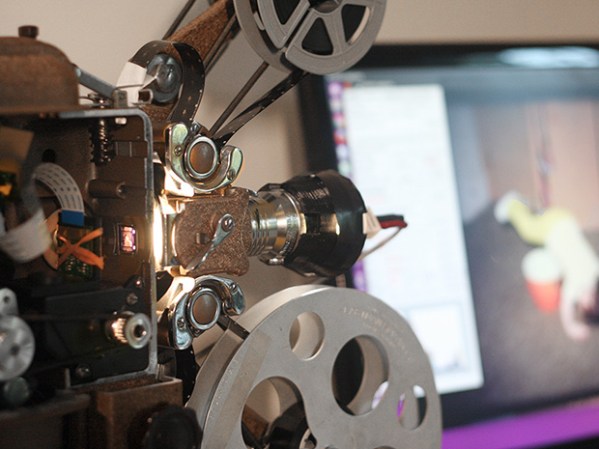
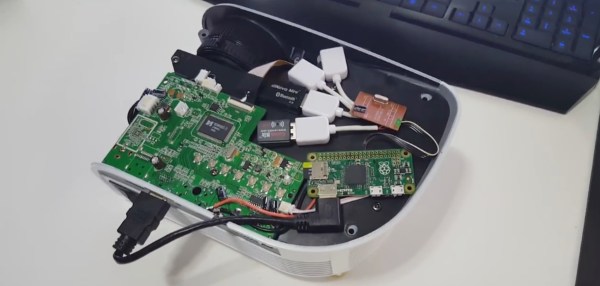
[Novaspirit] instead made his own cheap smart projector. He first got a $70 portable projector (800×480 native resolution, decent for that price) and opened it up. He soldered an old USB hub that he already had to a Raspberry Pi Zero so that he could plug in a WiFi dongle and a dongle for a Bluetooth keyboard. That all went into the projector.
Examining the projector’s circuit board he found locations to which he could wire the Raspberry Pi Zero for power even when the projector was off. He lastly made the Raspberry Pi dual-bootable into either OSMC or RetroPie. OSMC is a Linux install that boots directly into a media player and RetroPie is a similar install that turns your Raspberry Pi into a gaming machine. You can see a timelapse of the making of it and a demonstration in the video after the break.
Continue reading “Smart Projector With Built-in Raspberry Pi Zero”