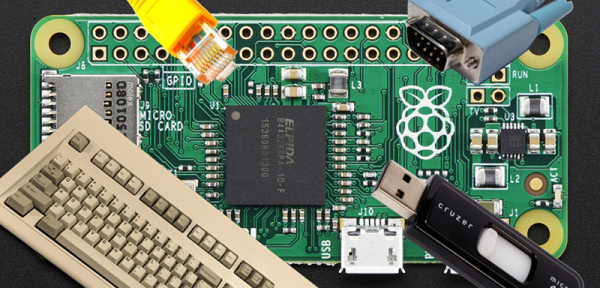
The Raspberry Pi is a very capable device whose hardware has been pushed to the limit in all sorts of interesting ways. But even the most ingenious of experimenters have to agree on one point; it doesn’t possess an analog-to-digital converter. If you want analog inputs you will have to buy or build them.
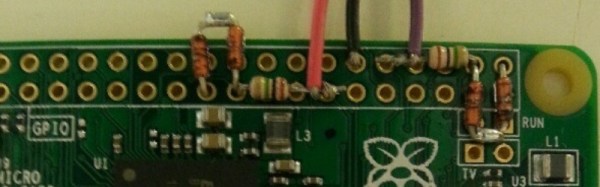
[Mincepi] has done just that, but not as you might expect by adding an integrated circuit on one of the Pi’s interfaces. Instead the circuit [Mincepi] is using consists only of passive components, measuring the time taken to discharge the parasitic capacitance of one of the Pi’s inputs from logic 1 voltage to logic 0 voltage through a resistor into the voltage to be measured. This is a long-established approach to A to D conversion, one that was achieved back in the day with purpose-designed timers as microprocessor ancillaries.
The problem is that the Pi does not have a timer peripheral, so [Mincepi] has used the shift registers that form part of the Pi’s SPI and PCM inputs to perform this task on two channels. A sample rate of 100kHz and 6-bit resolution is claimed, with enough voltage range for a 1V peak-to-peak audio signal to be sampled.
Of course, simplicity does not guarantee a good ADC, and this circuit does not perform very well. It is noisy, non-linear, and as [Mincepi] puts it, probably sensitive to temperature. And though [Mincepi] talks in detail about the software to drive it, none is forthcoming. To quote: “It doesn’t include code since I’m in the process of writing a proper sound device module. My previous code was a simple character device, but it worked just fine, and served to prove the concept.”
We really want this to work, even if it’s not the best ADC ever. So we eagerly await the sound device module, and look forward to more news from the project.
This may be the simplest of simple ADCs we’ve yet featured here on Hackaday, but it’s not the first we’ve seen. There is this one using a comparator for example, or this one using a flip-flop. It is the essence of creative electronics to eke a function from a component that was never meant to be, please keep them coming!