It’s a common problem: you’re at a party, there’s a guitar, and your plan to impress everyone with your Wonderwall playing skills is thwarted by the way too loud overall noise level. Well, [Muiota betarho] won’t have that issue ever again, and is going to steal the show anywhere he goes from now on with his Crazy Guitar Rig 2.0, an acoustic guitar turned electric — and so much more — that he shows off in three-part video series on his YouTube channel. For the impatient, here’s video 1, video 2, and video 3, but you’ll also find them embedded after the break.
To start off the series, [Muiota betarho] adds an electric guitar pickup, a set of speakers, and an amplifier board along with a battery pack into the body of a cheap acoustic guitar. He then dismantles a Zoom MS-50G multi-effect pedal and re-assembles it back into the guitar itself with a 3D-printed cover. Combining a guitar, effect pedal, amp and speaker into one standalone instrument would make this already an awesome project as it is, but this is only the beginning.
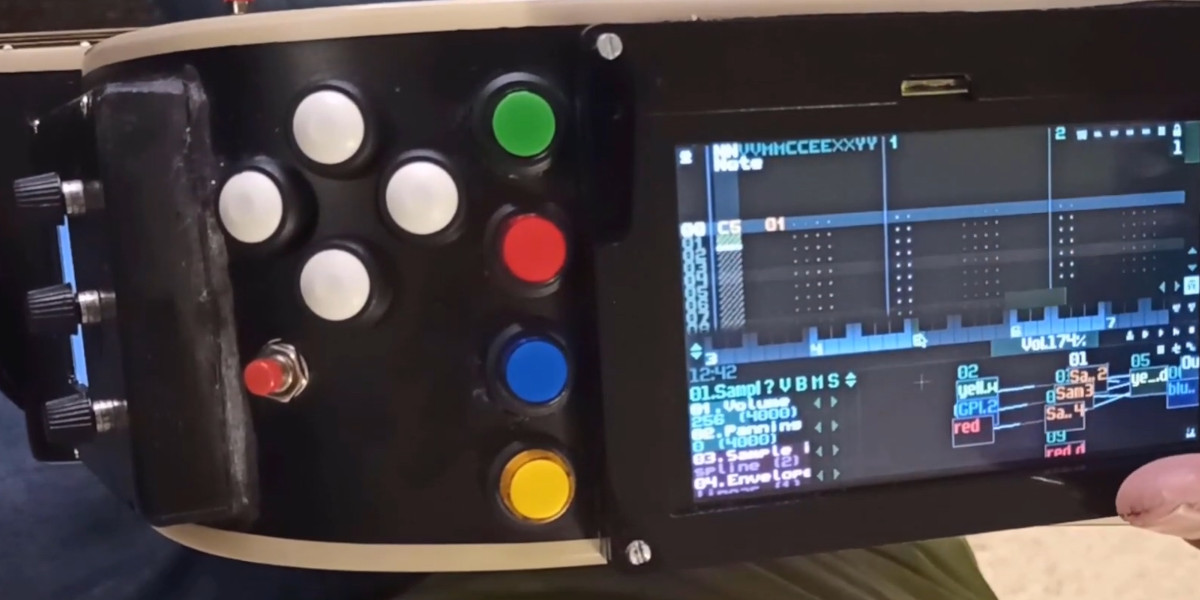
So, time to add a Raspberry Pi running SunVox next, and throw in a touch screen to control it on the fly. SunVox itself is a free, but unfortunately not open source, cross-platform synthesizer and tracker that [Muiota betarho] uses to add drum tracks and some extra instruments and effects. He takes it even further in the final part when he hooks SunVox up to the Raspberry Pi’s GPIO pins. This allows him to automate things like switching effects on the Zoom pedal, but also provides I/O connection for external devices like a foot switch, or an entire light show to accompany his playing.
Of course, adding a magnetic pickup to an acoustic guitar, or generally electrifying acoustic instruments like a drum kit for example, isn’t new. Neither is using a single-board computer as effect pedal or as an amp in your pocket. Having it all integrated into one single device on the other hand rightfully earns this guitar its Crazy Guitar Rig name.
(Thanks for the tip, [alex]!)
Continue reading “Raspberry Pi Crazy Guitar Rig Turns You Into A Hard ‘N Heavy One-Man Band”