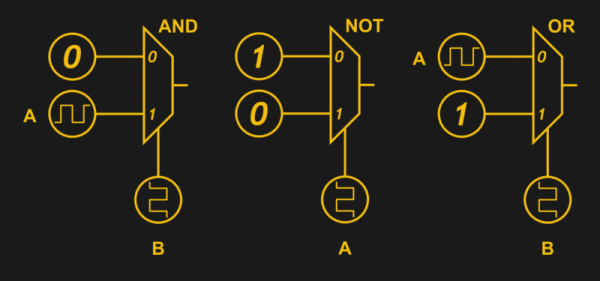
The Bane Of Aftermarket Car Alarms

The humble car alarm has been around almost as long as the car itself, first being developed by an unknown prisoner in Denver, circa 1913. To the security-conscious motorist, they make a lot of sense. The noise of a car alarm draws attention which is the last thing a would-be thief wants, and the in-built immobilizers generally stop the car being moved at all without a time-consuming workaround. Both are a great deterrent to theft.

It may then surprise you to know that I, dear readers, consider the aftermarket car alarm to be one of the most heinous devices ever fitted to the modern automobile. Combining the unholy trifecta of being poorly designed, cheaply made, and fitted by only the most untalented or uncaring people to wield a soldering iron, they are a blight that I myself refuse to accept.

It was my very own Mazda that suffered at the hands of a car alarm system. Two days after purchasing the car, the keyfob died, and thus the car would no longer start. My other car was already out of action due to bent valves, and I needed to get to work, so I figured as a competent hacker, I’d be able to quickly disable it.

Continue reading “The Bane Of Aftermarket Car Alarms”

Relay Computing

Recently, [Manuel] did a post on making logic gates out of anything. He mentioned a site about relay logic. While it is true that you can build logic gates using switch logic (that is, two switches in series are an AND gate and two in parallel are an OR gate), it isn’t the only way. If you are wiring a large circuit, there’s some benefit to having regular modules. A lot of computers based on discrete switching elements worked this way: you had a PCB that contained some number of a basic gate (say, a two input NAND gate) and then the logic was all in how you wired them together. And in this context, the SPDT relay was used as a two input multiplexer (or mux).

In case you think the relay should be relegated to the historical curiosity bin, you should know there are still applications where they are the best tool for the job. If you’re not convinced by normal macroscopic relays, there is some work going on to make microscopic relays in ICs. And even if they don’t use relays to do it, some FPGAs use mux-based logic inside.  So it’s worth your time to dig into the past and see how simply switching between two connections can make a computer.

Mux Mania

How do you go from a two input mux to an arbitrary logic gate? Simple, if you paid attention to the banner image. (Or try it interactive). The mux symbols show the inputs to the left, the output to the right and the select input at the bottom. If the select is zero, the “0” input becomes the output. If the select is one, the “1” input routes to the output.

Continue reading “Relay Computing”

Denver Mini Maker Faire: Fun With Pinball

[Mark Gibson] probably has nothing against silicon. He just knows that a lot that can be done with simple switches, relays, and solenoids and wants to share that knowledge with the world. This was made abundantly clear to me during repeat visits to his expansive booth at Denver Mini Maker Faire last weekend.

In the sunlight-filled atrium of the Museum of Nature and Science, [Mark] sat behind several long tables covered with his creations made from mid-century pinball machines. There are about two dozen pieces in his interactive exhibit, which made its debut at the first-ever Northern Colorado Maker Faire in 2013. [Mark] was motivated to build these boards because he wanted to get people interested in the way things work through interaction and discovery of pinball mechanisms.

fun with pinball thumb
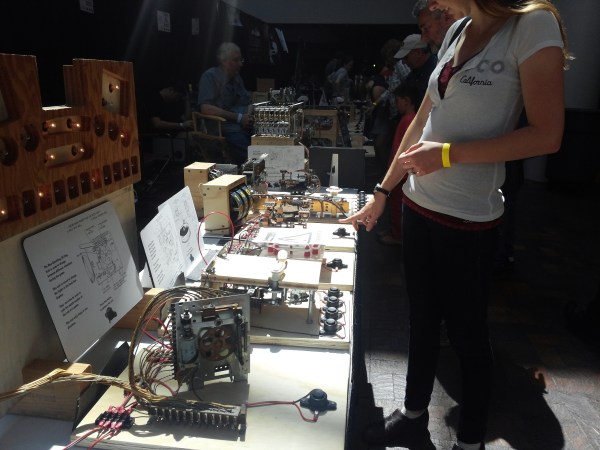
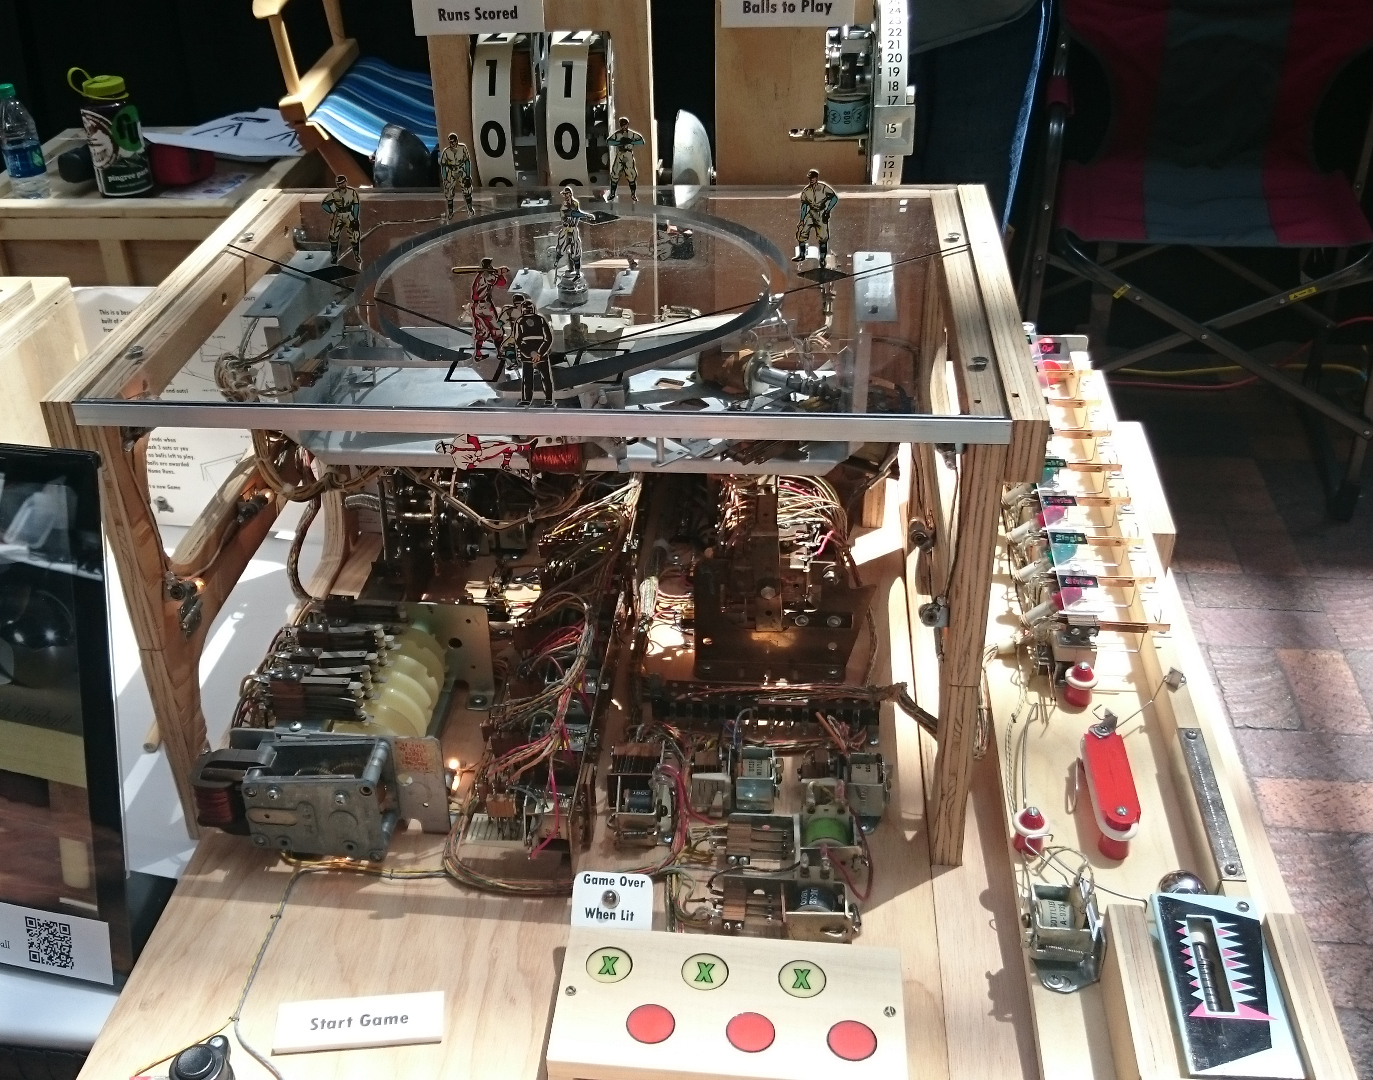
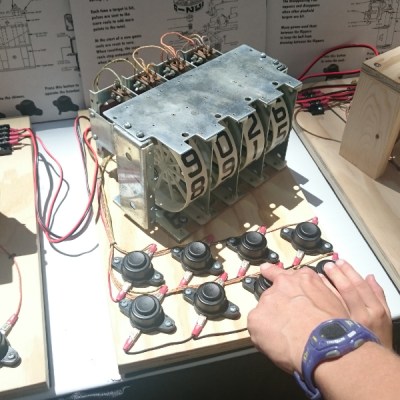
Most of the pieces he has built are single units and simple systems from pinball machines—flippers, chime units, targets, bumpers, and so on—that he affixed to wooden boards so that people can explore them without breaking anything. All of the units are operated using large and inviting push buttons that have been screwed down tight. Each of the systems also has a display card with an engineering drawing of the mechanism and a short explanation of how it works.

[Mark] also brought some of the original games he has created by combining several systems from different machines, like a horse derby and a baseball game. Both of these were built with education in mind; all of the guts including the original fabric-wrapped wires are prominently displayed. The derby game wasn’t working, but I managed to load the bases and get a grand slam in the baseball game. Probably couldn’t do that again in a million summers.

fun with pinball baseball game
Take me out to the Maker Faire! Click to embiggen.

About five years ago, we covered [Mark]’s build of an atomic clock from pinball machine parts. It’s about time we featured his work again. We have shared a lot of pinball-related builds over the years from the immersive to the gigantic to the dankest of the dank.

Vibrating gaming chair

Gaming Chair Gives Full Body Feeling To Collisions

A PS-3 controller has an unbalanced motor inside that vibrates your hand whenever you crash a car into a wall or drive it off a cliff and hit the rocks below but [Rulof Maker] wanted that same feeling all over his body. So he added a serious unbalanced motor to his favorite gaming chair to make his whole body vibrate instead.

To do that he opened up the controller and found the wires going to the unbalanced motor. There he added a small relay, to be activated whenever the motor was energized. Wires from that relay go to a female connector mounted in the side of the controller, keeping the controller small and lightweight.

Next he needed to attach a much bigger unbalanced motor to the underside of his favorite gaming chair. For the unbalanced mass he poured concrete powder and molten lead into a tin can mold and attached the result to the motor’s shaft. Using a piece of wood he attached the motor to the chair’s underside.

All that was left was to power the motor and turn it on when needed. For that he wired up a bigger relay, with the relay’s coil wired to a male connector to plug into the PS-3 controller. Now when the PS-3 wants to vibrate, that relay is energized. All that was left was to wire the relay’s normally open switch, the motor and a power cord in series, plug it into the wall socket, and he was ready to shake.

Continue reading “Gaming Chair Gives Full Body Feeling To Collisions”

Thermostat

Custom Raspberry Pi Thermostat Controller

Thermostats can be a pain. They often only look at one sensor in a multi-room home and then set the temperature based on that. The result is one room that’s comfortable and other rooms that are not. Plus, you generally have to get up off the couch to change the temperature. In this day and age, who wants to do that? You could buy an off-the-shelf solution, but sometimes hacking up your own custom hardware is just so much more fun.

[redditseph] did exactly that by modifying his home thermostat to be controlled by a Raspberry Pi. The temperature is controlled by a simple web interface that runs on the Pi. This way, [redditseph] can change the temperature from any room in his home using a computer or smart phone. He also built multi-sensor functionality into his design. This means that the Pi can take readings from multiple rooms in the home and use this data to make more intelligent decisions about how to change the temperature.

The Pi needed a way to actually talk to the thermostat. [redditseph] made this work with a relay module. The Pi flips one side of the relays, which then in turn switches the buttons that came built into the thermostat. The Pi is basically just emulating a human pressing buttons. His thermostat had terminal blocks inside, so [redditseph] didn’t have to risk damaging it by soldering anything to it. The end result is a functional design that has a sort of cyberpunk look to it.

[via Reddit]

DIY Microcontroller-switched Power Strip

switched-power-strip

[Teknynja] was looking for a way to control several discrete AC-powered devices using a microcontroller, and while he did consider the Powerswitch tail 2 from Adafruit, handling 5 devices would get pretty expensive. Rather than buying a complete off the shelf solution, he decided to build his own 5-way switched outlet.

He picked up a sturdy metal power strip from a local hardware store along with some Sharp S201S06V relays he ordered online. After test fitting his relays inside the power strip’s chassis, he wired up 5 of the 6 outlets through them to allow for switching via a microcontroller. He configured the 6th outlet to be live at all times, providing a power source for the control system he planned on using to switch the other receptacles.

[Teknynja] pulled the connector from an old PS/2 mouse for use as a control wire, connecting one wire to each of the relays. He says that the strip is working quite well, and after a few months of use it is holding up nicely.

Arduino Controlled Four Socket Outlet

Never get between a man and his salami. [Mike] needed a way to control temperature, humidity and airflow with his meat curing setup. Of course he could modify a refrigerator and humidifier to be controlled separately, but [Mike] decided the best course of action would be to control line voltage with an Arduino.

[Mike] started his build with a four socket wall housing he picked up at Home Depot for a few dollars. After wiring up each outlet so it can be controlled independently, he set out designing a four port relay board. This was a pretty simple build – four 10 Amp relays and a few terminal blocks. The PCB was designed in Eagle as a single-side board for ease of manufacturing.

The relay board is meant to fit inside the blue box along with the four sockets, so a few holes were drilled for the power and control wires. The entire assemblage was put together and tested out. [Mike] posted a video of his controllable outlet flashing a light bulb at 10 Hz. Check out that light switch rave after the break.

Continue reading “Arduino Controlled Four Socket Outlet”