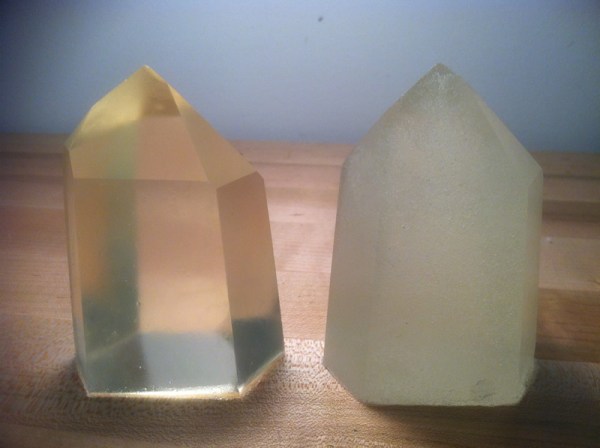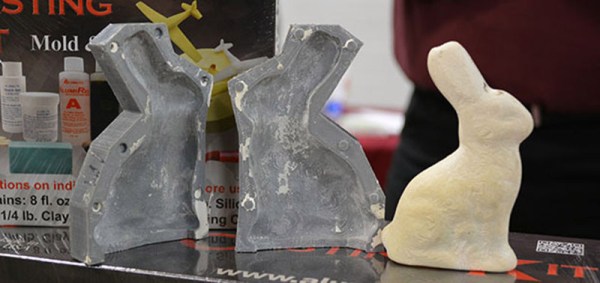
[Gregg Eshelman] reproduces plastic parts for antique car restorations for a living; likewise, he’s very good at it. Greg always chimes in with helpful hints whenever we post about resin casting. Shown above is a lens for a car turn signal. Manufactured in 1941, having [Gregg] cast a few copies is an easy option for replacing the rare part.
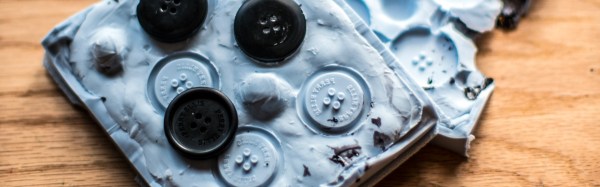
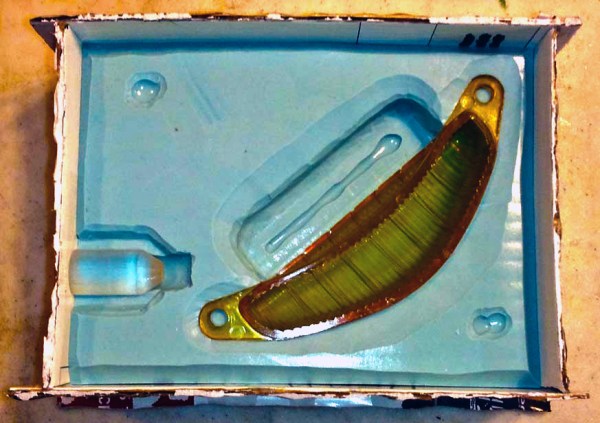
[Gregg] uses a similar method to us, but it is easy to see that he has done it more and his process has been refined by lots of experience. We really liked how he avoids using expensive foam core by wrapping cardboard in packing tape, or using the kind that has a plastic coating on it; the kind most retail packaging is made out of. He also has better techniques for keying the part to be manufactured, and prepping difficult geometry between different mold halves. It also never would have occurred to us to use Dremel cutting disks to cut the sprues and air vents in the silicone, a surprisingly tricky material to cut precisely with a knife.
It’s always nice when a professional takes time to write about their processes for the hobbyist trying to emulate it. We hope [Gregg] writes more tutorials, and continues to contribute in the comment section. If you have your own fabrication techniques to share we’d love to hear about it on the tips line.