Returning a piece of retro hardware to factory condition is generally a labor of love for the restorationist. A repair, on the other hand, is more about getting a piece of equipment back into service. But the line between repair and restoration is sometimes a fine one, with the goals of one bleeding over into the other, like in this effort to save an otherwise like-new Amiga 2000 with a leaky backup battery.
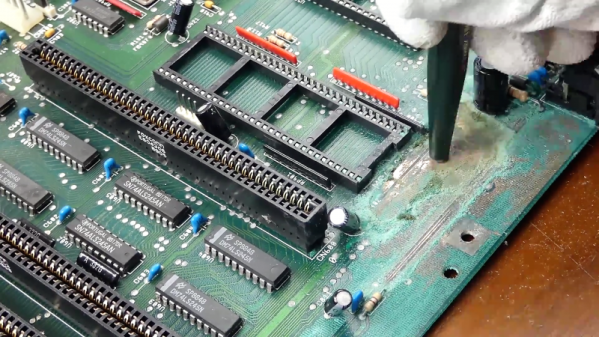
Having previously effected emergency repairs to staunch the flow of electrolyte from the old batteries and prevent further damage, [Retromat] entered the restoration phase of the project. The creeping ooze claimed several caps and the CPU socket as it spread across the PCB, but the main damage was to the solder resist film itself. In the video below you can clearly see flaky, bubbly areas in the mask where the schmoo did its damage.
Using a fiberglass eraser, some isopropyl alcohol, and far more patience than we have, [Retromat] was able to remove the damaged resist to reveal the true extent of the damage below. Thankfully, most of the traces were still intact; only a pair of lines under the CPU socket peeled off as he was removing it. After replacing them with fine pieces of wire, replacing the corroded caps and socket, and adding a coin-cell battery holder to replace the old battery, the exposed traces were coated with a varnish to protect them and the machine was almost as good as new.
Amigas were great machines in their day and launched more than one business. They’ve proved their staying power too, some even in mission-critical roles.
Continue reading “Amiga Repairs Put One Tough Little Machine Back In Service”