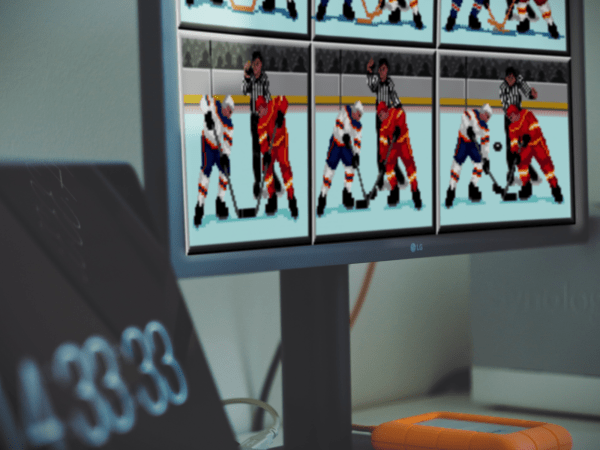
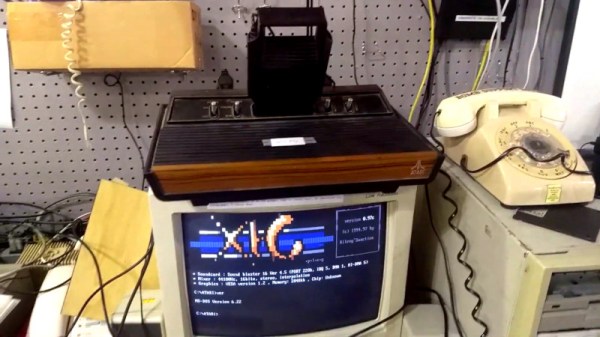
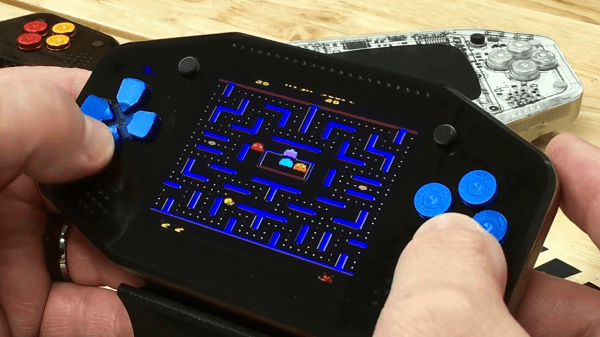
Thirty years is a long time to keep a piece of software alive, but there aren’t many pieces of software like NHL ’94 for the Sega Genesis. Despite new annual iterations of publisher Electronic Arts’ NHL hockey video game some players never connected with it like quite like they did in 1994. For years now it’s been a tradition for members of the NHL ’94 forums to incorporate the hockey league’s current players into the Sega Genesis original, however, the work [Adam] contributed this season goes beyond a mere roster update. This NHL ’24 ROM hack is more like a complete overhaul. Everything that was old is new again. Continue reading “NHL ’24 ROM Hack Reimagines Classic Game, Zamboni And All”
retro console8 Articles
An Atari Graphics Chip, Ready For You To Build
The most notable of the home computer and console hardware from the 8-bit golden era didn’t get their impressive sound and graphics from off-the-shelf silicon, instead they relied on secretive custom chipsets to get the edge over their competitors. Unfortunately for vintage gaming aficionados, those chips are now long out of production and in many cases there’s little information to be had about their operation.
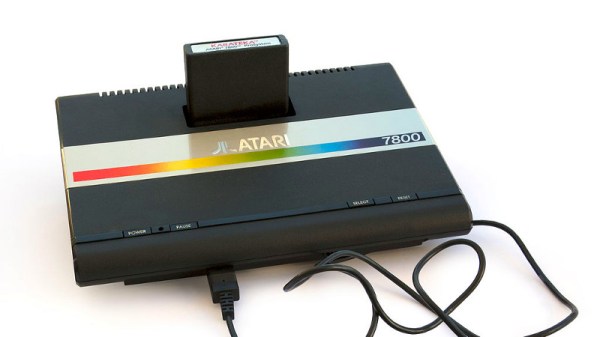
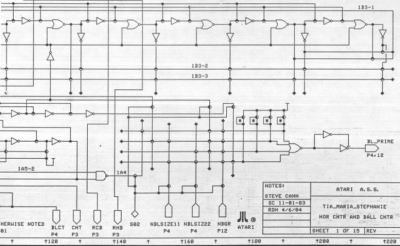 Which makes discovery of the schematics (PDF link) for the “Tia Maria” graphics chip found in the Atari 7800 console an unusual occurrence, and one which should be of special interest to the emulation community. They can be found alongside the rest of the Atari Museum’s 7800 information.
That such a useful document is available at all is due to a lucky find in a dumpster following the demise of Atari, when a treasure trove of documents was discarded. It seems that the existence of these schematics has been known within the Atari community for some time, and we expect before long this information will find its way into FPGA implementations of the 7800; especially since the system features nearly complete backwards compatibility with the massively successful Atari 2600.
When that happens we hope we’ll be able to bring it to you, but it’s not the first time someone’s made an Atari on an FPGA.
Via RetroRGB
Header image: Bilby [CC BY 3.0]
Get Coding With This Atari 2600 Development Suite
Sometimes the urge strikes to get busy coding for an old retro system, but unfortunately the bar to entry can be high. There’s a need to find a workable compiler, let alone trying to figure out how to load code onto original vintage hardware. It doesn’t have to be so hard, though. The team at [HeatSync Labs] built an Atari 2600 development station so hackerspace members can simply rock up and get to work.
With this rig, development is a multi-step process. A paper manual is on hand to provide detail of how to code for the Atari. An IBM PC is then on hand to allow the budding developer to code in assembly. This text file is then compiled into an Atari ROM, which is then passed through a special utility to convert it to an audio file. This is to allow it to be used with a Starpath Supercharger, which allows games to be loaded onto the Atari via cassette tape, or in this case, raw digital audio. By playing the audio file on the PC, connected to the Supercharger cartridge, it’s possible to run arbitrary code on the Atari 2600.
Programming in 6502 assembly isn’t the easiest mountain to climb for an absolute novice, but experienced coders will likely appreciate the no-fuss development environment. It makes for an easy gateway into the world of retro console programming, and there’s nothing like the fun of seeing your code running on original hardware.
We love a good story of retro development – like this tale of fixing a 37-year-old bug in an Apple II game. Video after the break.
Continue reading “Get Coding With This Atari 2600 Development Suite”
Yet Another DIY Handheld Pi Gaming Console
The Raspberry Pi is a great platform for running retro video games, and with the addition of some buttons, a TFT screen and some speakers it’s relatively inexpensive and easy to get a working console up and running. If you have access to even a cheap 3D printer, a good-looking DIY console is well within reach for not a lot of money. YouTube user [DIY Engineering] has a bunch of consumer-grade fabrication tools and has designed and built a high-end but still DIY RetroPi gaming console, the RKDR II.
Among the tools that [DIY Engineering] has are both a FDM and DLP 3D printer, a reflow oven, a couple of different CNC machines and a laser cutter. They are all consumer grade, but not necessarily cheap – especially combined! [DIY Engineering] uses Fusion3D to model the case, bezel and circuit board, the latter of which is a 4 layer board designed in Eagle and sent off to be fabbed. The buttons, D-pad, screen and battery are bought off the shelf, but everything else is DIY. Check out the video for the details – the tools used, and the design files, are linked in the information section under the video on YouTube.
Continue reading “Yet Another DIY Handheld Pi Gaming Console”
From CRT TV To All-In-One Console
When the Raspberry Pi first appeared there was some excitement among Raspberry Jam attendees at the prospect of a computer with a video output on a board small enough to be concealed inside a TV. But while the idea is a good one the prospect of poking around among the high voltages of an older CRT model has meant that surprisingly few such ideas turned into reality.
One person who made the idea into a reality was [Jon], who took a [Dora] The Explorer branded CRT/DVD combo in a fetching shade of red and turned it into an all-in-one retro console gaming system with an embedded Raspberry Pi.
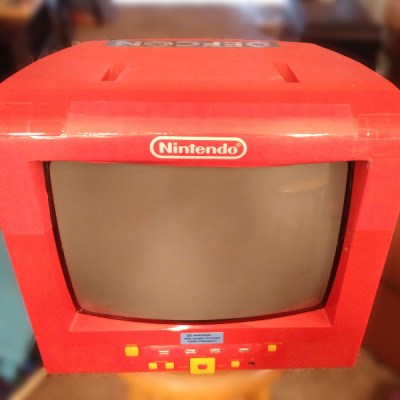 This is however not merely a Pi stuffed inside the rear casing with a few holes for cables, instead he took away the substantial part of the DVD mechanism and mounted his Pi safely in a plastic box. Some USB extension cables bring all four USB sockets to the front panel through the DVD slot with a bit of Sugru to hold them in place. An HDMI panel-mount extension goes to the TV’s rear connector panel, as does a power switch for the Pi which is wired to a USB charger mounted on a trailing mains socket inside the case. The composite video from the Pi is wired to the TV’s AV in video socket.
We don’t blame [Jon] for not looking at the TV’s power rails to find power for his Pi, though a TV of this recent age would have safely mains-isolated rails that’s still a task fraught with hazards. The resulting unit is a high quality retro console, and as a final touch he’s given it a Nintendo logo and some storage for his gamepads on the rear.
We’ve had a few CRTs with integrated computers before here at Hackaday, but not all have been as they seemed. This Pi for instance sat in a vintage Singer TV, but the CRT was replaced with a modern LCD. Our favourite though it this Chromecast driving a 1978 GE model.
Hacklet 22 – Retro Console Projects
Everyone loves arcade games, and it didn’t take long for designers to figure out that people would love to take the fun home. The home gaming console market has been around for decades. Through the early days of battery-powered pong style consoles through Atari and the video game crash of the early 80’s, to the late 8 and 16 bit era spearheaded by The Nintendo Entertainment System and The Sega Master System and beyond, consoles have become a staple of the hacker home. This week’s Hacklet features some of the best retro console projects from Hackaday.io!
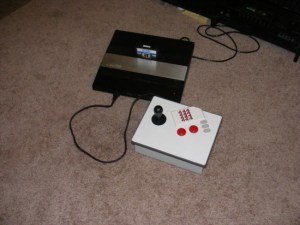 We start with [ThunderSqueak] saving the world with her Atari 5200 Custom Controller Build. For those who don’t know, the Atari 5200 “Super System” was an 8 bit system ahead of its time. The 5200 was also saddled with on of the worst controller designs ever. The buttons would stop responding after a few hours of game play. With 17 buttons, (including a full number pad), that was a pretty major design flaw! [ThunderSqueak] hacked a cheap commercial fighting game stick to make it work with the 5200. 12 individual buttons were wired in a matrix to replace the telephone style keys on the original 5200 controller. Atari’s non-centering analog stick was converted over to a standard 4 switch arcade style stick. [ThunderSqueak] did leave the original pots accessible in the bottom of the enclosure for centering adjustments. Many 5200 games work great with the new setup.
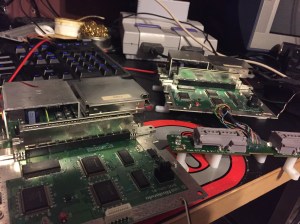 [DackR] is bringing back the glory days of Nintendo with Super Famicade, a homebrew 4 SNES arcade system inspired by Nintendo’s Super System. Nintendo’s original Super System played several customized versions of games which were available on the Super Nintendo Entertainment System (SNES). [DackR] is building his own with parts from four SNES consoles. He’s also adding a few features, like a touch screen, video overlay, and enhanced RGB.
He’s going to add custom memory monitoring hardware, which will allow him to check how many lives a player has left and handle coin operation, all without the original Super System Hardware. If you’re curious what the original Super Systems looked like, check out Hackaday’s Tokyo Speedrun video.You might just catch a glimpse of one!
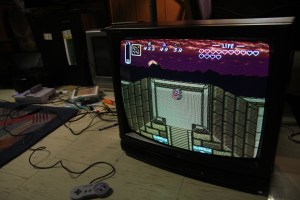 [Bentendo64] is improving on the past with RGB For ‘Murica. European systems have enjoyed the higher quality afforded by separate red, green and blue video lines for decades. North American gamers, however were stuck in the composite or S-Video realm until shortly before the HDTV age. [Bentendo64] had an old hotel CRT based monitor, and decided to hack an RGB input. After opening up the back of the set, he removed the yolk board and added direct inputs to the video amplifiers. We’re not sure if this mod will work with every CRT, but it can’t hurt to try! Just be sure to discharge those high voltage capacitors before wrenching on these old video systems. Even if a set has been unplugged for days, the caps can give a seriously painful (and dangerous) shock!
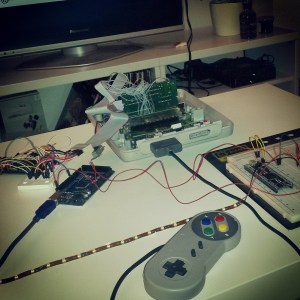 [Ingo S] is also working to improve the SNES with SNES AmbiPak, a mod which brings ambient lighting and “rumble pack” controller feedback to the vintage Super Nintendo. [Ingo S] used the popular SNES9X emulator to figure out where game data is stored while the SNES is running. His proof of concept was the original F-ZERO SNES game. [Ingo S] found that Every time the player’s car hits the wall, the system would perform a write on address 3E:0C23. All he would need to do is monitor that address on the real hardware, and rumble the controller on a write. The real hardware proved to be a bit harder to work with though. Even these “slow” vintage systems clock their ram at around 3MHz, way too fast for an Arduino to catch a bus access. [Ingo S] is solving that problem with a Xilinx XC9572 Complex Programmable Logic Device (CPLD). CPLDs can be thought of as little brothers to Field Programmable Gate Arras (FPGAs). Even though they generally have less “room” for logic inside, CPLDs run plenty fast for decoding memory addresses. With this change, [Ingo S] is back on track to building his SNES rumble pack!
It feels like we just got started – but we’re already out of space for this week’s Hacklet! As always, see you next week. Same hack time, same hack channel, bringing you the best of Hackaday.io!
Adding Famicom Audio Channles To An NES Without Messing Up The Console
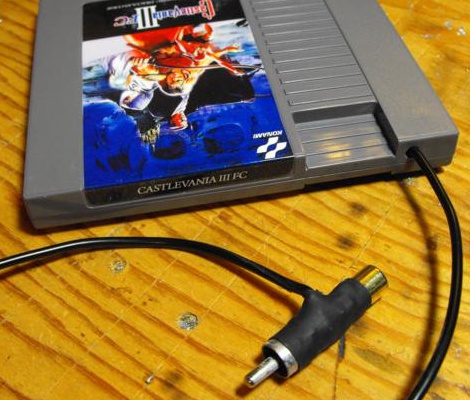
[Callan Brown] wrote in to show us a really interesting NES audio hack. [Callen] decided that he wanted the full Castlevania III audio experience, which (without modifications) can only be had through the original Japanese Famicom console. [Callen] weighed a few adapter options, and instead decided to come up with his own.
The issue is that the Japanese Famicom and the American NES actually have a different cartridge connector. The change in hardware from a 60 pin to a 72 pin connector added “features” like the 10 pins connected directly to the expansion port (used for stuff like the teleplay modem, who knew). The other two additional pins are used by the annoying 10NES lockout chip. While they were at it, Nintendo decided to route the audio path through the expansion connector instead of the cartridge.
This means that the Japanese cartridges can’t pipe sound to the NES audio channel with just a pin adapter. Good news though, after sourcing a pin adapter hidden inside certain NES games (Stack Up, Gyromite), audio can easily just be pulled from the adapter PCB. This requires the more expensive Famicom Castlevania III cartridge (Akumajou Densetsu). To cleanly route the new audio cable out of his front loading NES [Callan] reuses the sacrificial adapter game’s cart to make some kind of unholy hybrid. To round it off [Callan] also goes over steps to flash a translated ROM to the Japanese game.
What difference could an extra two squares and a sawtooth make? Check out the sound comparison video after the jump! Thanks [Callan].
Continue reading “Adding Famicom Audio Channles To An NES Without Messing Up The Console”

