[Metal Massacre Fab Shop] has a review of a portable plasma cutter that ends up being a very good demonstration of exactly what these tools are capable of. If you’re unfamiliar with this kind of work, you might find the short video (about ten minutes, embedded below) to be just the right level of educational.
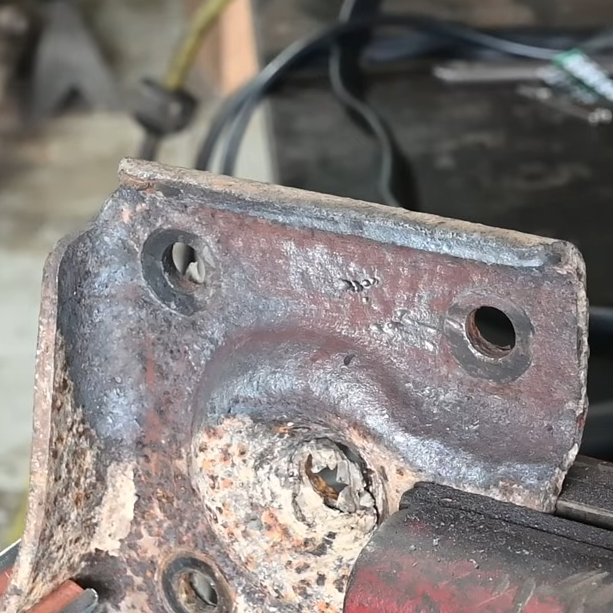
Plasma cutters work by forcing compressed air through a small nozzle, and ionizing it with a high voltage. This process converts the gas into a very maneuverable stream of electrically-conductive, high-temperature plasma which can do useful work, like cutting through metal. The particular unit demonstrated also has a rust removal function. By operating at a much lower level, the same plasma stream can be used to give an effect not unlike sandblasting.
Of course, an economical way to cut metal is to just wield a grinder. But grinders are slow and not very maneuverable. That’s where a plasma cutter shines, as [Metal Massacre Fab Shop] demonstrates by cutting troublesome locations and shapes. He seems a lot more satisfied with this unit than he was with the cheapest possible (and misspelled!) plasma cutter he tried last year.
And should you want a plasma cutter, and aren’t afraid to salvage components? Consider building your own.
Continue reading “Portable Plasma Cutter Removes Rust, Packs A (Reasonable) Punch”