They say a file isn’t backed up if it isn’t backed up twice. This is easy enough to do if you have access to your computer and a network, but if you’re a photographer you might end up in a place without either of these things and need a way to back up the files you just created. For that you’ll need a specialized photo backup tool which you can easily build yourself.
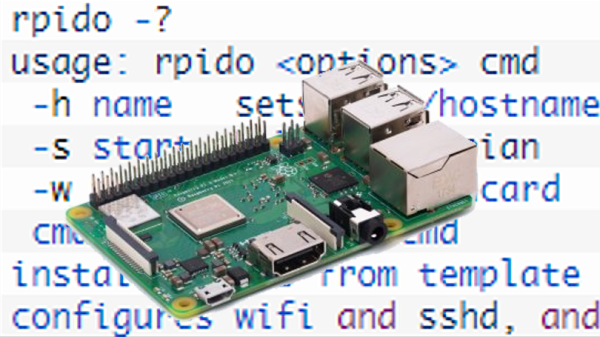
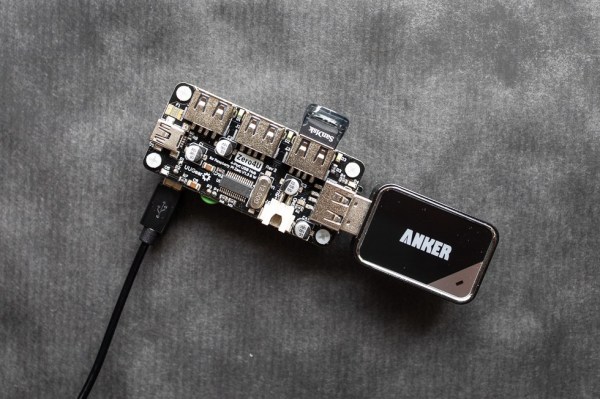
While commercial offerings are available which back up files locally from a camera’s SD card to another medium, they suffer from a high price. [André]’s solution can be had for a fraction of that cost. Using a Raspberry Pi Zero, a tiny USB hub, and a high capacity jump drive, a photographer can simply plug in an SD card and the Pi will handle the backups with varying levels of automation. The software that [André] made use of is called Little Backup Box written by [Dmitri Popov] and can be used typically as an automatic backup for any other device as well.
This is a great solution to backing up files on the go, whether they’re from a camera or any device that uses an SD card. Removable storage is tiny and easily lost, so it’s good to have a few backups in case the inevitable happens. Raspberry Pis are an ideal solution to data backup, and can even be battery powered if you’re really roughing it for a few days.