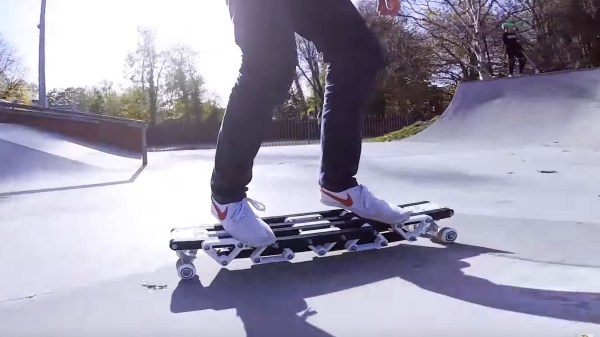
While building a skate park might not appear to have much in common with software development, at they very least, they both suffer from a familiar problem: scalability. Bigger skate parks need more ramps and features, and there’s no real way to scale up a construction project like this efficiently like you could with certain kinds of software other than simply building more features. This was something [Kirk] noticed, but was able to scale up a skate park in a way we’ve never thought of before. He built a mobile skateboard ramp that can turn any place into a skate park.
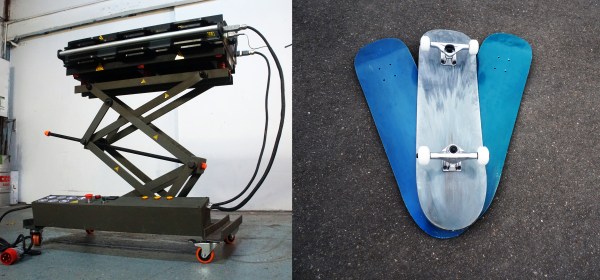
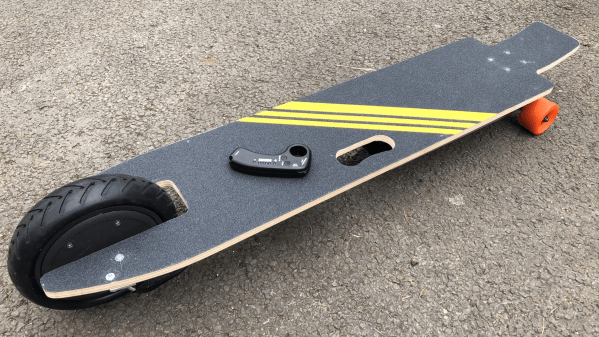
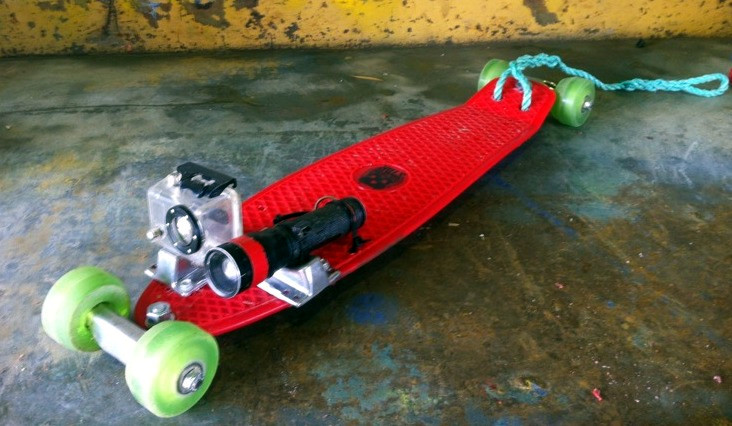
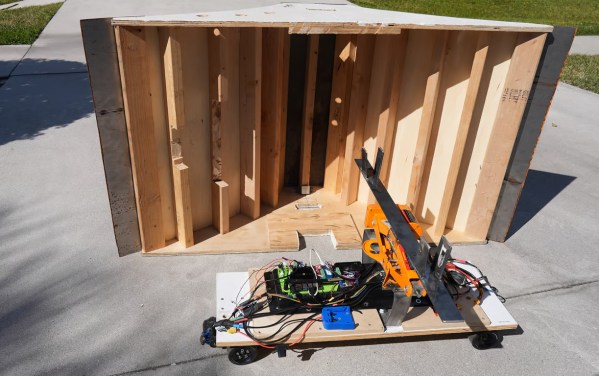
The mobile and approximately sidewalk-width platform is able to move around thanks to an electric skateboard as its foundation. It adds a NVIDIA Jetson Nano for control with a PS4 controller for input, although steering a skateboard with an actuator took a few prototypes to figure out since skateboards are designed to be steered by shifting the rider’s weight. Since they are already designed to carry a human-amount of weight, though, it was at least able to tote the ramp around with relative ease. Another problem was lowering the ramp into position when it got to the desired area, but with an electrically-controlled jack and a few rounds of debugging was eventually able to do this without much issue.
With all of that project development behind him, [Kirk] can finally realize his dream of having ramps scattered all across his neighborhood like in the classic videogame Paperboy, without needing to build them all individually or ask for permission to place them around his neighbor’s homes. For any future iterations of this build, we might consider adding tank tracks to the electric skateboard for better off-road performance, like facilitating a jump across a patch of grass.