So-called ‘smart home’ appliances and gadgets have become an ever-more present thing the past years, with nary a coffeemaker, AC unit or light bulb for sale today that doesn’t have an associated smartphone app, cloud service and/or subscription to enable you to control it from the beach during your vacation, or just set up automation routines to take tedium out of your busy schedule. Yet as much as [Calvin Wankhede] loves home automation, he’d very much like for it to not stop working the moment his internet connection goes down, or the company running the service goes bankrupt. This is where his journey to create an off-line alternative smart home based around Home Assistant and other (open) software began.
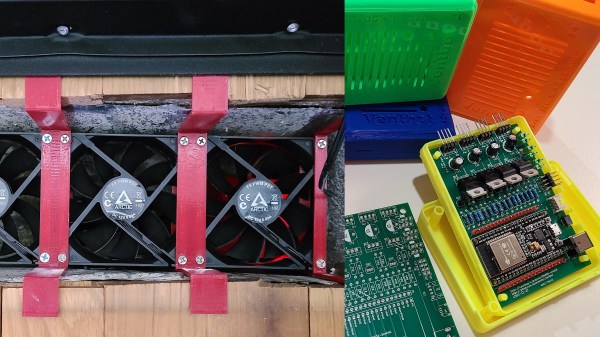
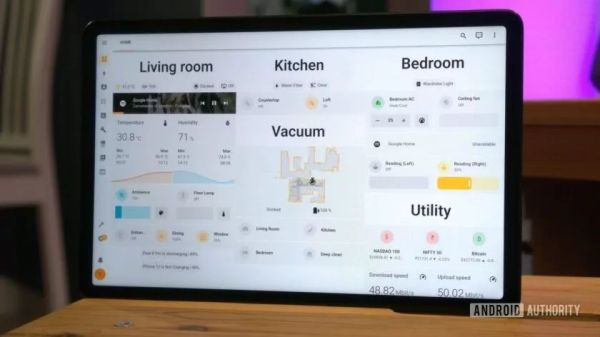
Although Home Assistant (HA) itself has become significantly easier to use, what becomes readily apparent from [Calvin]’s journey is that setting up and managing your own smart home infrastructure is a never-ending project. A project that involves finding compatible hardware that can tie into HA, whether or not without reflashing the firmware, resolving configuration issues and other assorted fun. If you are into this kind of thing, it is of course a blast, and it’s a good feeling when it finally all works.
Unfortunately, interoperability across smart home and similar IoT devices is still a far-off dream, even with the introduction of Thread and Matter (which incidentally are among the worst product names to search for, period), as Matter’s uptake is pretty abysmal. This thus leaves off-line smart homes mostly as the domain of the tech-inclined in search of a hobby.