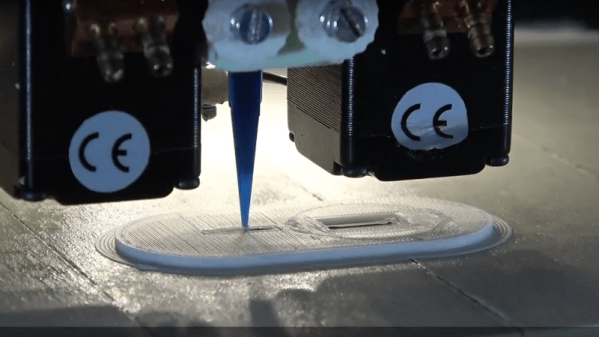
A 3D-Printed Bowl Feeder For Tiny SMD Parts

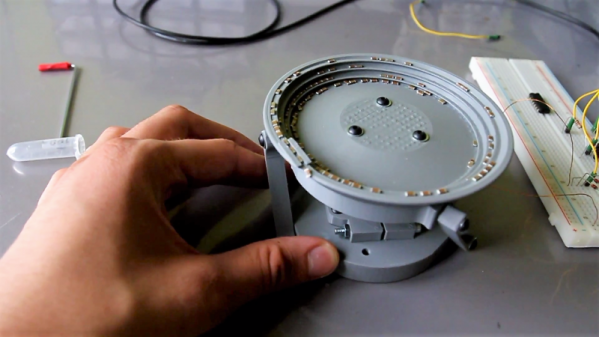
[Andrzej Laczewski] has something big in mind for small parts, specifically SMD resistors and capacitors. He’s not talking much about that project, but from the prototype 3D-printed bowl feeder he built as part of it, we can guess that it’s going to be a pretty cool automation project.

Bowl feeders are common devices in industrial automation, used to take a big pile of parts like nuts and bolts and present them to a process one at a time, often with some sort of orientation step so that all the parts are the right way around. They accomplish this with a vibratory action through two axes, which [Andrzej] accomplishes with the 3D-printed ABS link arms supporting the bowl. The spring moment of the arms acts to twist the bowl slightly when it’s pulled down by a custom-wound electromagnet, such that the parts land in a slightly different place every time the bowl shifts. For the parts on the shallow ramp spiraling up the inside of the bowl, that means a single-file ride to the top. It’s interesting to see how changing the frequency of the signal sent to the coil impacts the feed; [Andrzej] used a function generator to find the sweet spot before settling on a dedicated circuit. Watch it in action below.

We’re really impressed with the engineering that went into this, even if we wonder what the vibration will do to the SMD components. Still, we can’t wait to see this in a finished project – perhaps it’ll be integrated like this Arduino-fied bowl feeder.

Continue reading “A 3D-Printed Bowl Feeder For Tiny SMD Parts”

Review: SMD Tweezer Meter Or Tweezer Probes For Your Multimeter?

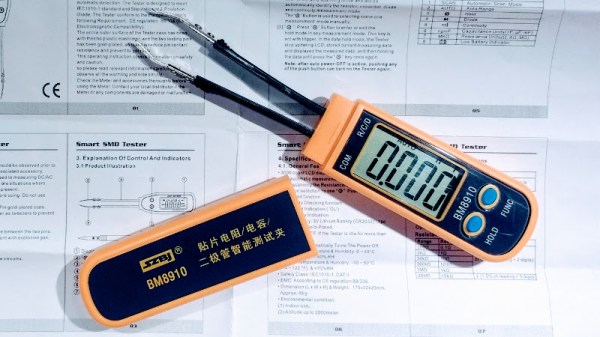
It’s remarkable how tiny electronics have become. Heaven knows what an old-timer whose experience started with tubes must think, to go from solder tags to SMD in a lifetime is some journey. Even  the generation that started with discrete transistors has lived through an incredible shift. But it’s true, SMD components are tiny, and that presents a challenge aside from the one you’ll face when soldering them. Identifying and measuring the value of a chip component too small to have any writing upon it becomes almost impossible with a pair of standard test probes.

Happily the test equipment manufacturers have risen to the challenge, and produced all sorts of meters designed for SMD work that have a pair of tweezers instead of test prods. When I was looking for one I did my usual thing when it comes to Hackaday reviews. I looked at the budget end of the market, and bought an inexpensive Chinese model for about £16($21). And since I was browsing tweezers I couldn’t resist adding another purchase to my order. I found a pair of tweezer test probes for my multimeter which cost me just over a pound ($1.30) and would provide a useful comparison. For working with SMD components in situ, do you even need the special meter?

Continue reading “Review: SMD Tweezer Meter Or Tweezer Probes For Your Multimeter?”

Acrylic Stencils Help With Component Placement For SMD Assembly

Surface mount is where the action is in the world of DIY PCBs, and deservedly so. SMDs are so much smaller than through-hole components, and fewer holes to drill make surface-mount PCBs easier to manufacture. Reflow soldering is even a snap now thanks to DIY ovens and solder stencils you can get when you order your boards.

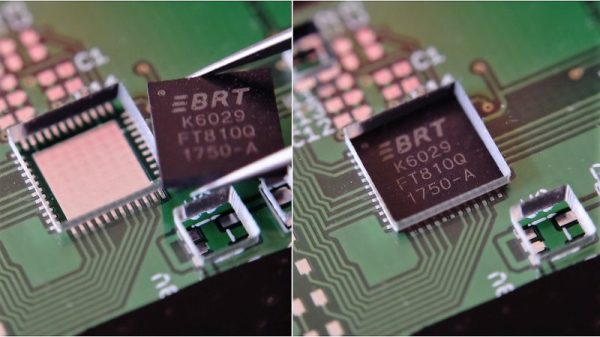
So what’s the point of adding another stencil to the surface-mount process? These component placement stencils are [James Bowman]’s solution for speeding up assembly of boards in production runs too small to justify a pick and place robot. [James] finds that placing small components like discrete resistors and caps easy, but struggles with the placement of the larger components, like QFN packaged microcontrollers. Getting such packages lined up exactly is hard when the leads are underneath, and he found repositioning led to smeared solder paste. His acrylic stencils, which are laser-cut from SVGs derived directly from the Eagle files with a script he provides, sandwich the prepped board and let him just drop the big packages into their holes. The acrylic pops off after placement, leaving the components stuck to the solder paste and ready for their trip to the Easy Bake.

[James] claims it really speeds up hand placement in his biggish runs, and it’s a whole lot cheaper than a dedicated robot. But as slick as we think this idea is, a DIY pick and place is still really sweet.

Reflow Rig Makes SMD Soldering A Wok In The Park

For a DIY reflow setup, most people seem to rely on the trusty thrift store toaster oven as a platform to hack. But there’s something to be said for heating the PCB directly rather than heating the surrounding air, and for that one can cruise the yard sales looking for a hot plate to convert. But an electric wok as a reflow hotplate? Sure, why not?

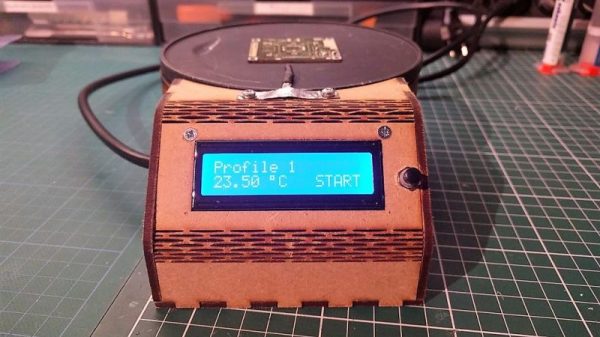
At the end of the day [ThomasVDD]’s reflow wok is the same as any other reflow build. It has a heat source that can be controlled easily, temperature sensors, and a microcontroller that can run the proportional-integral-derivative (PID) control algorithm needed for precise temperature control. That the heating element he used came from an electric wok was just a happy accident. A laser-cut MDF case complete with kerf-bent joints holds the heating element, the solid-state relay, and the Arduino Nano that runs the show. A MAX6675 thermocouple amp senses the temperature and allows the Nano to cycle the temperature through different profiles for different solders. It’s compact, simple, and [ThomasVDD] now has a spare wok to use on the stove top. What’s not to like?

Reflow doesn’t just mean oven or hotplate, of course. Why not give reflow headlights, a reflow blowtorch, or even a reflow work light a try?

Hybrid 3D-Printer Creates Complete Circuits, Case And All

The cool kids these days all seem to think we’re on the verge of an AI apocalypse, at least judging by all the virtual ink expended on various theories. But our putative AI overlords will have a hard time taking over the world without being able to build robotic legions to impose their will. That’s why this advance in 3D printing that can incorporate electronic circuits may be a little terrifying, at least to some.

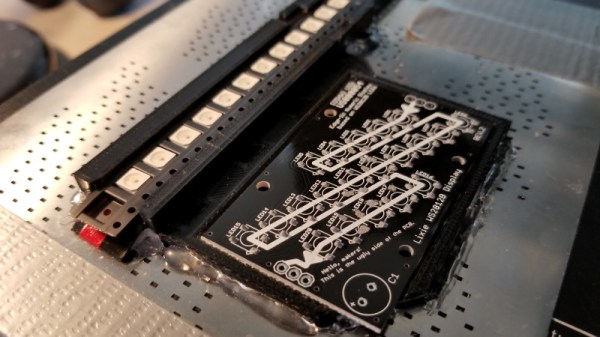
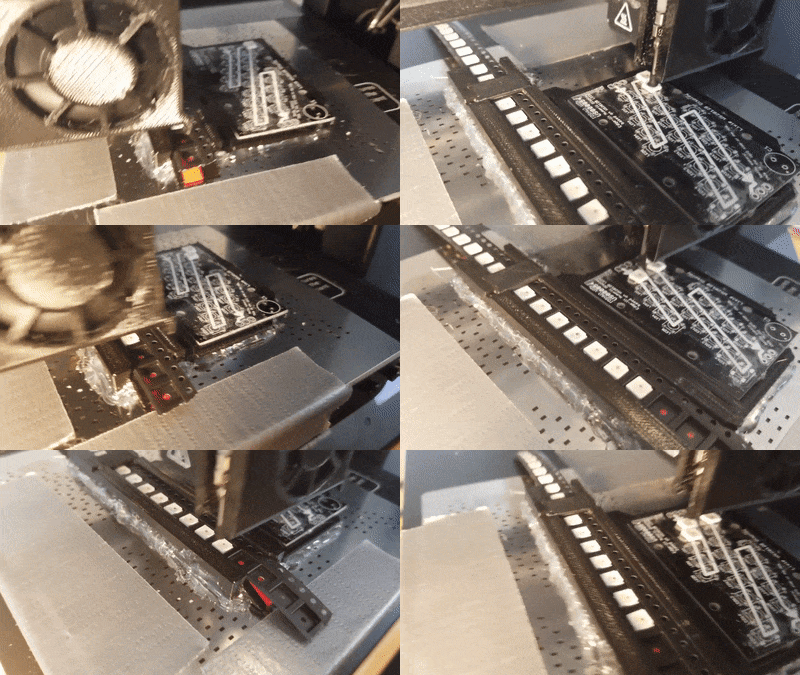
The basic idea that [Florens Wasserfall] and colleagues at the University of Hamburg have come up with is a 3D-printer with a few special modifications. One is a separate extruder than squirts a conductive silver-polymer ink, the other is a simple vacuum tip on the printer extruder for pick and place operations. The bed of the printer also has a tray for storing SMD parts and cameras for the pick-and-place to locate parts and orient them before placing them into the uncured conductive ink traces.

The key to making the hardware work together though is a toolchain that allows circuits to be integrated into the print. It starts with a schematic in Eagle, which joins with the CAD model of the part to be printed in a modified version of Slic3r, the open-source slicing package. Locations for SMD components are defined, traces are routed, and the hybrid printer builds the whole assembly at once. The video below shows it in action, and we’ve got to say it’s pretty slick.

Sure, it’s all academic for now, with simple blinky light circuits and the like. But team this up with something like these PCB motors, and you’ve got the makings of a robotic nightmare. Or not.

Continue reading “Hybrid 3D-Printer Creates Complete Circuits, Case And All”

Simple Mechanism Gives Support For SMT Assembly

With the fine work needed for surface-mount technology, most of the job entails overcoming the limits of the human body. Eyes more than a couple of decades old need help to see what’s going on, and fingers that are fine for manipulating relatively large objects need mechanical assistance to grasp tiny SMT components. But where it can really fall apart is when you get the shakes, those involuntary tiny muscle movements that we rarely notice in the real world, but wreak havoc as we try to place components on a PCB.

To fight the shakes, you can do one of two things: remove the human, or improve the human. Unable to justify a pick and place robot for the former, [Tom] opted to build a quick hand support for surface-mount work, and the results are impressive considering it’s built entirely of scrap. It’s just a three-piece arm with standard butt hinges for joints; mounted so the hinge pins are perpendicular to the work surface and fitted with a horizontal hand rest, it constrains movement to a plane above the PCB. A hole in the hand rest for a small vacuum tip allows [Tom] to pick up a part and place it on the board — he reports that the tackiness of the solder paste is enough to remove the SMD from the tip. The video below shows it in action with decent results, but we wonder if an acrylic hand rest might provide better visibility.

Not ready for your own pick and place? That’s understandable; not every shop needs that scale of production. But we think this is a great idea for making SMT approachable to a wider audience.

Continue reading “Simple Mechanism Gives Support For SMT Assembly”

A DIY 5V-3V Switching Converter In The Space Of A TO-220 Package

We’re suckers for miniaturization projects. Stuff anything into a small enough package and you’ve probably got our attention. Make that something both tiny and useful, like this 5-volt to 3.3-volt converter in a TO-220 sized package, and that’s something to get excited about. It’s a switch mode power supply that takes the same space as a traditional linear regulator.

Granted, the heavy lifting in [Kevin Hubbard]’s diminutive buck converter is done by a PAM2305 DC-DC step-down converter chip which needs only a few supporting components. But the engineering [Kevin] put into this to squeeze everything onto a scrap of PCB 9-mm on a side is impressive. The largest passive on the board is the inductor in 0805. Everything else is in 0603, so you’ll be putting your SMD soldering skills to the test if you decide to make this. Check the video after the break for a speedrun through the hand soldering process.

The total BOM including the open-source PCB only runs a buck or two, and the end result is a supply with steady 750-mA output that can handle a 1-A surge for five seconds. We wonder if a small heatsink tab might not help that; along with some black epoxy potting, it would at least complete the TO-220 look.

[Kevin]’s Black Mesa Labs has a history of turning out interesting projects, from a legit video card for Arduino to a 100-watt hotplate for reflow work that’s the size of a silver dollar. We’re looking forward to whatever’s next — assuming we can see it.

Continue reading “A DIY 5V-3V Switching Converter In The Space Of A TO-220 Package”