The Raspberry Pi holds incredible promise for those looking to build a small mobile terminal that they can take with them on the go, something you can throw into your bag and pull out whenever there’s some hacking to be done. But getting the diminutive Linux board to that point can take quite a bit of work. You need to find a suitably small keyboard, design a custom case, and wire it all up without letting any of that pesky Magic Smoke escape.
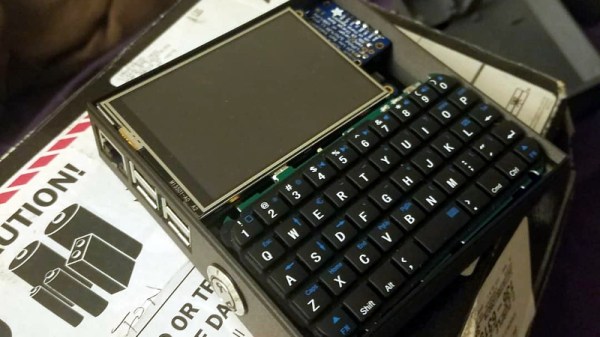
But a recent project from [remag293] might make things a bit easier for those looking to get their feet wet in the world of custom mobile computers. The boxy handheld device has everything you need, and nothing you don’t. A basic case, a short parts list, and an absolute minimum of wiring. What’s not to love? Even if you don’t make an exact clone of this device, it’s an excellent reference to quickly bootstrap your own bespoke terminal.
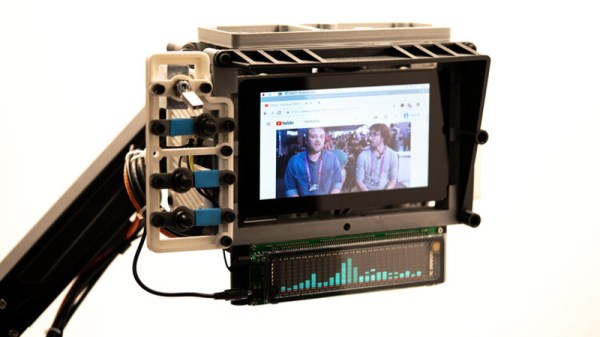
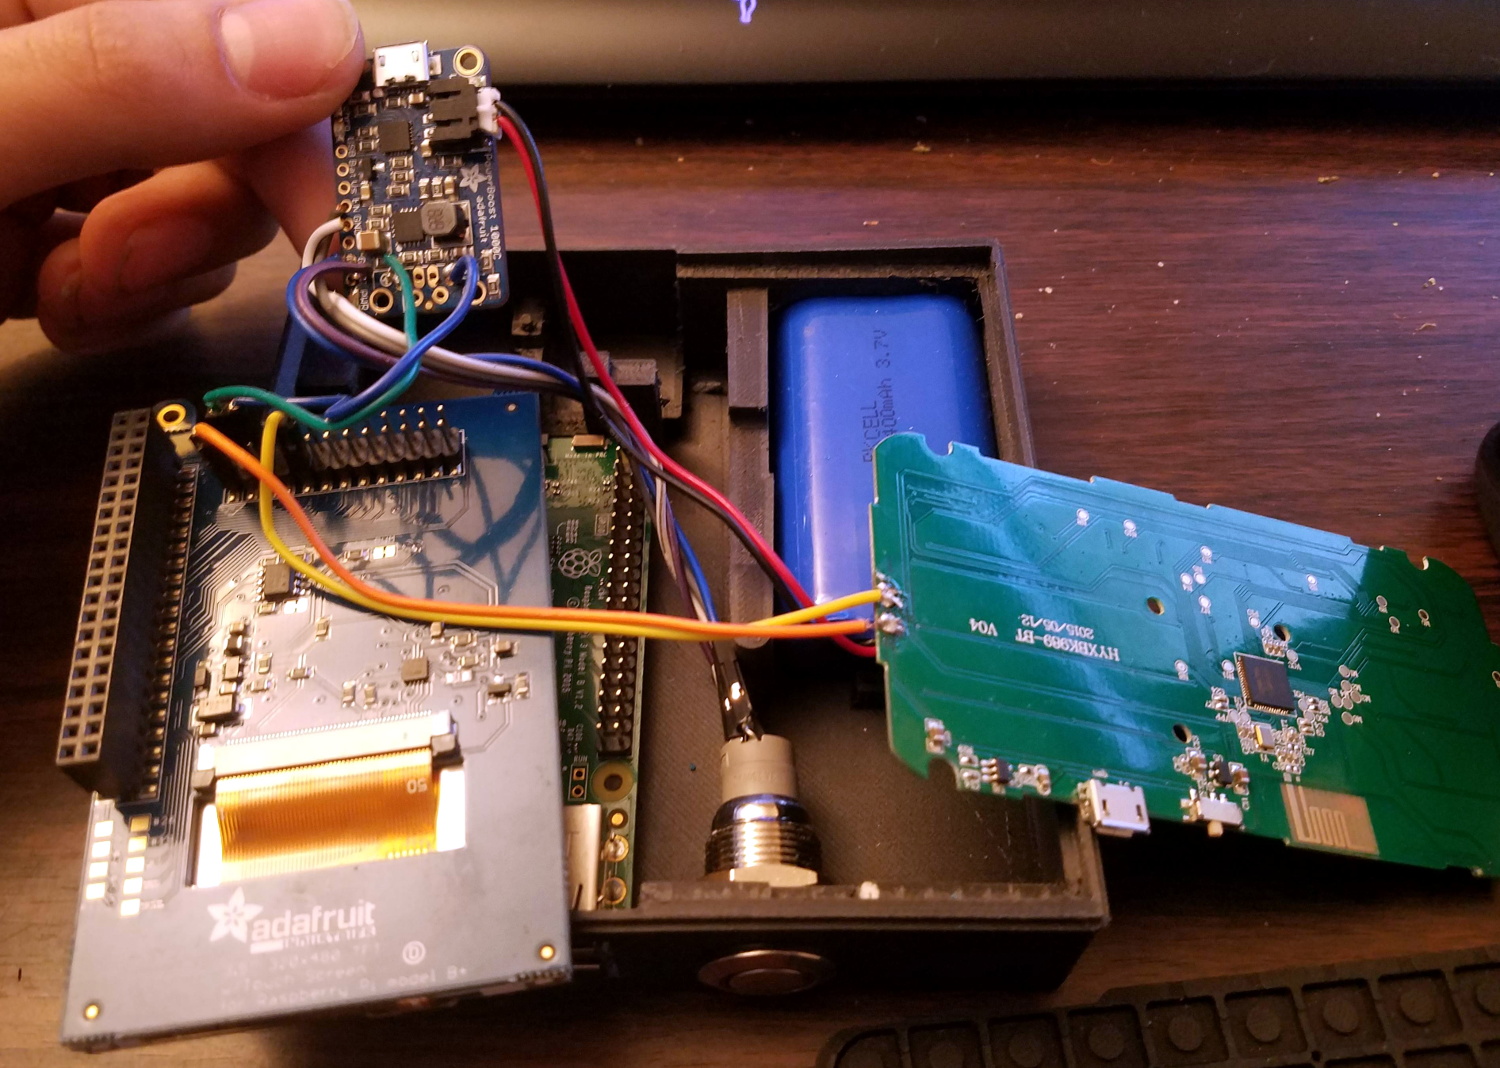 So what’s inside the 3D printed case? Not a whole lot, really. Obviously there’s a Raspberry Pi, a 3.5 inch TFT touch screen display, and a miniature keyboard. The keyboard is of the Bluetooth variety, and other than being freed from its enclosure and wired into the header on the display module for power, it’s otherwise stock.
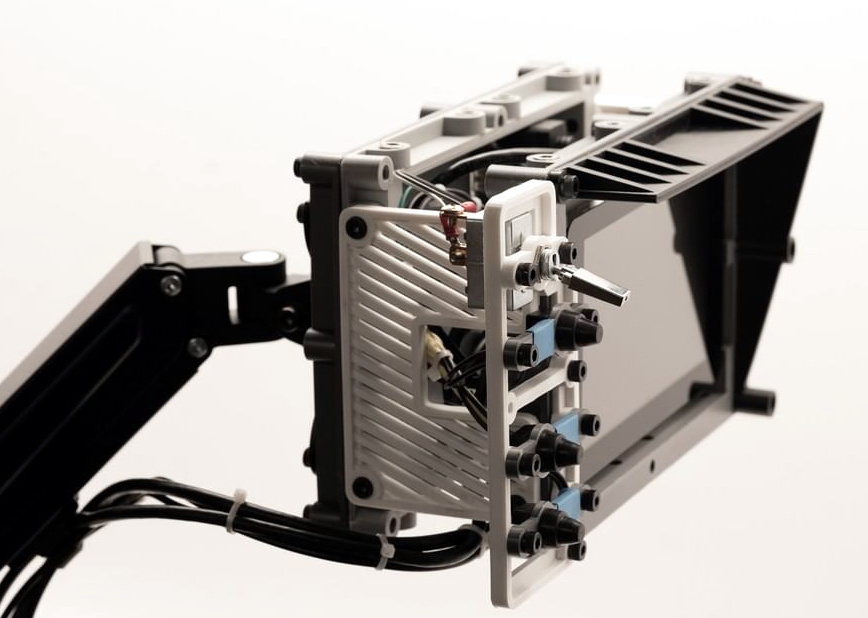
As for the parts you can’t see from the outside, there’s a 3.7 V 4400 mAh battery pack and an Adafruit PowerBoost 1000 module to handle charging and power distribution. Beyond the big lighted button on the side (which you could certainly replace with something more low-key should you chose), that’s about it. When it’s all together, you’ve got a battery powered computer that’s ready for the road with a minimum amount of fuss.
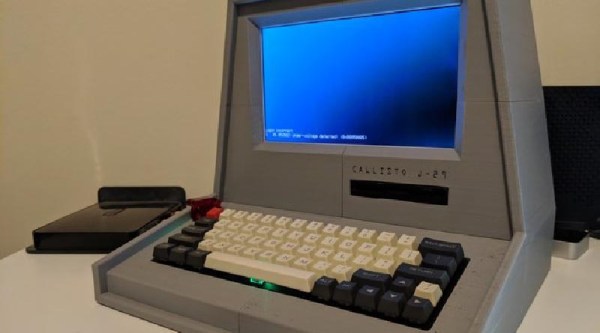
If you’re looking for something that’s a bit larger, and more than a little unconventional, you could start by printing out a full cyberdeck. After all, if you’re going to build your own non-traditional portable computer, you might as well go all out.