Although Nissan has been in the doldrums ever since getting purchased by Renault in the early 2000s, it once had a reputation as a car company that was always on the cutting edge of technology. Nissan was generally well ahead of its peers when bringing technologies like variable valve timing, turbocharging, fuel injection, and adjustable suspension to affordable, reliable vehicles meant for everyday use. Of course, a lot of this was done before computers were as powerful as they are today so [Ronald] set out to modernize some of these features on his 1978 Datsun 280Z.
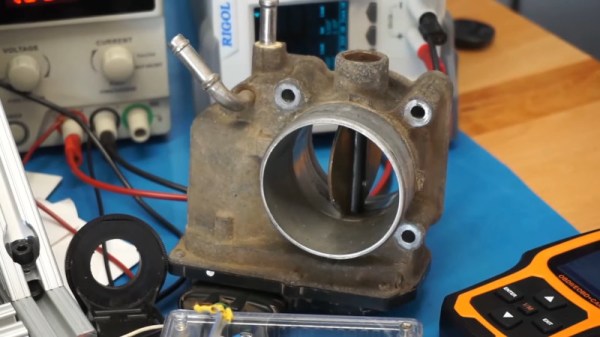
Of course there are outright engine swaps that could bring a car like this up to semi-modern standards of power and efficiency, but he wanted to keep everything fully reversible in case he wants to revert to stock in the future, and didn’t want to do anything to the engine’s interior. The first thing was to remove the complicated mechanical system to control the throttle and replace it with an electronic throttle body with fly-by-wire system and a more powerful computer. The next step was removing the distributor-based ignition system in favor of individual coil packs and electronic ignition control, also managed by the new computer. This was perhaps the most complicated part of the build as it involved using a custom-made hall effect sensor on the original distributor shaft to tell the computer where the engine was in its rotation.
The final part of this engine modernization effort was upgrading the fuel delivery system. The original fuel injection system fired all of the injectors all the time, needlessly wasting fuel, but the new system only fires a specific cylinder when it needs fuel. This ended up improving gas mileage dramatically, and dyno tests also showed these modifications improved power significantly as well. Nissan hasn’t been completely whiffing since the Renault takeover, either. Their electric Leaf was the first mass-produced EV and is hugely popular in all kinds of projects like this build which uses a Leaf powertrain in a Nissan Frontier.