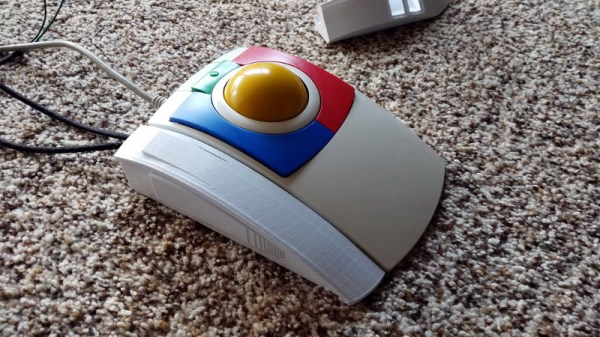
What do you do when you’re into trackball mice, but nothing out there is affordable or meets all your murine needs? You build one, of course. And if you’re like [Dangerously Explosive], who has a bunch of old optical mice squeaking around the shop, you can mix and match them to build the perfect one.
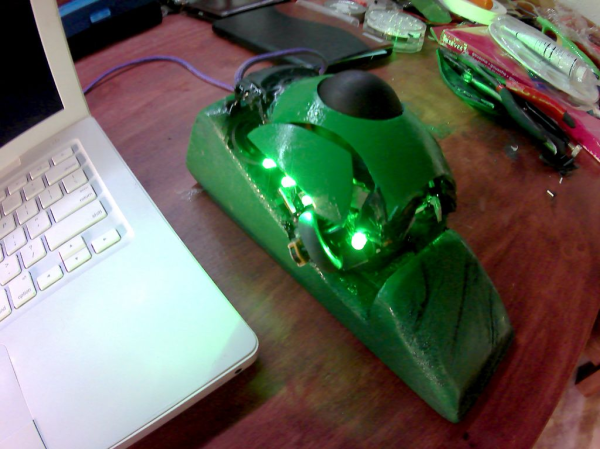
The mouse, which looks frozen mid-transformation into a rodential assassin, is a customized work of utilitarian art. Despite the excellent results, this project was not without its traps. [Dangerously] got really far into the build before discovering the USB interface chip was dead. Then he tried to sculpt a base out of Plasticine and discovered he’d bought the one kind of clay that can’t be baked. After trying his hand at making homemade salt dough, he painstakingly whittled a base from scrap pine using a drill and a hacksaw.
Every bit of this mouse is made from recycled bits, which, if you pair that with the paint job and the chosen shade of blinkenlights, makes this a green mouse on three levels. One of the two parts of this mouse that isn’t literally green, the cord, is still ecologically sound. [Dangerously] wanted a really long tail, so he scavenged a charger cable built for fruity hardware and threaded it through a hollowed-out piece of purple paracord.
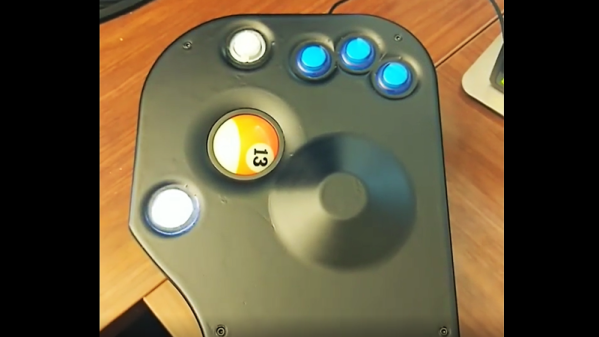
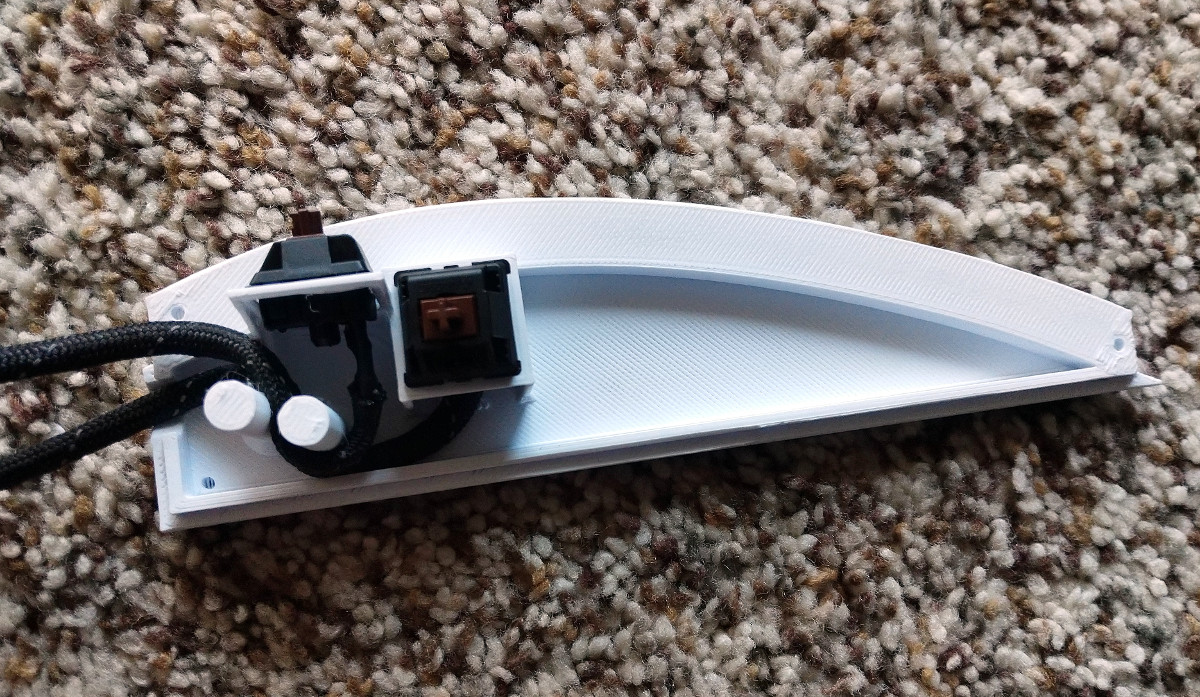
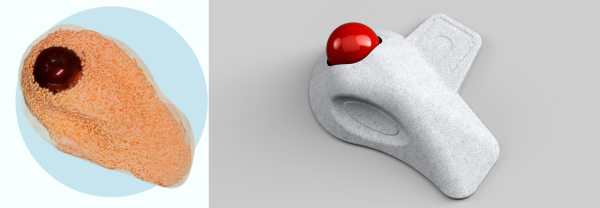
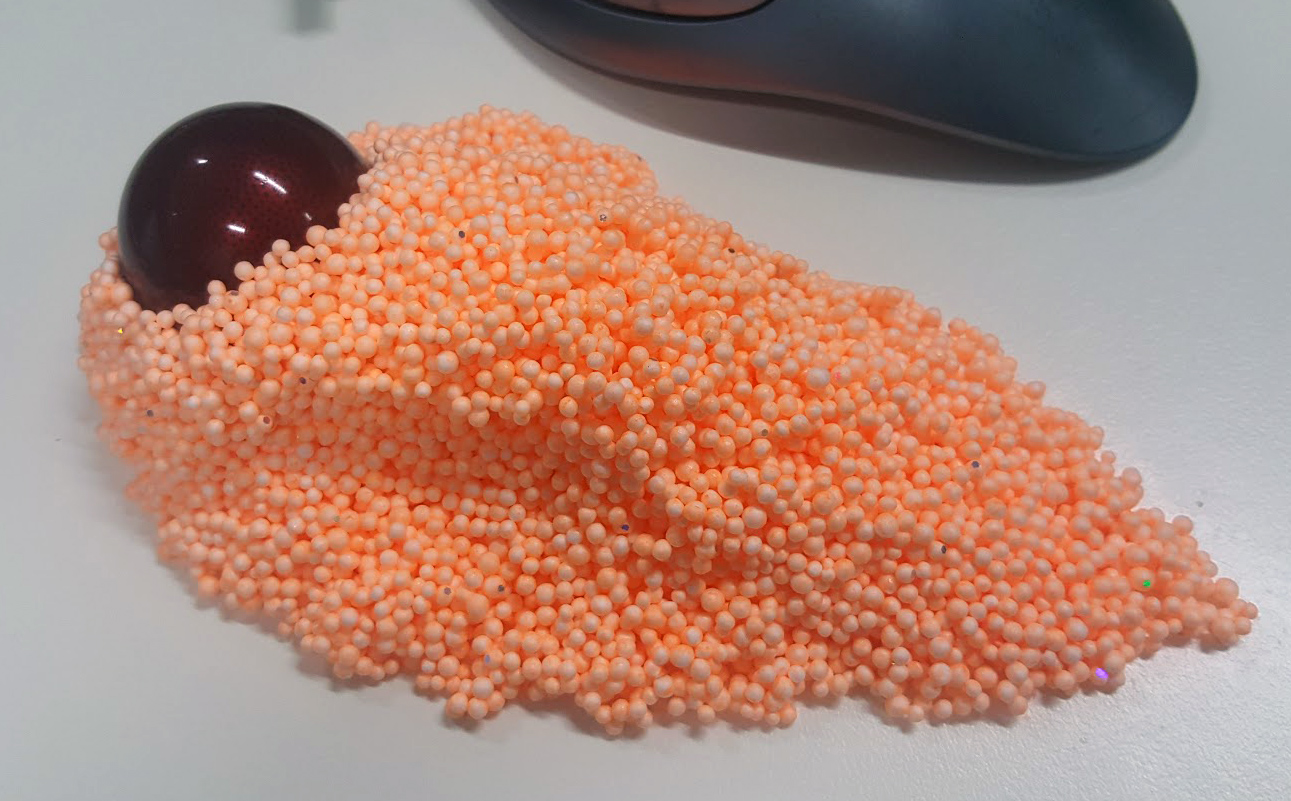
We love the thumb-adjacent scroll wheel and the trackball itself, which is a ping pong ball painted black. The cool part is the guide it rolls around in. [Dangerously] spent a long time hand-whittling the perfect size hole in a particularly wide mouse palm rest. All that plastic shaving paid off, because the action is smooth as Velveeta.
[Dangerously] certainly designed this mouse to fit his preferences, and ergonomics seem a bit secondary. For a truly custom fit, try using whatever passes for Floam these days.