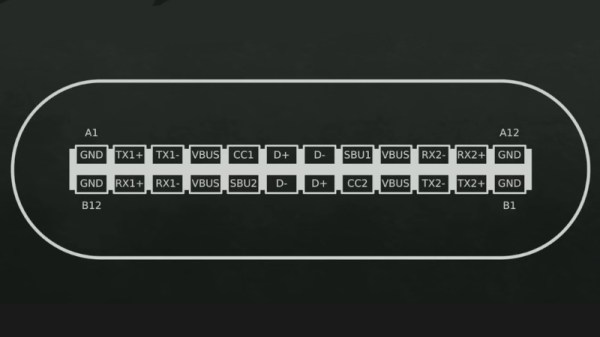
Ever want a seriously powerful PCB for charging a Li-Ion pack? Whatever you want it for, [Redherring32] has got it — it’s a board bearing the TPS25750D and BQ25713 chips, that lets you push up to 100 W into your 1S Li-Ion pack through the magic of USB Power Delivery (USB-PD).
Why do you need so much power? Well, when you put together a large amount of Li-Ion cells, this is how you charge it all at once – an average laptop might charge the internal battery at 30 W, and it’s not uncommon for laptop batteries to be dwarfed by hackers’-built packs.
A 4-layer creation peppered with vias, this board’s a hefty one — it’s not often that you see a Li-Ion charger designed to push as much current as possible into a cell, and the chips are smart enough for that. As far as the onboard chips’ capabilities go, the board could handle pack configurations from 1S to 4S, and even act as a USB-PD source — check the IC configuration before you expect to use it for any specific purpose.
Want a simpler charger, even if it’s less powerful? Remember, you can use PPS-capable PD chargers for topping up Li-Ion packs, with barely any extra hardware required.


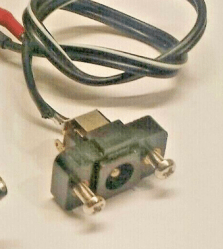 This board’s idea is thought-out and executed well – it replaces a bespoke barrel jack assembly, and is mechanically designed to fit the screw holes and the free space inside the chassis. For USB-PD, it uses a CH32V003 coupled with FUSB302 – I definitely