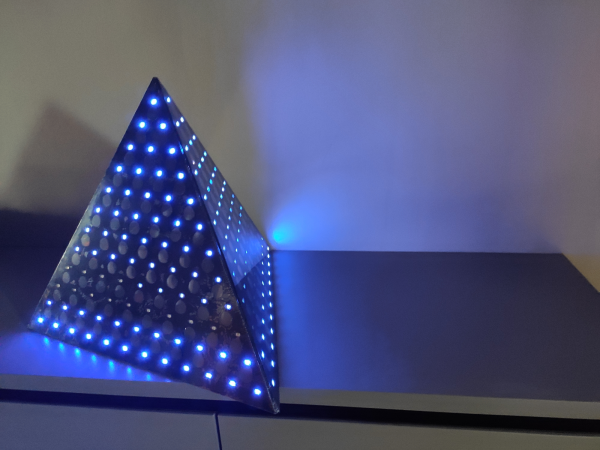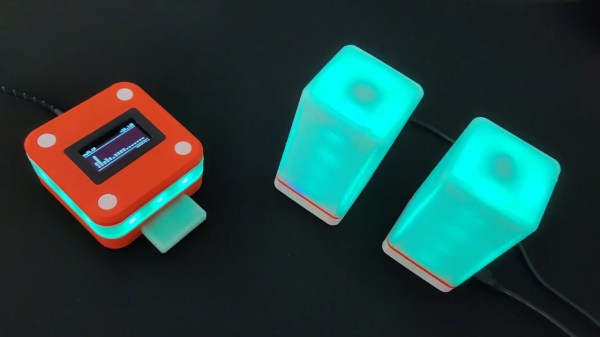
Wildly blinking LEDs may not be the ideal lighting for the average office environment, but they’ll surely spice up any party. And since a party without music is just a meeting, having both synced up is a great way to set the mood. Sure, you could simply roll out your standard LED strip instead, but that gets a bit boring, and also a bit tricky if you want to light up several places the same way. [Gerrit] might have built the perfect solution though, with his (mu)sic (R)eactive (Li)ghts, or muRLi, which are a set of individual lights that synchronize a programmable pattern over WiFi.
The system consists of muRLi itself as the base station that defines and sends the light pattern through WebSockets, and several muRLi Nodes that house a set of WS2812B LEDs to receive and display it. Both are built around a Wemos D1 Mini configured to set up a WiFi mesh network, and depending what’s in reach, the nodes connect either to the base station or other nodes, giving the system definitely enough reach for any location size. The music is picked up by a MAX4466-amplified microphone inside the base station — adding some more flexibility to positioning the system — and analyzed for volume and audio spectrum, which is also shown on an OLED.
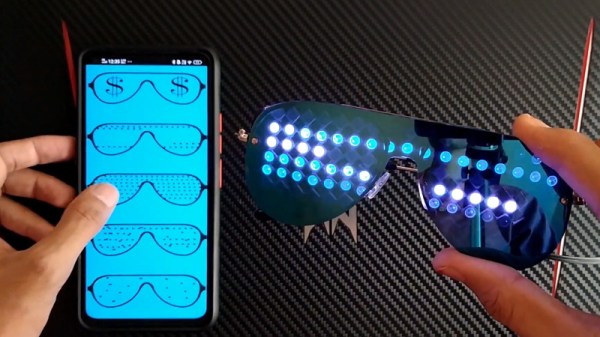
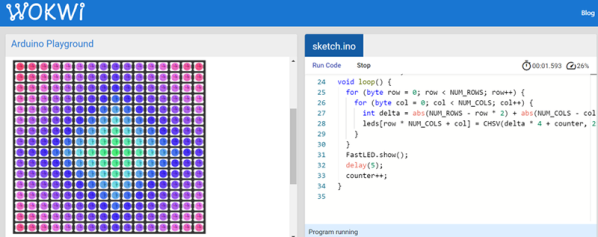
The best part however is how the light patterns are programmed. Instead of hard-coding it into the firmware, [Gerrit] went for a modular approach with little ROM cartridges to plug into the muRLi base station. The cartridge itself contains just an I2C EEPROM, storing JavaScript code that is interpreted by the firmware using mJS. The scripts have access to the analyzed audio data and amount of LEDs within the network, and can dynamically generate the patterns as needed that way. Everything is neatly housed in 3D-printed enclosures, with all the design and source files available on the project’s GitHub page — but see for yourself in the video after the break.
If you don’t care about the wireless part but enjoy light synced up with music, have a look at a plain MIDI solution for that. As for [Gerrit], we’re definitely looking forward to seeing his next endeavor one day, since we also enjoyed his last one.
Continue reading “Get The Party Started With A Mesh WiFi Light Show”