We feature hundreds of projects here at Hackaday, and once they have passed by our front page and disappeared into our archives we often have no opportunity to return to them and see how they developed. Sometimes of course they are one-off builds, other times they wither as their creator loses interest, but just occasionally they develop and evolve into something rather interesting.
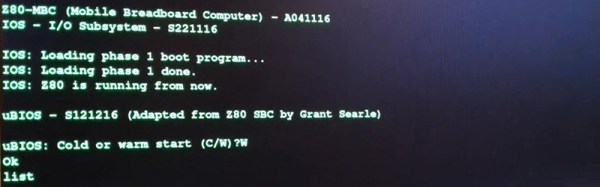
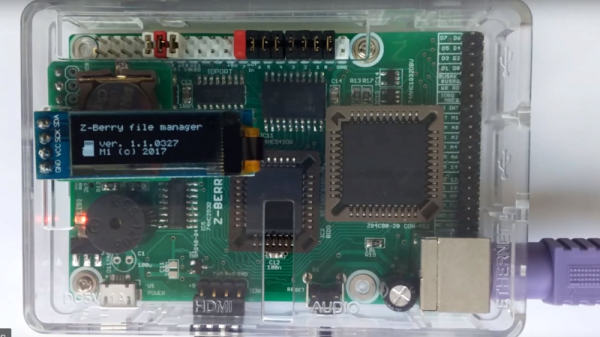
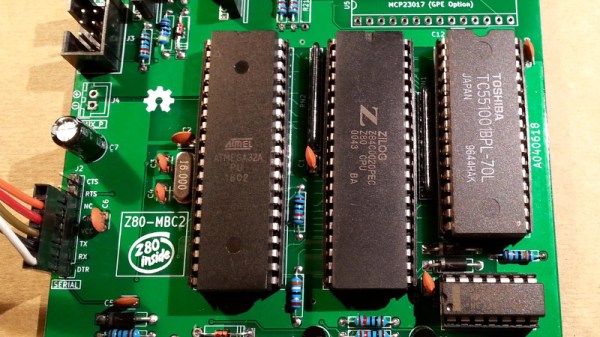
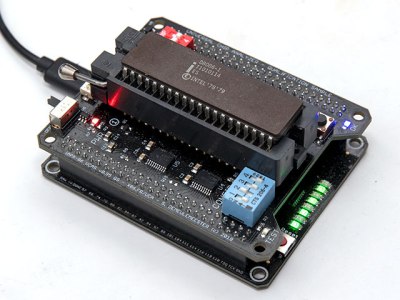
One that is taking that final trajectory is [Just4Fun]’s Z80-MBC, a single board computer with only 4 ICs, using an Atmel microcontroller to simulate the Z80 support chips. It has appeared as a revised version, on a smart new PCB rather than its original breadboard, and with built-in SD card and RTC support through readily available breakout boards, and banked RAM for CP/M support. You may remember the original from last year, when it was also a Hackaday Prize entry and stage finalist. From a Hackaday perspective this is particularly interesting, because it shows how the Prize can help a project evolve.
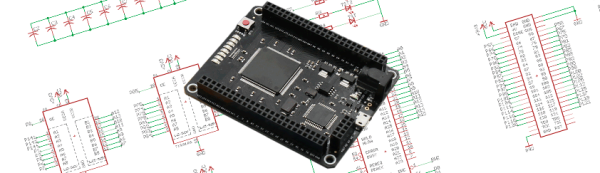
The Atmega32A uses the Arduino bootloader with programming through the ICSP port, and full instructions are given in the hackaday.io project page alongside all the files required to build your own board. There is no mention of whether boards can be bought, but we’d say this could be a commercial-quality product if they chose to take it in that direction.

 So, how does it actually test? Synthesized inside the FPGA is everything the CPU needs from the motherboard to make it tick, including ROM, RAM, bus controllers, clock generation and interrupt handling. Many testing frequencies are supported (which is helpful for spotting fakes), and if connected to a computer via USB, the UCA can check power consumption, and even benchmark the chip. We can’t begin to detail the amount of thought that’s gone into the design here, from auto-detecting data bus width to the sheer amount of models supported, but you can read more technical details