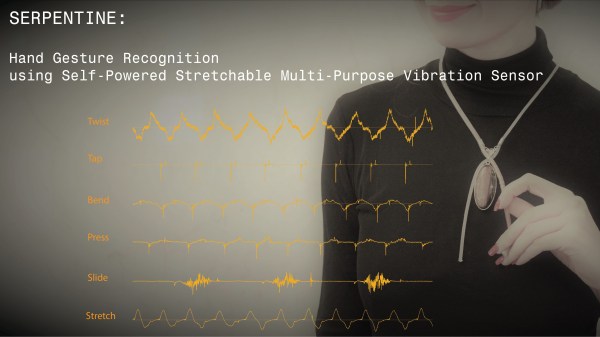
Serpentine is a gesture sensor that’s the equivalent of a membrane potentiometer, flex and stretch sensor, and more. It’s self-powering and can be used in wearable hacks such as the necklace shown in the banner image though we’re thinking more along the lines of the lanyard for Hackaday conference badges, adding one more level of hackability. It’s a great way to send signals without anyone else knowing you’re doing it and it’s easy to make.
Serpentine is the core of a research project by a group of researchers including [fereshteh] of Georgia Tech, Atlanta. The sensor is a tube made of a silicone rubber and PDMS (a silicone elastomer) core with a copper coil wrapped around it, followed by more of the silicone mix, a coil of silver-coated nylon thread, and a final layer of the silicone mix. Full instructions for making it are on their Hackaday.io page.
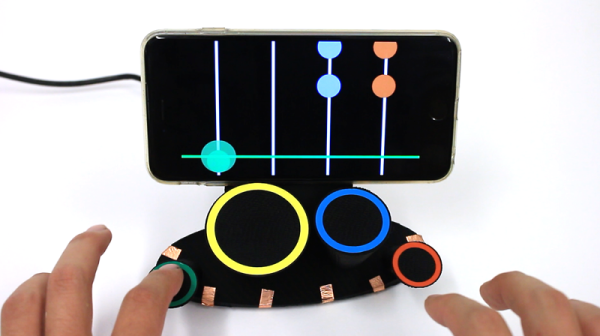
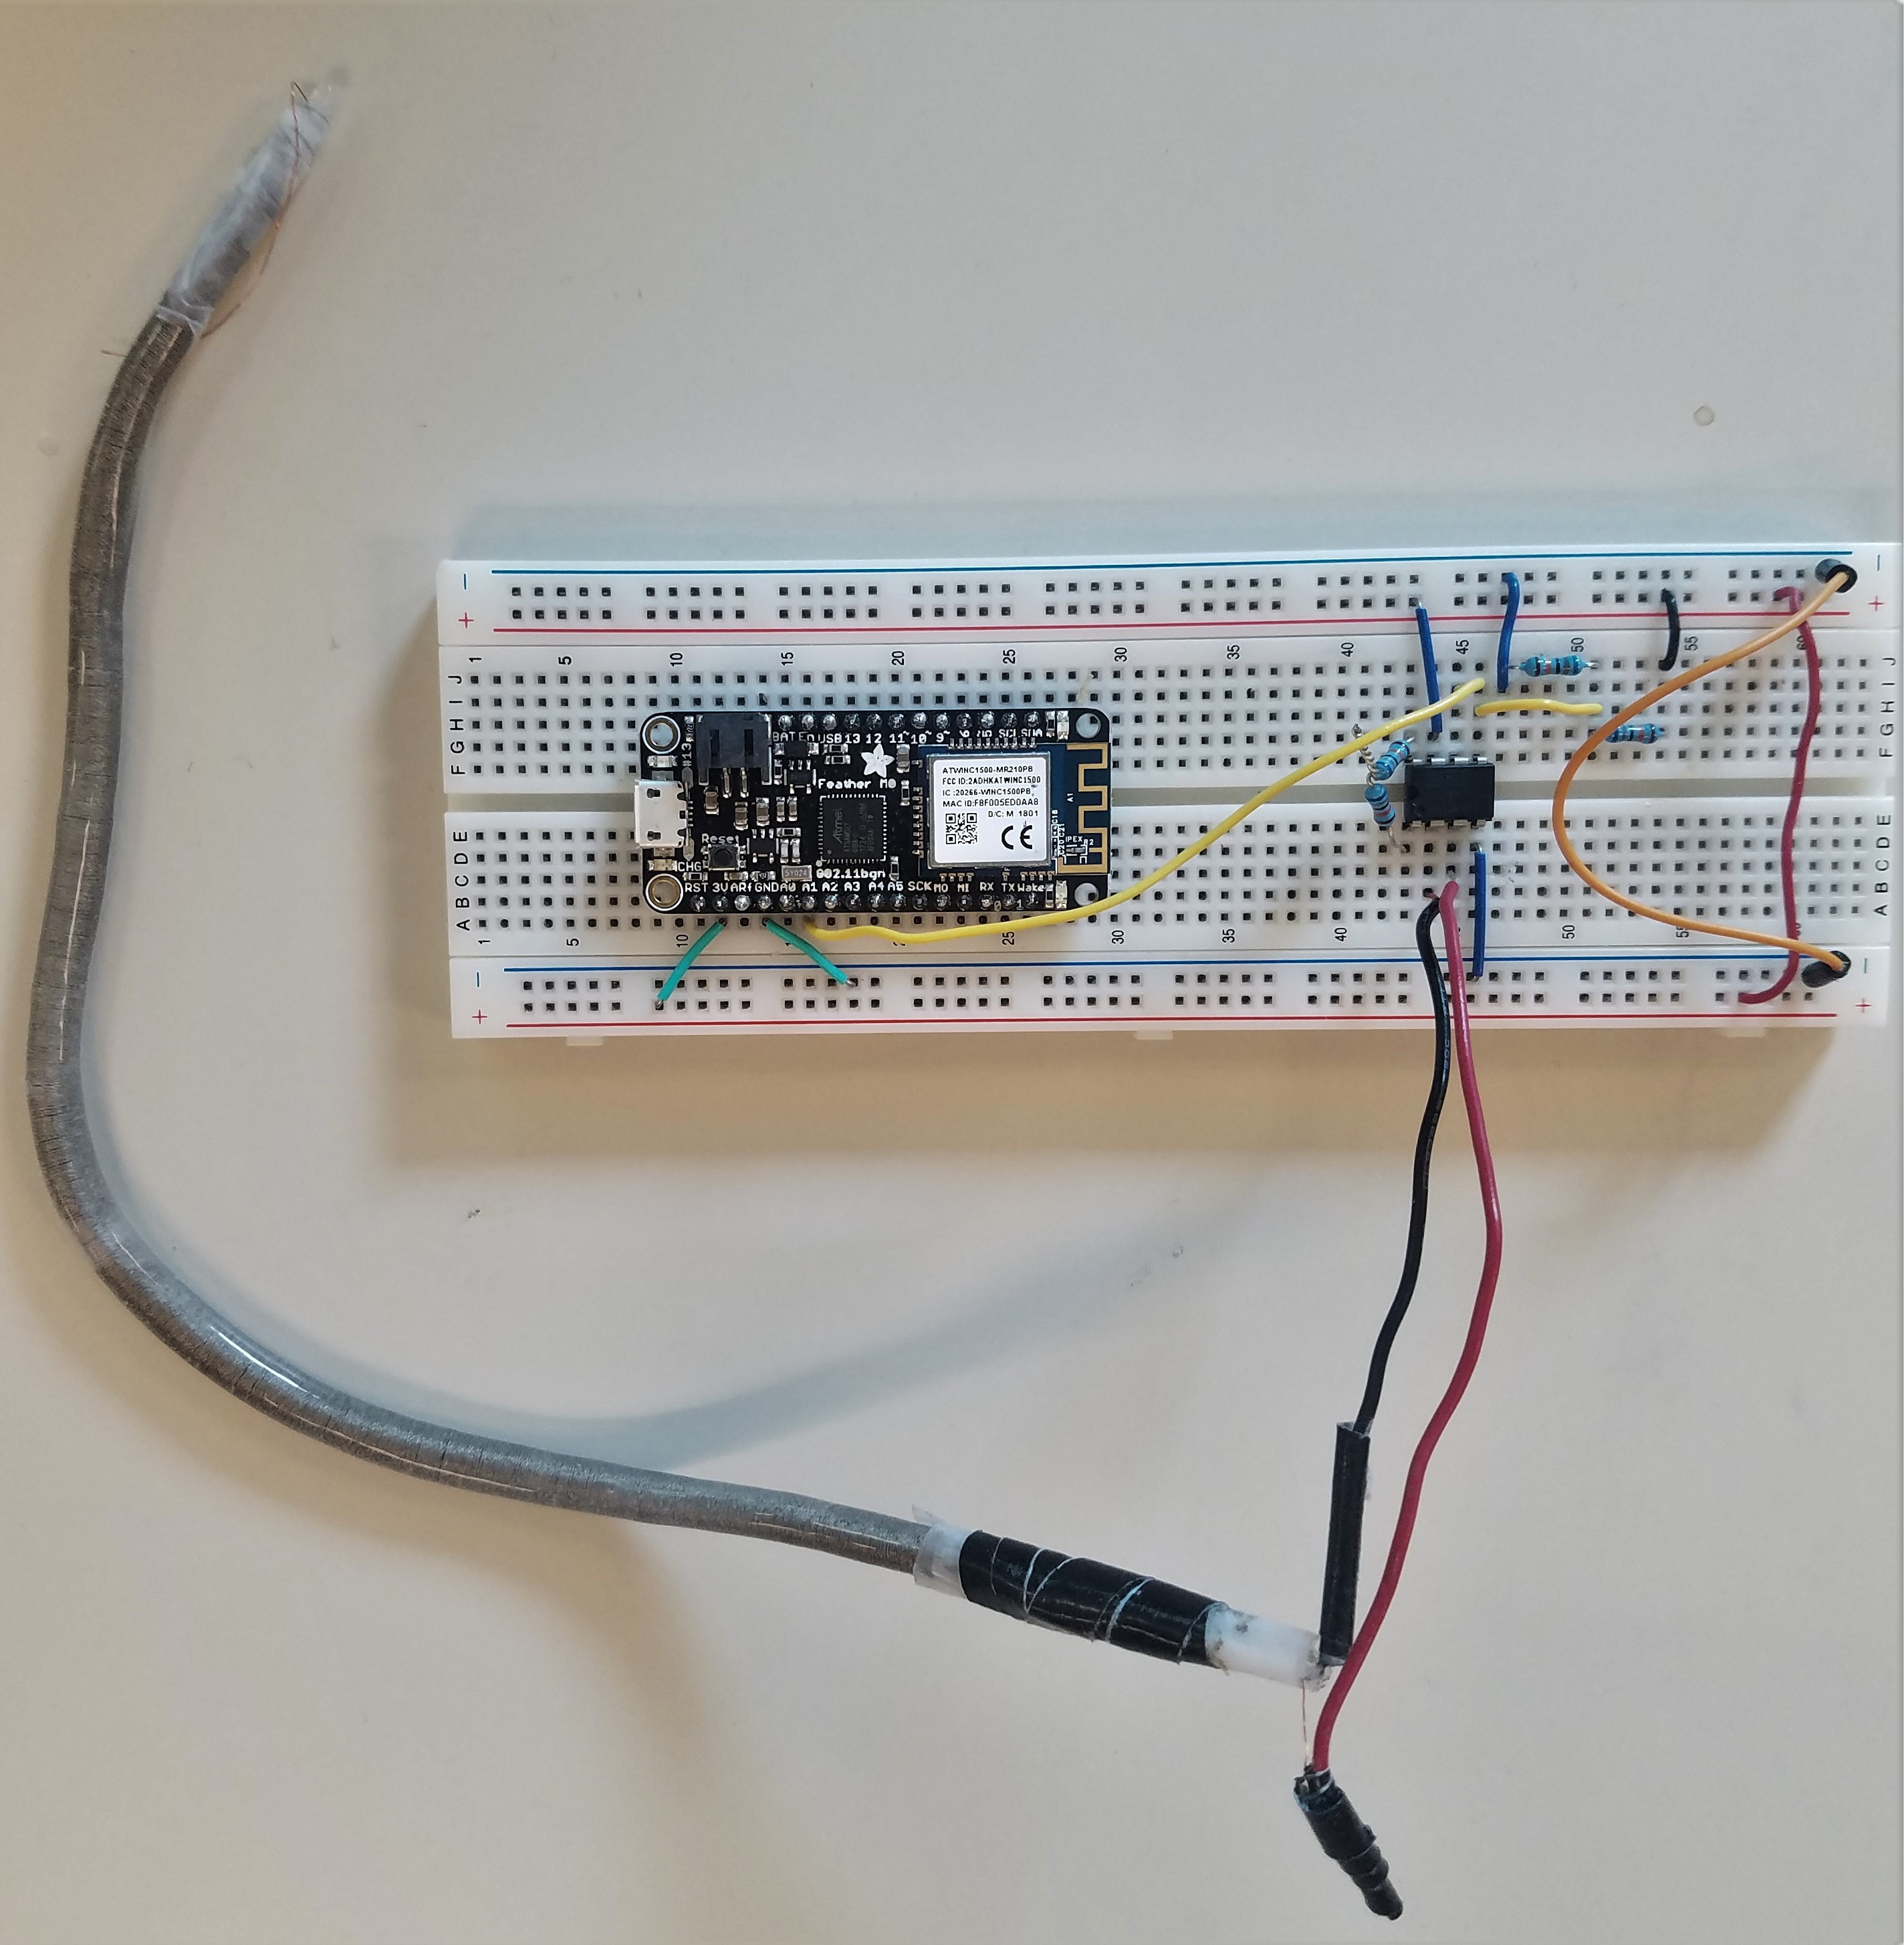
There are three general interactions you can have with the tube-shaped sensor: radial, longitudinal, and tangential. Doing various combinations of these three results in a surprising variety of gestures such as tap, press, slide, twist, stretch, bend, and rotate. Those gestures result in signals across the copper and silver-coated nylon electrodes. The signals pass through an amplifier circuit which uses WiFi to send them on to a laptop where signal processing distinguishes between the gestures. It recognizes the different ones with around 90% accuracy. The video below demonstrates the training step followed by testing.
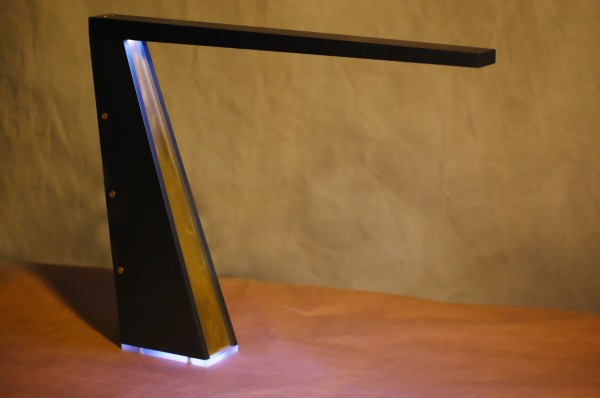
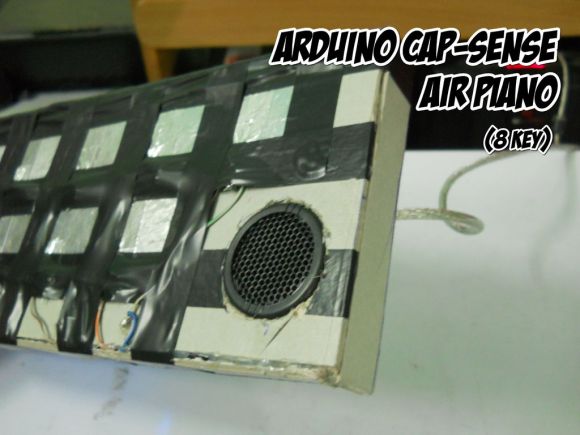
Serpentine works as a result of the triboelectric nanogenerator (TENG) phenomenon, a mix of the triboelectric effect and electrostatic induction but fabrics can be made which use other effects too. One example is this fabric keyboard and theremin which works in part using the piezoelectric effect.
Continue reading “There Are Multiple Ways To Gesture With This Serpentine Sensor”