The era of mainframe computers and directly programming machines with switches is long past, but plenty of us look back on that era with a certain nostalgia. Getting that close to the hardware and knowing precisely what’s going on is becoming a little bit of a lost art. That’s why [Phil] took it upon himself to build this homage to the mainframe computer of the 70s, which all but disappeared when PCs and microcontrollers took over the scene decades ago.
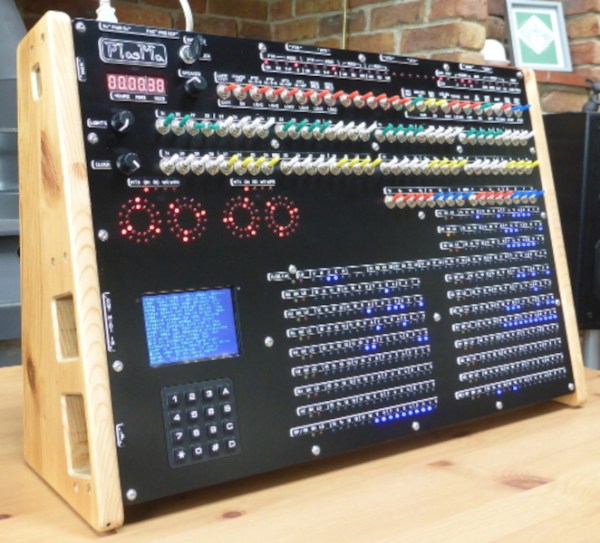
The machine, known as PlasMa, is not a recreation of any specific computer but instead looks to recreate the feel of computers of this era in a more manageable size. [Phil] built the entire machine from scratch, and it can be programmed directly using toggle switches to input values into registers and memory. Programs can be run or single-stepped, and breakpoints can be set for debugging. The internal workings of the machine, including the program counter, instruction register, accumulator, and work registers, are visible in binary lights. Front panel switches let you control those same items.
The computer also hosts three different microcodes, each providing a unique instruction set. Two are based on computers from Princeton, Toy-A, and Toy-B, used as teaching tools. The third is a more advanced instruction set that allows using things like emulated peripherals, including storage devices. If you want to build one or just follow along as the machine is constructed, programmed, and used, [Phil] has a series of videos demonstrating its functionality, and he’s made everything open-source for those more curious. It’s a great way to get a grasp on the fundamentals of computing, and the only way we could think of to get even more into the inner workings of a machine like this is to build something like a relay computer.