One of the most illuminating high school courses no doubt for many readers as much as for your scribe, was the series of physics lessons during which the SI units were explained. That glorious sense of having the order of the universe unlocked into an interlocking series of units whose definitions could all be derived in terms of a series of base units was mind-blowing in those early teen years, and even though the explanations might have been at a for-the-children level that has been blown out of the water by later tiers of learning it’s still a bedrock that will serve an engineer or scientist life-long.
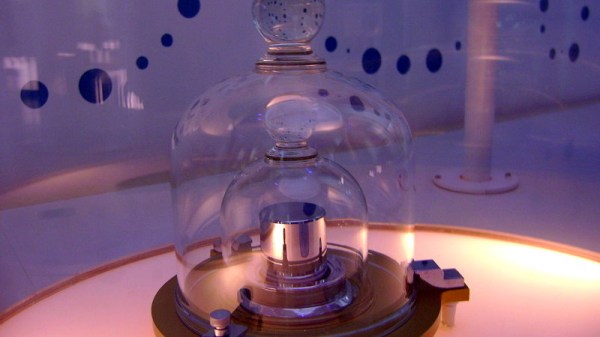
The definitions of the SI base units have evolved with scientific advancement to the point at which they are no longer tied to their original physical entity definitions. Of all the base units though there is still one that has resisted the urge to move away from the physical: the kilogramme (giving it its French spelling to preserve context) is still defined in terms of a metal cylinder in a laboratory just outside Paris. Kg diehards have not much time left to cling onto their platinum-iridium alloy though, for a new definition has been adopted in which it is derived from Planck’s Constant. From next May this will become the official kilogram, at which point concerns over microscopic erosion of the metal standard become irrelevant, and an SI kilogram can be replicated by any laboratory with the means to do so.
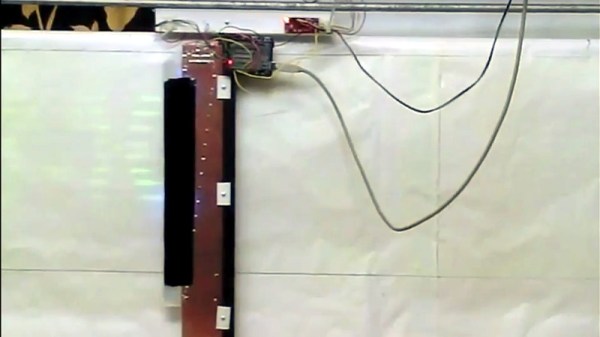
The piece of apparatus that makes this definition possible is the Kibble balance, a balance in which the force required to overcome the effect of gravitational force on a given mass is measured in terms of the electrical power required to do so. The gravitational force at a given point can be measured accurately and is defined in terms of the other SI units, while the electrical power can be derived from a Josephson junction, a superconducting junction whose current is defined in terms of Planck’s constant. As a result, the kilogram can be measured solely in terms of the constant and other SI units, consigning the metal cylinder to history.
This high-end metrology and physics make for interesting reading, but it’s fairly obvious that the de facto kilogram we all use will not change. Our everyday measures of everything from sugar to PLA filament will be the same today as they will be next May. But that’s not the point, everyday measurements do not need the extreme accuracy and reproducibility of a laboratory. The point of it all comes in as yet unforseen applications, as an example would the ability to synchronise timing to create GPS or digital radio have been possible were the second to be still defined in terms of astronomical movements rather than atomic states?
Standard kilogramme replica picture: Japs 88 [CC BY-SA 3.0]