Whether we’re talking about Gibson’s Sprawl or our increasingly dystopian reality, one of the defining characteristics of a cyberdeck is that it can be easily customized and upgraded over time. While a few of the builds we’ve covered over the last couple of years have focused more on style than substance, we really appreciate the designs that embrace the concept of modularity to make sure the system can evolve to meet the changing demands of hacking on the go.
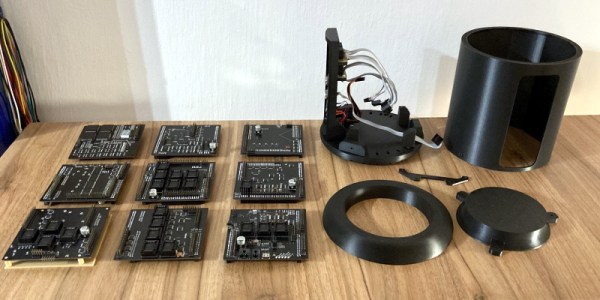
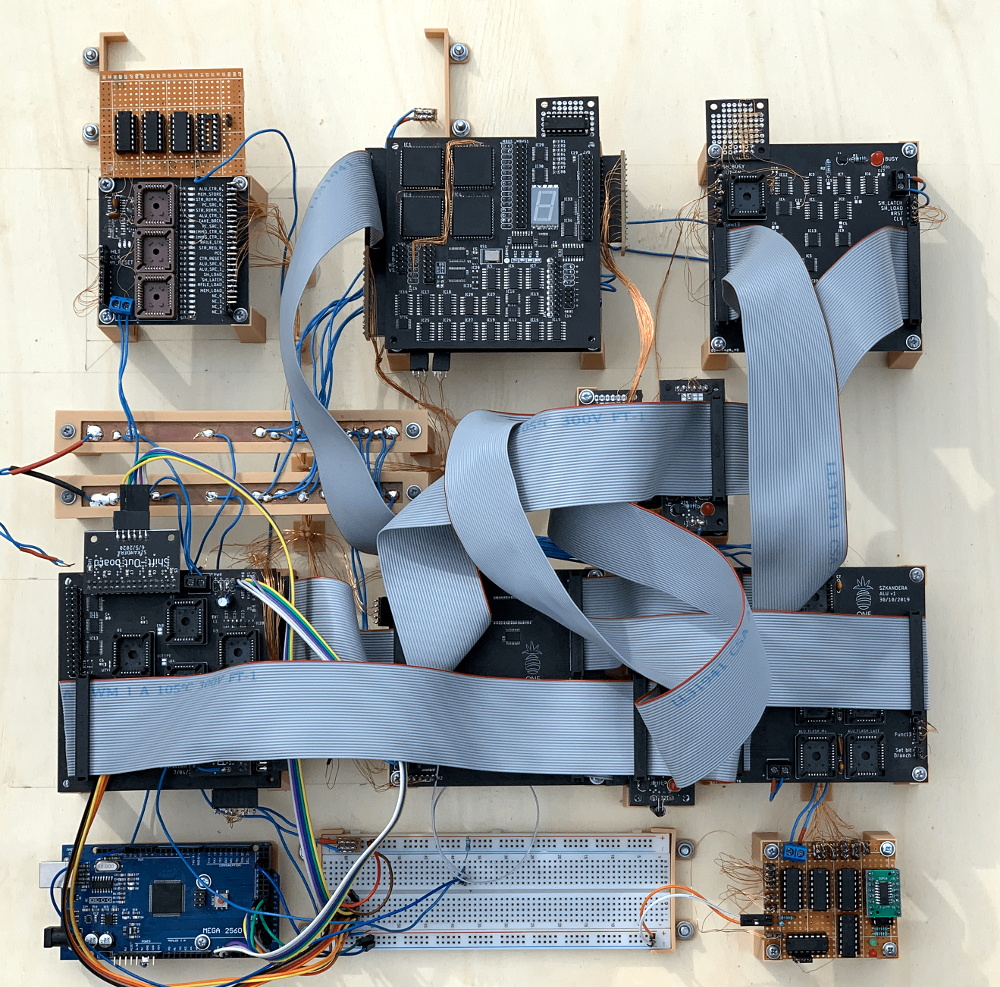
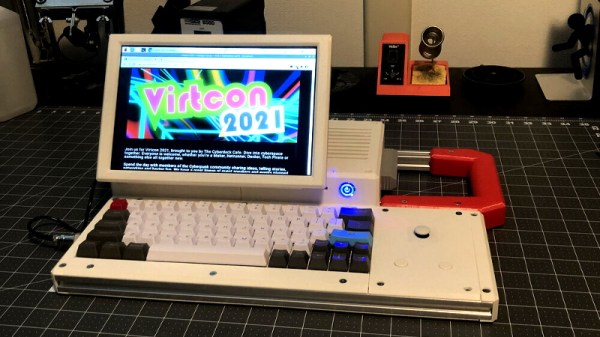
To that end, the M3TAL from [BlastoSupreme] is a perfect example of what a cyberdeck should be. Naturally it’s got the cyberpunk aesthetics we’ve come to expect, but more importantly, it’s designed so modifications and repairs are as quick and painless as possible. The trick is the use of a 2020 aluminum extrusion frame, which allows external panels and components to be attached anywhere along the length of the deck using T-Nuts. Similarly, by mounting internal components to “sleds” that ride between the pieces of extrusion, the electronics can easily be removed or swapped out as complete modules.
Furthering the idea of expandability, [BlastoSupreme] included an authentic 3.5 floppy drive on the M3TAL that allows him to pack an incredible 1.44 MB onto each rugged and portable disk. OK, so maybe the floppy drive isn’t terribly impressive compared to 2021 tech, but it does seem oddly appropriate for a cyberdeck. On the opposite side of the deck there’s a RetroCART slot, which cloaks modern USB devices in clunky faux cartridges. This provides a unified physical format for everything from removable storage to microcontrollers and software defined radio receivers.
Continue reading “Heavy Metal Cyberdeck Has An Eye Towards Expansion”