Dremel’s attempt at breaking into the 3D printer market back in 2014 was respectable, if not particularly exciting. Rather than design their own printer, their 3D20 “Idea Builder” was a lightly customized Flashforge Dreamer (itself a Makerbot Replicator clone) with a new warranty and support contract tacked on. It wasn’t necessarily the 3D printer of choice for the hacker and maker crowd, but it was a fairly solid option for folks who wanted a turn-key experience.
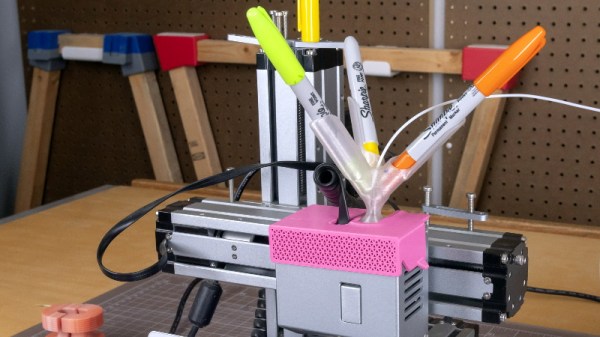
[Chris Chimienti] says he got about 1,000 hours of printing out of his 3D20 before it gave up the ghost. Given the age of the machine and its inherent limitations, he decided to use the Dremel’s carcass as the base for a very impressive custom 3D printer with all the modern bells and whistles. He kept the enclosure, rods, bearings, and the stepper motors, but pretty much everything else was tossed out. Some of the replacements are off-the-shelf parts, but it’s the custom designed elements on this build that really help set it apart.

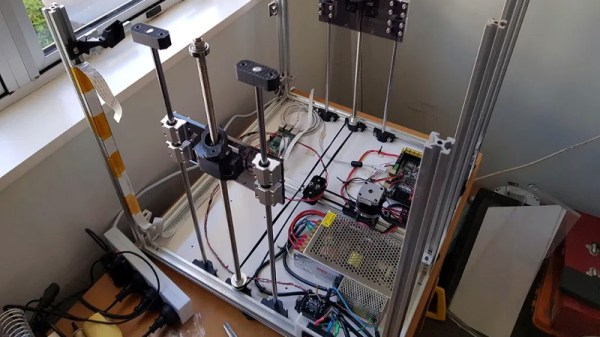
Under the machine, [Chris] has installed a new power supply and a Duet 2 WiFi controller which itself is connected to the new LCD control panel on the front. There’s an external case fan to keep the electronics cool, but otherwise things look a lot neater under the hood than they did originally.
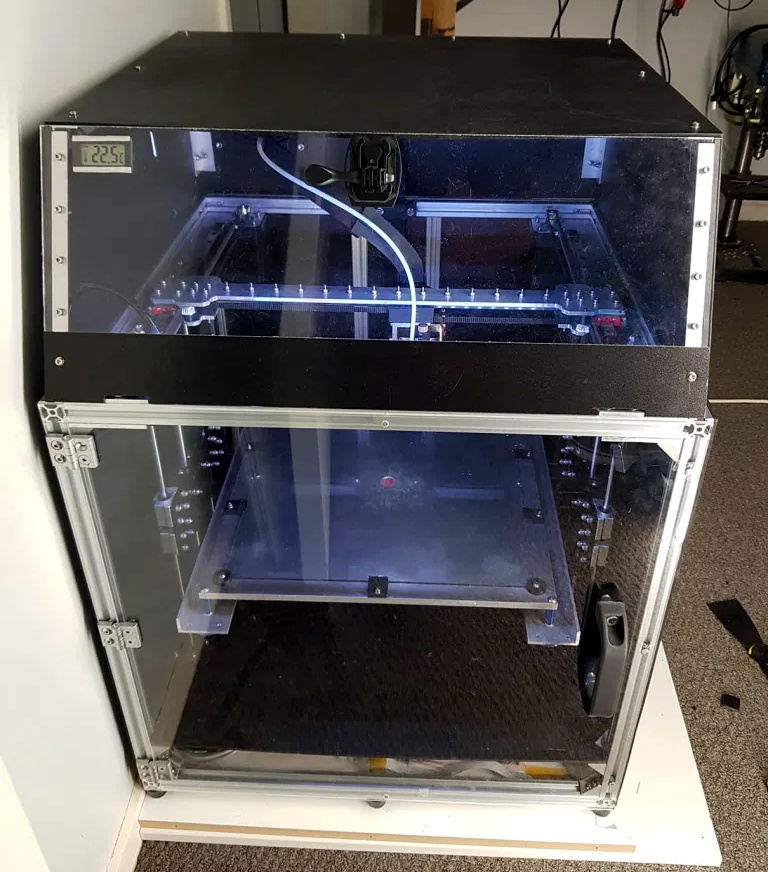
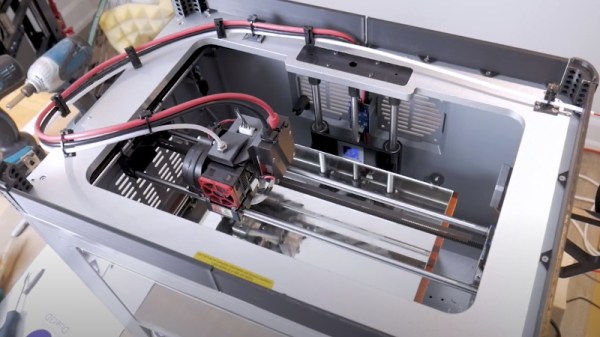
Moving upwards, he’s designed a gorgeous adjustable print bed and a new extruder assembly that cleverly uses RJ45 jacks and Ethernet cables to connect back to the control board. All told, the custom components have taken this once relatively mid-range 3D printer and turned it into something that looks like it wouldn’t be out of place on the International Space Station.
While custom 3D printer builds like this still trickle in from time to time, we’re seeing far fewer now than we did back when machines like the 3D20 hit the market. Most people are more than satisfied with commercial entry-level desktop printers, and aren’t looking for yet another project to tinker with. There’s nothing wrong with that, though we certainly wouldn’t complain if the recent interest into more advanced high-temperature filaments triggered something of a bespoke 3D printer renaissance.