In a perfect world, all of our electronic devices would come with complete documentation, and there’d be open source libraries available for interfacing them with whatever we wanted. There’d never be arbitrary lockouts preventing us from using a piece of hardware in a way the manufacturer didn’t approve of, and the “cloud” wouldn’t be a black-box server in some data center on the other side of the planet, but a transparent and flexible infrastructure for securely storing and sharing information.
Unfortunately, that’s not the world we live in. What’s worse, rather than moving towards that electronic utopia, the industry appears to be heading in the opposite direction. It seems like every month we hear about another service shutting down and leaving viable hardware to twist in the wind. Just yesterday Google announced they’d be retiring their Stadia game streaming service early next year — leaving users with unique Internet-connected controllers that will no longer have a back-end to communicate with.

Luckily for us, there’s folks like Matthew [wrongbaud] Alt out there. This prolific hacker specializes in reverse engineering, and has a knack not just for figuring out how things work, but in communicating those findings with others. His conquests have graced these pages many times, and we were fortunate enough to have him helm the Introduction to Reverse Engineering with Ghidra class for HackadayU back in 2020. This week, he stopped by the Hack Chat to talk about the past, present, and future of reverse engineering.
Matthew got his start in reverse engineering during college, when he was working in a shop that specialized in tuning engine control units (ECUs). He was responsible for figuring out how the ECUs functioned, which ultimately would allow them to be modified to improve engine performance beyond the vehicle’s stock configuration. Sometimes that involved uploading modified calibration data, or disabling functions that were detrimental to engine performance. These software changes could potentially increase engine output by as much as 50 HP, though he says that sometimes the goal was to simply increase throttle response so the vehicle would feel more aggressive on the road.
Moving on to the tools of the trade, Matthew explained why he prefers using Ghidra for embedded targets over classic reverse engineering tools like IDA Pro. As an example he points to a recent project where he used Ghidra’s API and intermediary language PCode to crack passwords in Game Boy Advance games. Though he does mention that IDA still has its place if you’re looking to peek into some Windows C++ software.
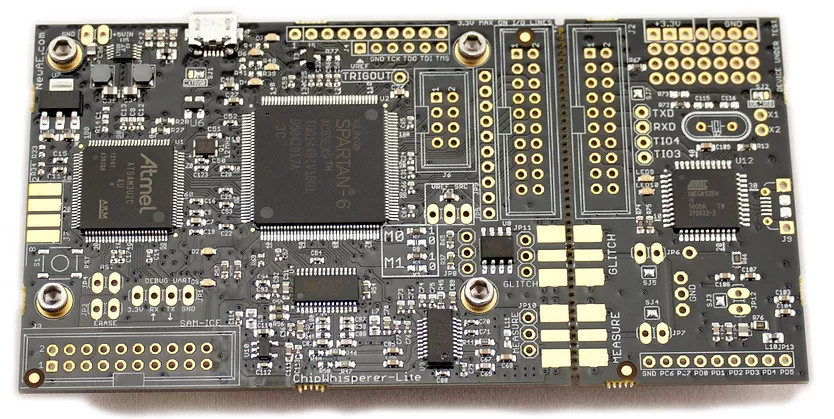
Matthew also pointed to new techniques and tools for working with fault injection which have opened up a lot of exciting possibilities over the last few years. In fact, he says tools like ChipWhisperer will become invaluable as newer devices adopt advanced security features. When gadgets are using secure boot and encrypted firmware, gaining access is going to take a bit more than just finding an unleaded serial port on the board. Glitching attacks will become more commonplace, so you might as well get up to speed now.
To that end, Matthew pointed out a number of instructional courses that he and other hardware hackers such as Joe Grand have put together for those who want to get started with practical reverse engineering and have some disposable income. For those who’d rather work though it on their own, he dropped links to several Capture-the-Flag (CTF) events and wargames you can use to hone your skills.
We’d like to thank Matthew Alt for not just stopping by the Hack Chat, but for being such a good friend to the Hackaday community. His work has been inspirational for all of us here, and it’s always exciting when he’s penned a new blog post detailing another challenge bested. The next time your favorite MegaCorp releases some anti-consumer gadget, you can take some comfort in knowing he’s still out there bending hardware to his will.
The Hack Chat is a weekly online chat session hosted by leading experts from all corners of the hardware hacking universe. It’s a great way for hackers connect in a fun and informal way, but if you can’t make it live, these overview posts as well as the transcripts posted to Hackaday.io make sure you don’t miss out.