Hackers can be a strange folk. Our idea of beauty, for instance, can be rather odd. This week, Hackaday saw a few projects that were not just functional – the aesthetics were the goal. I don’t think we’ll be taking over the fine art world any time soon, but I’m absolutely convinced that the same muse that guides the hand that holds the paintbrush sometimes also guides the hand holding the soldering iron.
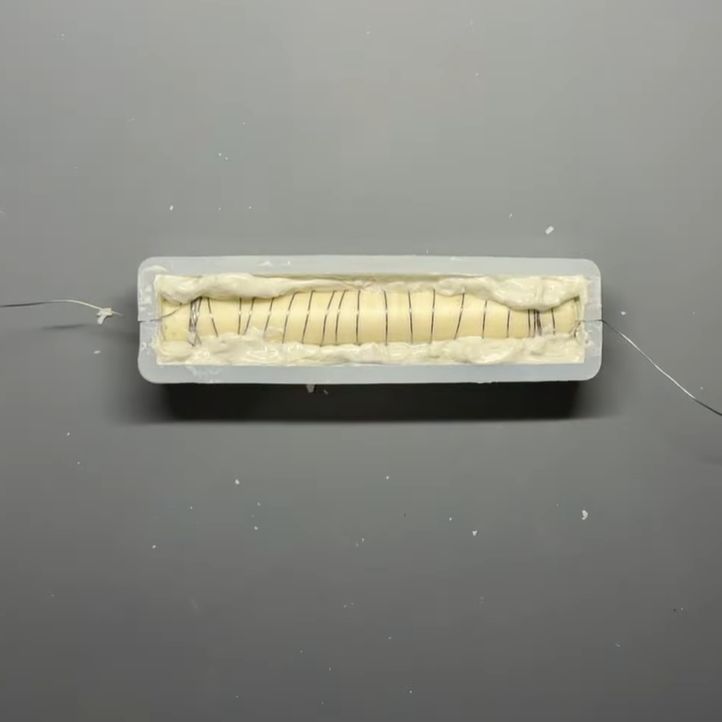
Take “circuit sculpture”, for instance. Heck, we even give it an art-inspired name that classifies it correctly. This week’s project that got me thinking about the aesthetics of hand-bent wire circuits was this marvelous clock build, but the works of Mohit Bhoite or Kelly Heaton are also absolute must-sees in this category.
 Outside of the Hackaday orbit, one of my all-time favorite artists in this genre was Peter Vogel, who made complex audience-reactive sound sculptures that looked as good as they sound.
Is a wireframe animated moving jellyfish art? It was certainly intended to be beautiful, and I personally find it so. Watch some of the video clips attached to the project to get a better sense of it.
In the sculpture world, there is a sub-genre of kinetic art pieces where the work itself is secondary to the beauty of the motions that the pieces pull off. Think ballet, but mechanical. Perhaps my absolute favorite of these artists is Arthur Ganson. If you haven’t seen his work before, check out “Thinking Chair” for the beauty of movement, but don’t miss “Machine with Concrete” if you’re feeling more conceptual.
If you’re willing to buy an insane geartrain as art, what about these 3D printed wire strippers? Is this “art”? It’s clear that they were designed with real intent and attention to the aesthetics of the final form, and am I wrong for finding the way they move literally beautiful?
What’s your favorite offbeat hacker artform?