I’m at Chaos Communication Congress this weekend, and it’s like being surrounded by the brightest, most creative, and being honest, nerdiest crowd imaginable. And that’s super invigorating.
But because of the pandemic, this is the first in-person conference in four years, and it’s been a rather unsettling time in-between. There are tons of unknowns and issues confronting us all, geeks or otherwise, at the moment. I know some people who have fallen prey to this general malaise, and become more or less cynical.
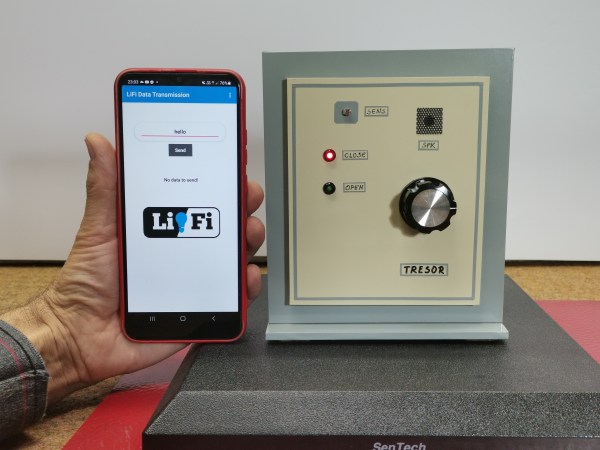
Especially in this context, watching a talk about an absolutely bravado hack, or falling into a conversation that sparks new ideas, can be inspiring in just the right way to pull one out of the slump. Every talk is naturally a success story — of course they are, otherwise they wouldn’t be up there presenting.
But all of the smaller interactions, the hey-why-didn’t-I-think-of-that moments or the people helping each other out with just the right trick, that give me the most hope. That’s because they are all around, and I’m sure that what I’m seeing is just the tip of the iceberg. So stick together, nerds, share your work, and don’t give up!