Sometimes the best hacks come from the most basic of questions. In this case, [CNLohr] was wondering what would happen if he started to reduce the clock speed of the ESP8266’s Baseband PLL (BBPLL) while still trying to communicate with it. You know, as one does. The results ended up being fairly surprising, and while it’s not immediately clear if there’s a practical application for this particular trick, it’s certainly worth some additional research.

The idea here is that the BBPLL is the reference clock for the entire system, including all of the peripherals. So underclocking it doesn’t just slow down code execution as you might expect, but it also slows down the chip’s interactions with the outside world. [CNLohr] demonstrates this concept in the video below, showing how the baud rate used to view the serial output from the ESP8266 needs to be adjusted to match the chip’s frequency or else you’ll only get garbage on the line.
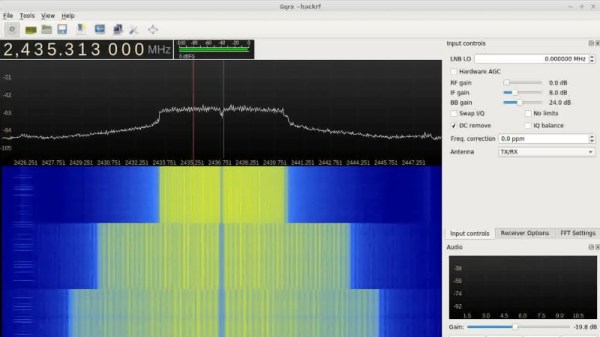
But what happens to the WiFi? As [CNLohr] discovered, while the center frequency itself doesn’t change, the channel width gets narrower as the clock rate is lowered. When viewed on the waterfall display of a software defined radio (SDR), the transmission can be seen “compressing” in a step pattern as the clock rate is reduced. As one might expect, the 802.11 packets become indecipherable to a normal WiFi device running in monitor mode. The signal is still at the correct frequency, but the devices can no longer understand each other.
Now it was time for another of those basic questions. What would happen if you did the same thing to a second ESP8266? Much to his surprise, [CNLohr] discovered that the two devices could still communicate successfully as long as their BBPLL clock speed was the same. From an outsider’s perspective it looked like gibberish, but to the two ESPs which had been slowed by the same amount, everything worked as expected even though the 802.11 standards say it shouldn’t.
So what can you do with this? The most obvious application is a “stealth” WiFi connection between ESP8266s which wouldn’t show up to normal devices, a communications channel invisible to all but the most astute eavesdropper. [CNLohr] has made all the source code to pull this trick off public on GitHub, and it should be interesting to see what kind of applications (if any) hackers find for this standards-breaking behavior.
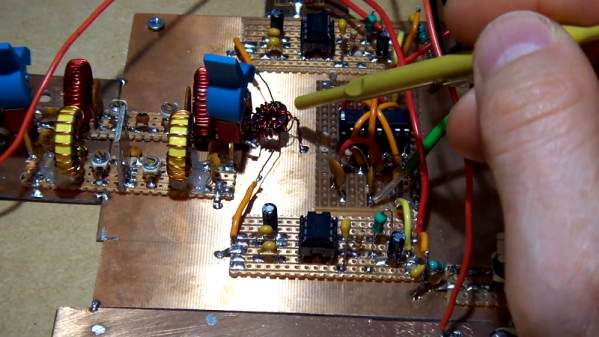
If your thing is devices being forced into operations they were never intended to by particularly twisted hackers, check out our recent coverage of the USB serial adapter turned SDR by [Ted Yapo].
Continue reading “Underclocking The ESP8266 Leads To WiFi Weirdness”