Some of you may have heard of the ROMulator, a device that can emulate RAM and ROM on 6502-based computers. But how does it work? How do you use it? What computers is it compatible with? [Jeff Tranter] covers that and more in his review of the ROMulator 6502.
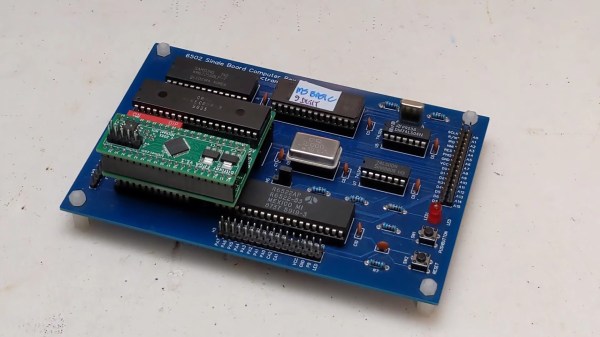
The ROMulator is an FPGA-based board that slots between the 6502 and its socket on whatever computer it came from. It can emulate, but not intercept, accesses to RAM and ROM, which can be used to e.g. replace a ROM that you’re swapping very often or expand the RAM available to the CPU.
In his review, [Jeff] shows the ROMulator in action many computers, notably his custom 6502-based computer, a replica of an Apple 1 and two different replicas of the SUPERBOARD 2. He shows how the ROMulator can be configured, tested, used to debug the computers and even expand their RAM. Overall, [Jeff] thinks it’s a useful 6502 debugger that would have saved him lots of time in the past and we definitely agree.
Continue reading “Debug Your Senile Computers With The ROMulator”