“Look with your eyes, not your hands” is something many of us have heard while growing up, but that doesn’t apply to the touch-sensitive microscope [Steve Mould] got to play with.

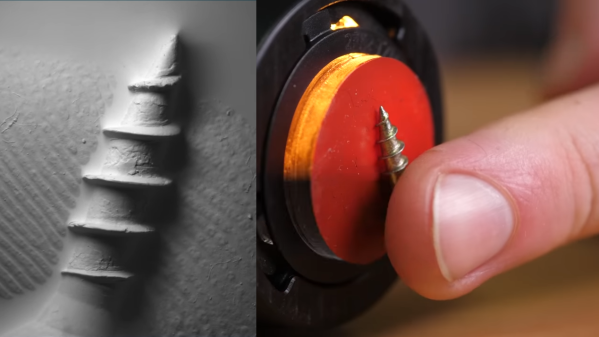
The wand-like device is made by Gelsight, and instead of an optical lens like a normal microscope, it sports a gel pad on the sensing end. By squashing an object into the gel, the device is able to carefully illuminate and image the impression created. By taking multiple images lit from different angles, a lot of information can be extracted.
The result is a high-resolution magnification — albeit a monochromatic one — that conveys depth extremely well. It’s pretty neat clearly seeing tiny specks of dust or lint present on surfaces when [Steve] demonstrates imaging things like coin cells.
Many a hacker knows that the devil is in the details when it comes to executing an idea. Even so, the basic principles of the Gelsight seem simple enough and possibly within the realm of inspired DIY in the same way that we saw a CNC gantry and USB microscope repurposed as an optical comparator.
Watch the Gelsight in action in the video below, embedded below the page break.
Continue reading “Behold A Microscope That Sees By Squashing Things Into It”