When examining a project, it’s easy to be jaded by a raw parts list. When the main component is an ESP8266, we might say “oh, another 8266 project. yawn!” But we’re certain that when you take a look at [Will Fox]’s Foxie CardClock, it’ll surely grab your attention.
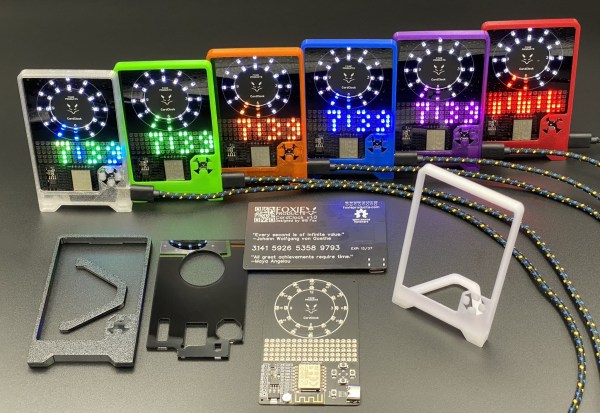
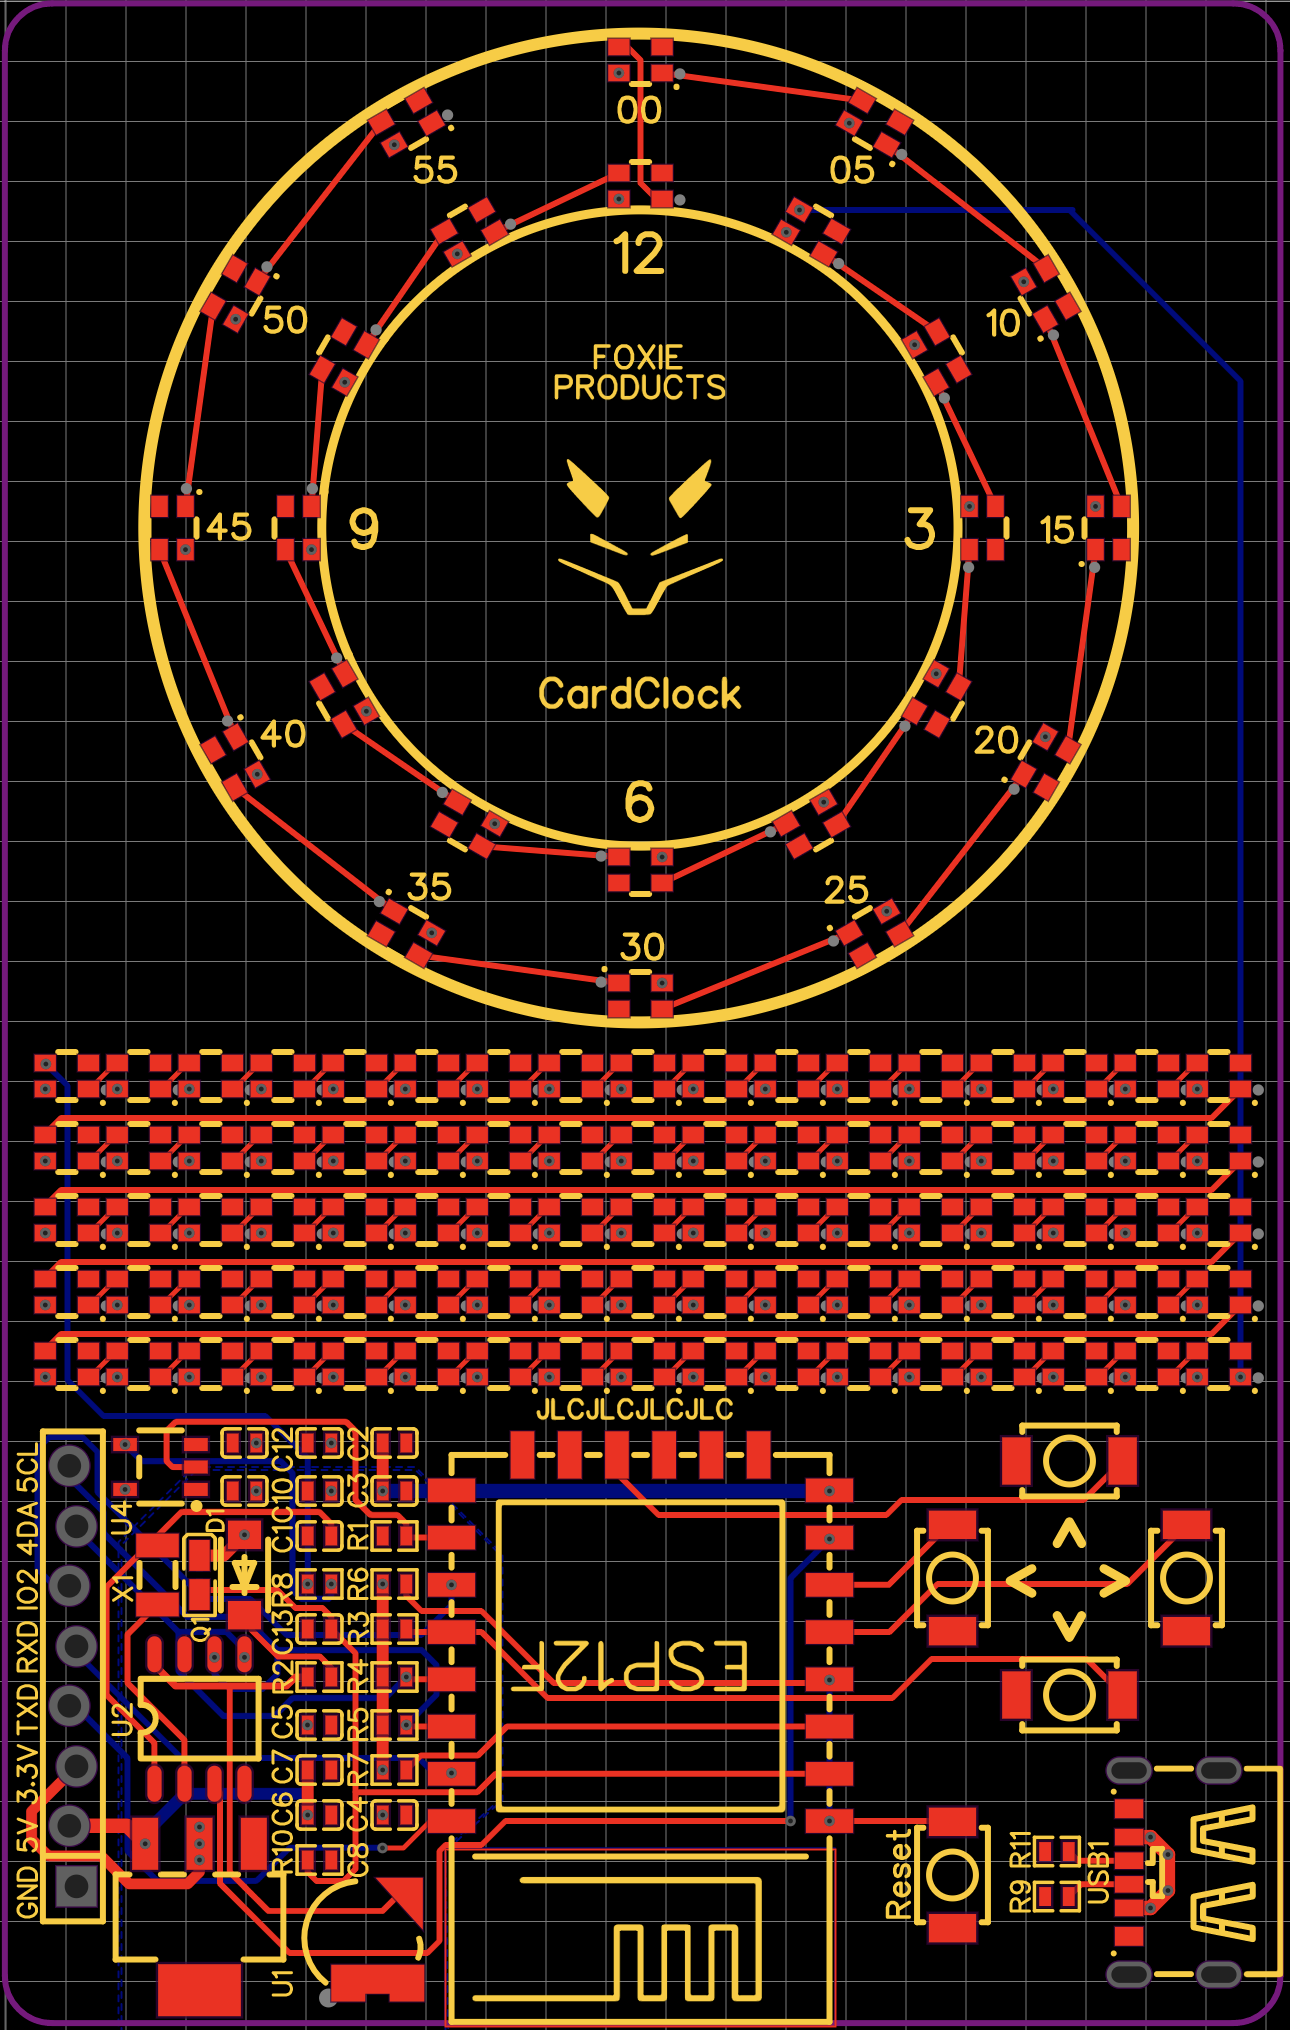 As if all those beautiful LEDs weren’t enough, the rest of the device’s specifications are quite impressive. The core components might be common, but what often separates such projects is the software. With Over The Air updates supported via ArduinoOTA, updates are a snap. A light sensor helps to keep all those LEDs at a sane level, and a once-per-minute synchronization via NTP keeps the time accurate. Even if power is lost, a super-capacitor can hold the time accurate for up to two days with the built in RTC module. There’s even provisions for setting the time using the buttons on the front panel should you want to keep the gadget offline.
The entire project is open source, with the hardware released under the CERN Open Hardware Licence Version 2 and the firmware source code distributed as GPLv3. Users are encouraged to hack and modify the design, and all the information you need to build one of your own is available in the project’s GitHub repository. [Will] also offers a pre-assembled version of the clock for just $45 USD, but unfortunately it seems to be out of stock at the time of this writing.
If credit card sized hacks are your chosen area of interest, you will appreciate this crystal radio made from an actual Credit Card. Thanks to [Abe] for submitting the Tip!