[Konrad Dybcio] tells about his journey booting Linux on A7/8/8X processors, playing around with an old iPhone 5 he’s got in a drawer. It’s been a two-year “revisit every now and then” journey, motivationally fueled by the things like Linux on M1 Macs announcement. In the end, what we have here is a way to boot mainline Linux on a few less-than-modern but still very usable iPhones, and a fun story about getting there.
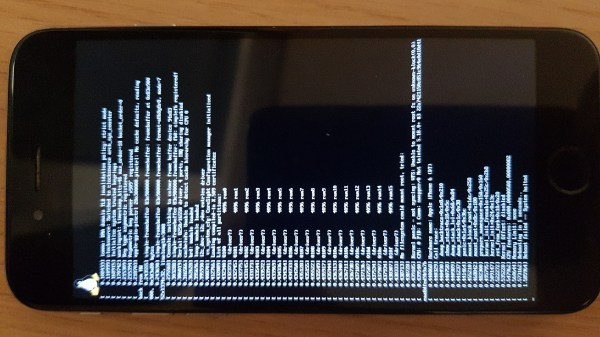
[Konrad]’s work is based on the Sandcastle project research, but he couldn’t quite figure out how to make their code work, and had to make sense of it as he went. At some point, he got stuck on enabling the MMU, which was the main roadblock for a while. Joined by another developer intrigued by Apple hardware, they were hacking away at it, developing tools and neat tricks on their way, but to no avail. With the framebuffer accessible and no other decent debugging methods in sight, he tells about a code snippet they wrote that printed register values as valid barcodes Continue reading “Boot Mainline Linux On Apple A7, A8 And A8X Devices”→
One of the drawbacks of being an early adopter is that you might end up investing in equipment that becomes obsolete rather quickly. Although it’s clear that electric vehicles are here to stay, those who bought a charging station for their EV a few years ago may find it slow and incompatible with modern cars or billing networks, necessitating an upgrade to one of the latest models.
If you don’t mind tinkering, these older chargers can provide an excellent base to construct your own state-of-the-art charging station, as [James] over at Diary-of-a-Geek did. He bought a Chargepoint CT2000 series charger and installed a brand-new charging unit inside based on OpenEVSE components. The CT2000 is an older model that’s no longer manufactured, and although it can still connect to Chargepoint’s network, a subscription renewal would cost several thousand dollars. [James] was not willing to make that investment for a unit that he was going to install at home anyway, so he decided to buy replacement parts from OpenEVSE, a supplier of open-source EV charging stations and components.
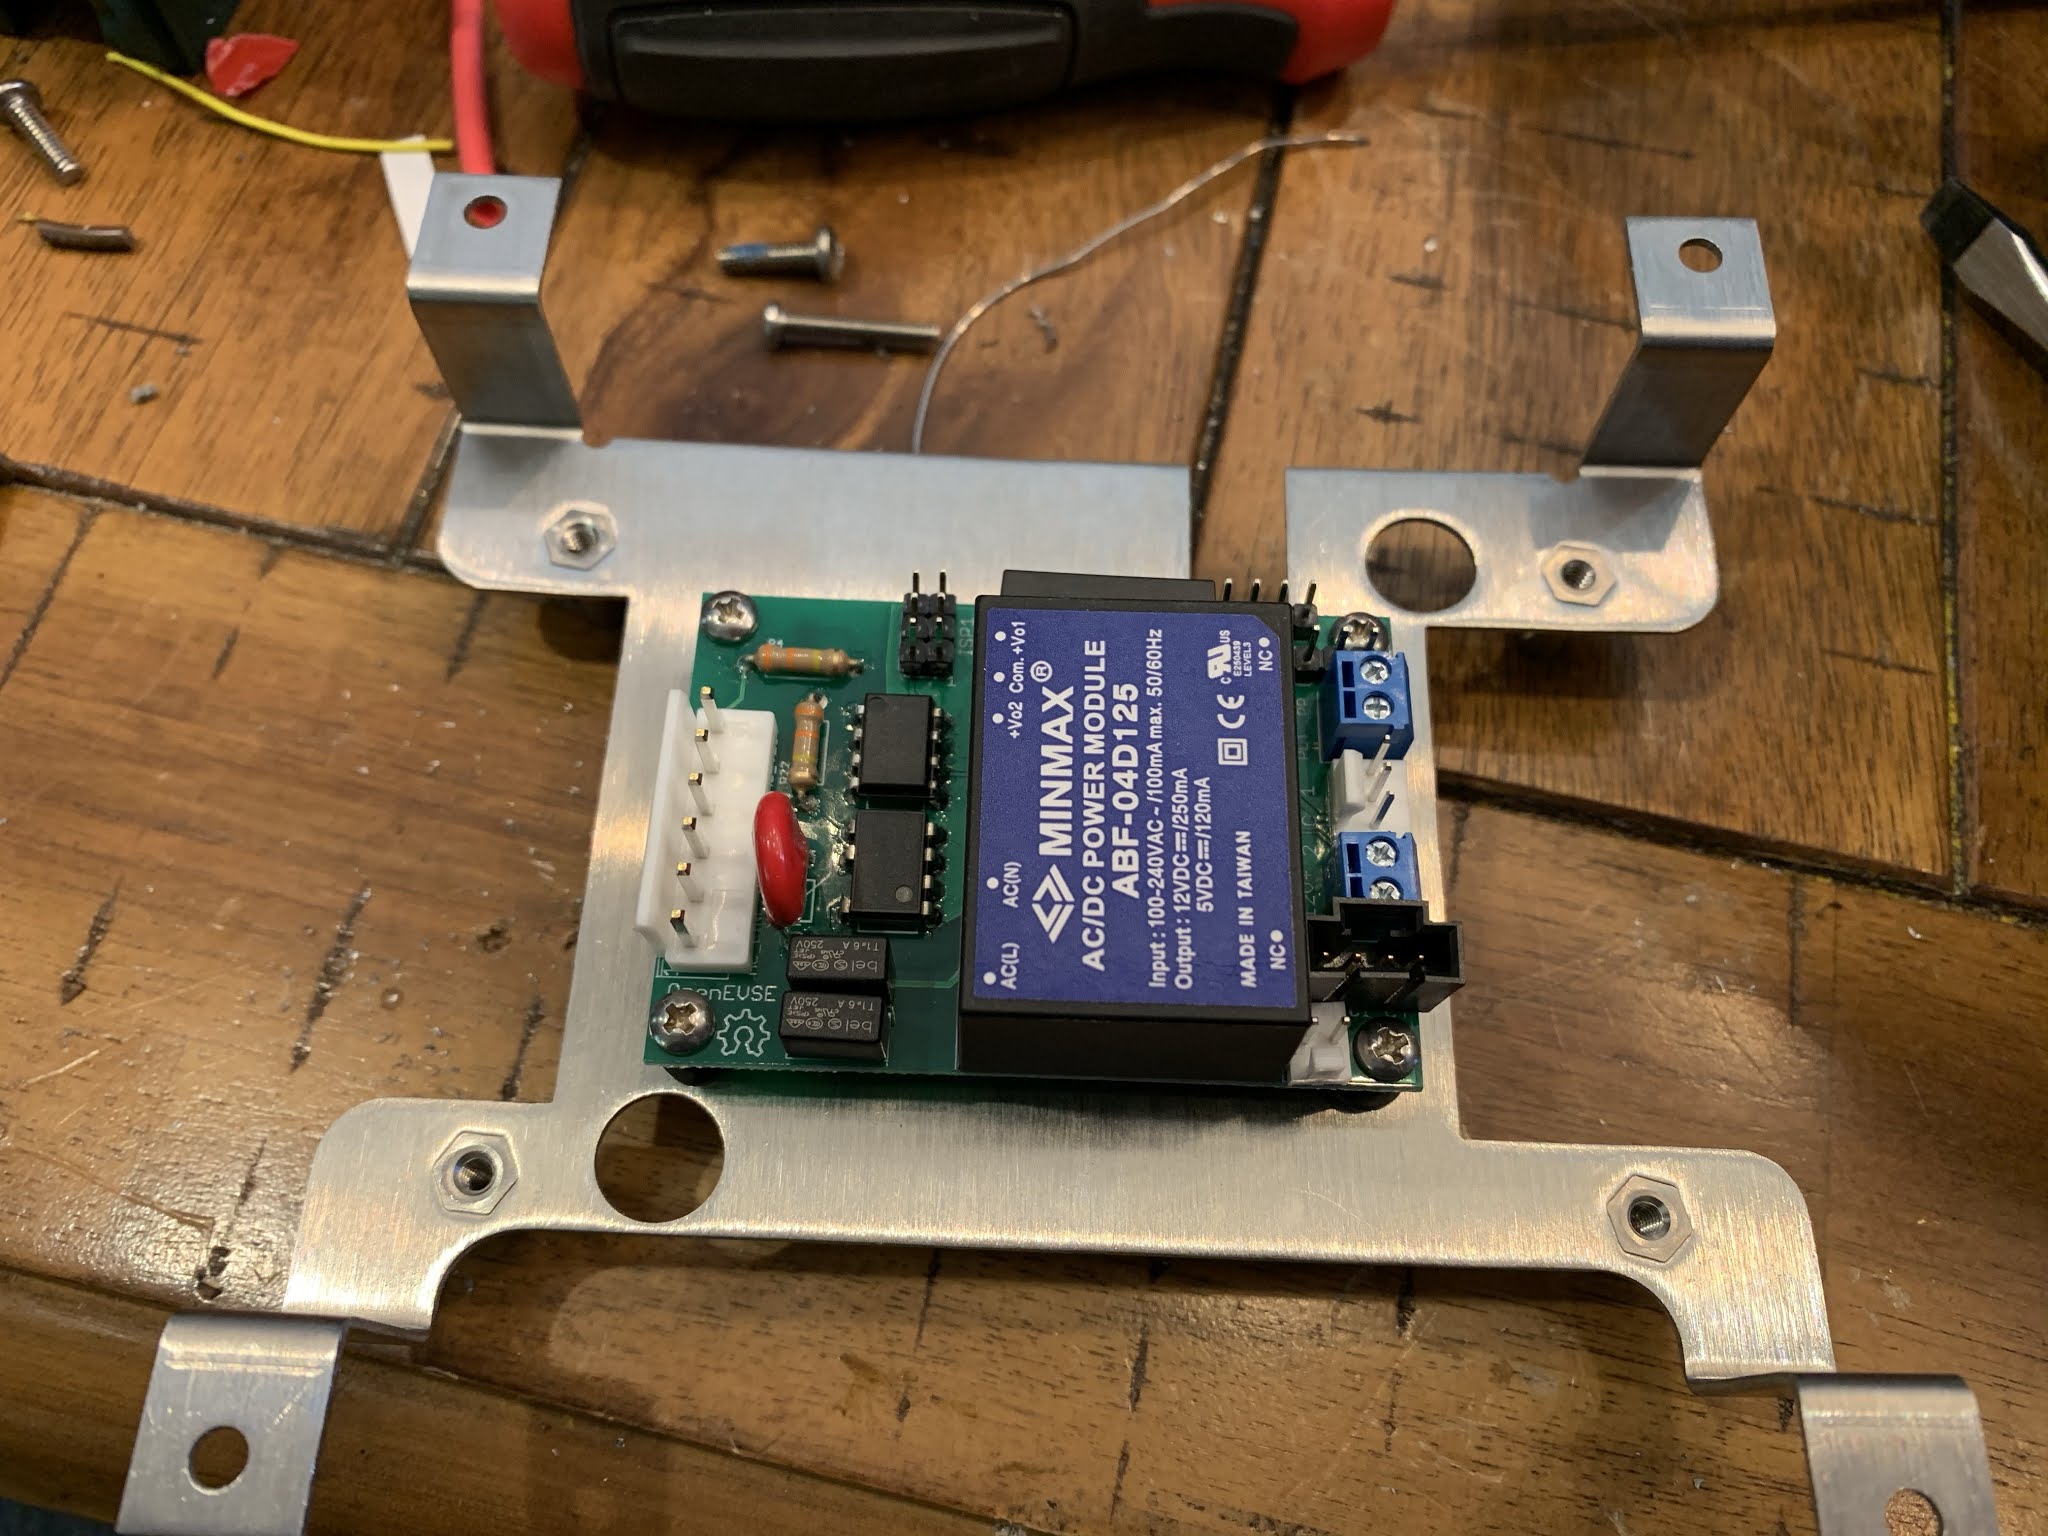
The OpenEVSE charging controller sitting on the ChargePoint bracket
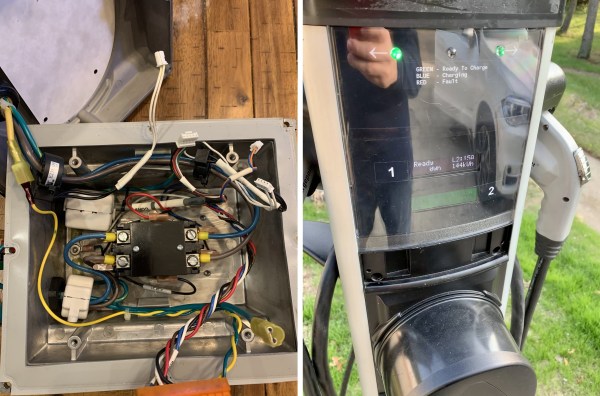
The insides of a charging station are actually pretty simple, since the real battery charger is inside the car: the station just contains a beefy contactor to switch the AC current on or off, along with some circuitry to measure the current flowing and an interface to connect to a payment network of some sort. The first step therefore was to hook up the contactor and current transformer to the OpenEVSE controller. This was easy since the new part was way smaller than the original and could simply be mounted onto an existing bracket.
The second step was to provide the user interface and network connections. [James] removed the displays and wireless systems from the head unit and cut a large hole into the front to provide space for new LCD displays. A set of status LEDs plus WiFi connections completed the system, which now looks just as professional as the original. Tests showed that the LCDs were hard to read in bright sunlight, so [James] replaced them with OLED displays, but otherwise the renovated charging station worked perfectly.
Of course, working with high voltages and large currents requires the proper skills and tools, which [James] clearly has available; he also stresses the importance of including a ground-fault circuit interruptor in any equipment placed outdoors. He isn’t the only one to make his own charging station either. If you’re confused by the many types of EV charging connectors, have a look at our recent article describing all those different plugs and sockets. Thanks for the tip, [Kevin]!
We’ve seen hackers run DOOM on a variety of appliances, from desk phones to pregnancy tests. Now, the final frontier has been conquered – we got DOOM to run on an x86 machine. Of course, making sure we utilize your PC hardware to its fullest, we have to forego an OS. Here are two ways you can run the classic shooter without the burden of gigabytes of bloated code in the background.
[nic3-14159] implemented this first version as a payload for coreboot, which is an open-source BIOS/UEFI replacement for x86 machines. Some might say it’s imperfect — it has no sound support, only works with PS/2 keyboards, and exiting the game makes your computer freeze. However, it’s playable, and it fits into your BIOS flash chip.
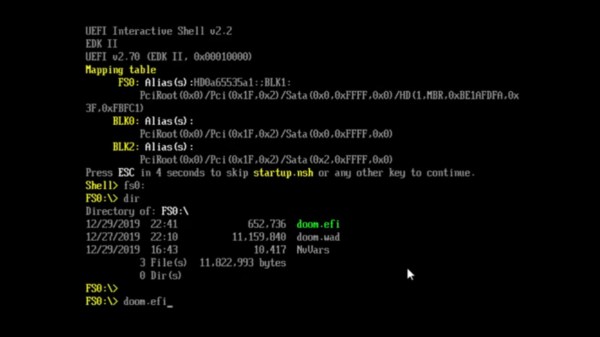
But what if your computer hasn’t yet been blessed with a free BIOS replacement? You might like this UEFI moduleDOOM port instead, originally made by [Warfish] and then built upon by [Cacodemon345]. To play this, you only need to compile the binary and an UEFI shell, then use the “Load EFI Shell” option in your UEFI menu – something that’s widely encountered nowadays. This version also lacks sound, but is a bit more fully featured due to all the facilities that UEFI provides for its payloads.
Of course there’s far more efficient ways to slay demons on your computer, but even if they aren’t necessarily practical from a gaming standpoint, these two projects serve as decent examples of Coreboot and UEFI payloads. BIOS replacements like coreboot take up so little space, we’ve even seen Windows 3.1 fit alongside coreboot in the BIOS chip. Wondering what UEFI is, even? Here’s a primer for you. And, if you don’t mind the exceptional bloat of a stripped-down Linux install, here’s a Linux image built from the ground up to run DOOM specifically.
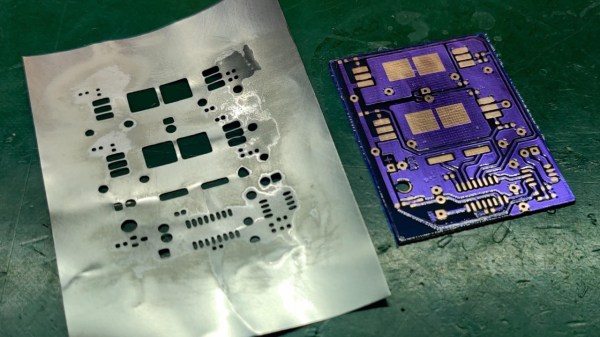
Sometimes it might seem as if your electronics are just jinxed. For [Niva_v_kopirce] it was the control board of his nephew’s RC car that kept frying the transistors. In situations like this, you can either throw it in the bin, invest your time in troubleshooting, hoping to find the error and try to fix it then, or get creative. He chose the latter, and designed and etched a replacement board.
Of course, etching your own PCB isn’t that noteworthy for the average Hackaday reader, although [Niva_v_kopirce] did go the extra mile and added purple solder mask to it, turning the stylishness definitely up to 11. This is also where it gets interesting, when you think of the solder mask as complementary layer for a solder paste stencil. Growing tired of manually applying solder paste, he thought to give a DIY stencil a try this time — using a beer can.
After cutting the can open and flattening it, along with some sanding, he transferred the cutouts from the solder mask onto it, and started etching holes in it. While the result may not be exactly precise, it did the job, especially for a homemade built.
Despite their convenience, stencils are still a rather exotic addition for hobbyists as they rarely pay off for a one-off project with limited SMD component usage. But maybe this was a new inspiration for you now. And if etching metal is outside your comfort zone, cutting plastic can be an alternative, as well as 3d printing.
If you worked with computers back in the 1970s, there’s a good chance you used a light pen at some point: a simple input device that you’d point at the CRT screen to highlight text, choose menu options or manipulate graphic objects. Although ubiquitous in those days, the light pen lost the battle for ergonomics to the humble mouse and was all but extinct by the late 1980s. Touchscreen styluses implement a similar function today, but touching the screen somehow doesn’t feel the same as simply pointing at it.
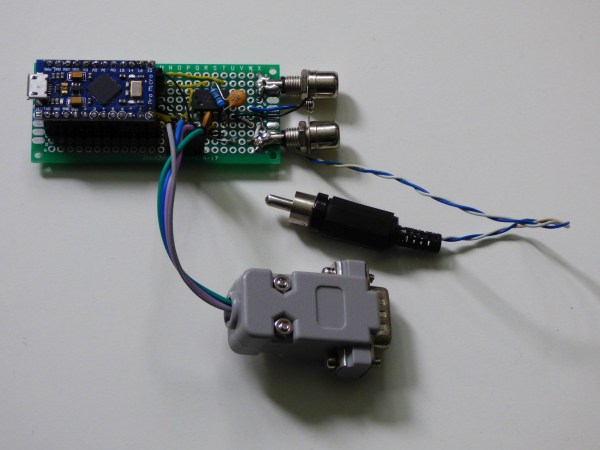
We therefore applaud [Maciej Witkowiak]’s efforts to bring the light pen into the 21st century by building a USB interface for a Commodore 64/128 light pen. At its heart is an Arduino Micro Pro that implements the USB HID protocol to communicate with any modern computer. It connects to the classic light pen as well as to the computer’s analog display signal and uses those to calculate the delay between the video synchronization pulses and the light pen’s output. The sync pulses are extracted from the video signal by an LM1881, a sync separator chip that will be familiar to anyone who’s worked with analog video signals.
The Arduino calculates the light pen’s position based on the measured timing intervals and reports it to the computer, using the absolute positioning mode that’s also used by things like drawing pads. [Maciej] demonstrates his system in the video embedded below, in which he uses it to operate the menus on an X window system. A great success then, although there’s one catch: light pens only work on CRT displays, so you’ll need to drag one of those big glass beasts out of storage if you want to try this yourself.
For a large part of human history, people made things from what they could find. Some stones make arrowheads. Others make sparks. Trees can turn into lumber. But the real power is when you can take those same materials and make them into something with very different properties. For example, plant fibers turning into cloth, or rocks giving up the metals inside. One of the oldest engineered materials is glass. You’d think as old as glass is (dating back at least 4,500 years), we’d understand all there is to know about it by now. According to an interesting post by [Jon Cartwright] writing in Physics World, we don’t. Not by a long shot.
According to [Jon] there are at least five “glassy mysteries” that we still don’t understand. Sure, it is easy to just melt sand, soda, and lime — something we’ve talked about before — but, in fact, many materials can turn glassy when cooled quickly from liquid to solid. The problem is, we don’t really understand why that happens. Continue reading “Glass: Classic, But Mysterious”→
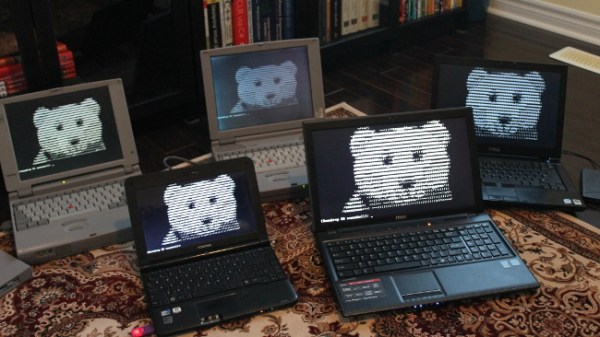
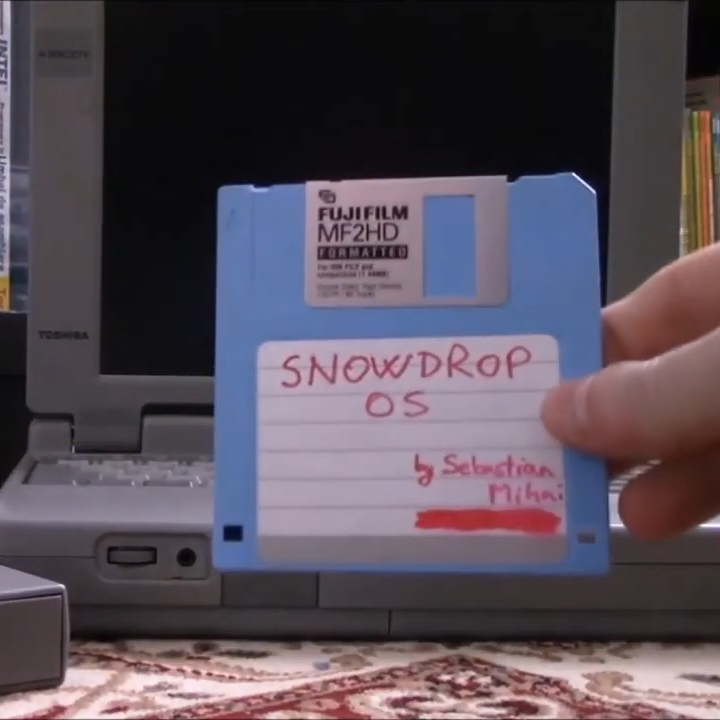
Ever wondered what it would take to roll your own OS? [Sebastian]’s Snowdrop OS might just provide you with some insight into that process, and maybe even some inspiration.
[Sebastian] created Snowdrop completely from scratch, using only x86 assembly language. It’s more than just bare-bones, and boasts a number of useful utilities and programs including a BASIC interpreter and linker (for creating standalone BASIC executables.) That’s not even touching on the useful essentials, like multitasking and a GUI framework. There are even a number of resources specifically for making game development easier. Because as [Sebastian] puts it, what’s a operating system without games?
Interested in giving Snowdrop a try, or peek at the source code? The binaries and sources section has all you need, and the other headings at the top of the page will send you to the various related goodies. If you have a few minutes, we recommend you watch a walkthrough of the various elements and features of Snowdrop in this video tour (embedded after the page break.)
Snowdrop is an ambitious project, but we’re not surprised that [Sebastian] has made it work; we’ve seen his low-level software skills before, with his fantastic efforts around the classic stand-up arcade game, Knights of the Round.