Any smartphone or laptop could be a talking clock if you wished it so. However, we think this build from [Marek Więcek] is more fun, which uses discrete vintage chips to get the job done the old fashioned way.
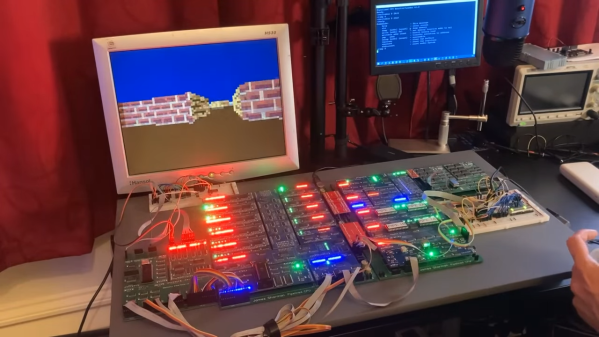
The work started when [Marek] was tinkering with a 65C02 CPU, giving it an EPROM, some RAM, and some logic ICs to create something akin to a modern microcontroller in functionality. It came to be known as the 6502 Retro Controller Board. Slowly, the project was expanded with various additional modules, in much the same way one might add shields to an Arduino.
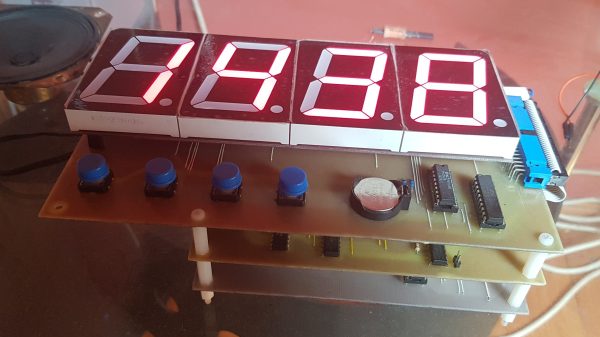
In this case, [Marek] expanded the 6502-powered board with a series of 7-segment displays, along with an RTC to keep accurate time. A classic SP0256-AL2 speech synthesis chip was then added, allowing the system to not only show the time, but read it aloud, too. As a bonus, not only can it tell you the hour, minute, day, and date, but it will also read various science-fiction quotes on demand.
Like most 80s speech synths, the output is robotic and a little difficult to parse. However, that’s part of the charm that makes it different compared to the speaking virtual assistants of today.
Continue reading “2022 Hackaday Prize: Talking Clock Built With Old-School Gear”