For those of you who haven’t spent time in North America around this time of year, you may be unaware of two things: one, the obligatory non-stop loop of “All I Want For Christmas Is You” retail workers are subjected to starting November first, and two: there is a strong cultural association between Christmastime and model railroading that may not exist elsewhere. That may down to childhood memories of when we got our first trainsets, or an excellent postwar marketing campaign by Lionel. Either way, now that Mariah Carey is blaring, we’re thinking about our holiday track layouts. Which makes this long presentation on Wiring for Small Layouts by [Chicago Crossing Model Railroad] quite timely.
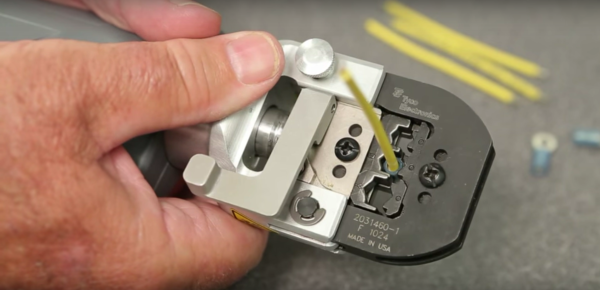
There are actually three videos in this little course; the first focuses mostly on the tools and hardware used for DCC wiring (that’s Digital Command Control), which will be of less interest to our readers– most of you are well aware how to perform a lineman’s splice, crimp connectors onto a wire, and use terminal blocks.
The second two videos are actually about wiring, in the sense of routing all the wires needed for a modern layout– which is a lot more than “plug the rheostat into the tracks in one spot” that our first Lionel boxed set needed. No, for the different accessories there are multiple busses at 5V, 12V and 24V along with DCC that need to be considered. Unsurprisingly enough given those voltages, he starts with an ATX power supply and breaks out from there.
Even if you’re not into model railroading, you might learn something from these videos if you haven’t done many projects with multiple busses and wire runs before. It’s far, far too easy to end up with a rats nest of wires, be they DCC, I2C or otherwise. A little planning can save some big headaches down the line, and if this is a new skill for you [Chicago Crossing Model Railroad] provides a good starting point for that planning. Just skip ahead a couple minutes for him to actually start talking if you don’t want the musical cliff notes montage at the start of the videos.
If you don’t have any model trains, don’t worry, you can 3D print them. Lack of room isn’t really an excuse.
Continue reading “Wiring Up The Railway, All The Live-Long Day” →