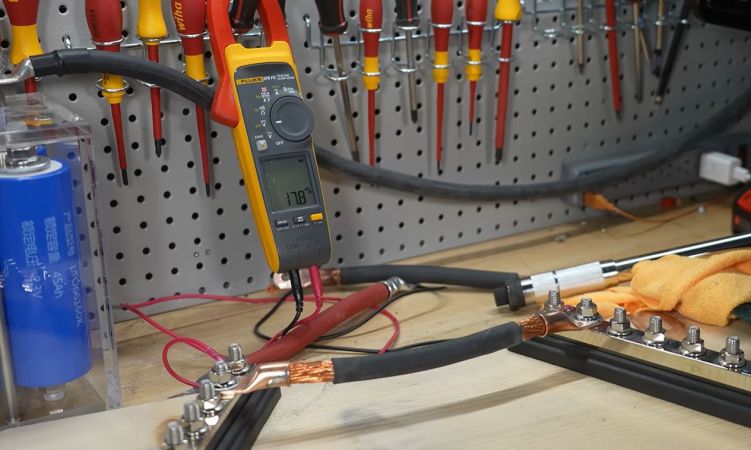
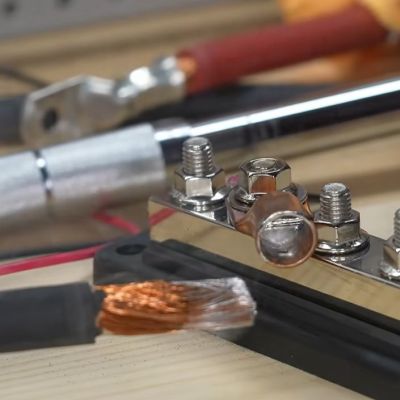
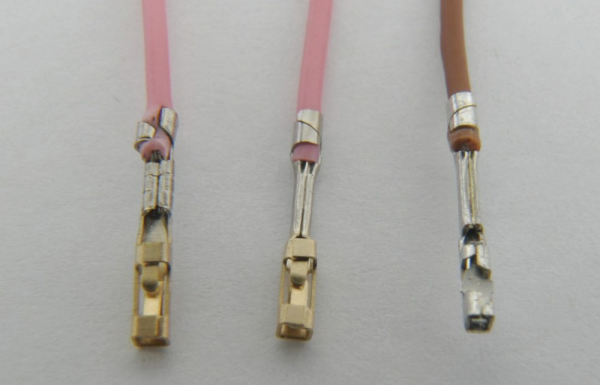
For some reason there’s heated debate around the topic of whether high current carrying wiring ought to use crimped or soldered connections, even though the industry standard is to crimp everything. As a practical demonstration of why this is the case, [Will Prowse] set up a test involving a rig capable of dispensing a few hundred amps through both a crimped and a soldered copper cable.
Prior to making things go spicy, [Will] made sure to check the resistance of the two cables, noting that the soldered version had significantly lower resistance than the crimped connectors. This could be one metric that proponents of soldered connectors can point to as a benefit.
Of course, the main benefit of crimping is that you create a cold weld if crimped properly, which is a sold-state welding process that effectively blends two metal surfaces together. This is also why wire wrap is generally considered to be so very reliable, as it creates a gas-free, solid connection that does not rely on a softer, dissimilar material like solder to hold things together. Of note here is also that the cold weld process tends to continue for a while, so this kind of connection is likely to get better over time.
In the subsequent testing this difference is demonstrated quite well, especially when both cables are subjected to the sort of mechanical abuse that would be expected in an installation, such as vibrations and direct impacts. Here the soldered connections quickly begin to fail, resulting in one soldered connector even unsoldering itself due to heat development. Ultimately cold welding is simply superior over relying on a flimsy and capricious interface of intermetallic compounds.
Honestly, I didn’t know I was a serial abuser of crimping tools until this weekend. I’ve been working on a small solar power system, and on Saturday I found myself struggling to get the BMS installed on the battery. I bought a Bluetooth dongle to connect the BMS to a smartphone app for checking the individual cells of the battery. I assumed it would just plug right into the UART port on the BMS, but alas — different connectors. So off I went to my bench, looking for a sensible way to make the connection.
My first thought was to simply log the connector off the dongle and solder the leads to the traces on the PCB right below the UART port. But then I saw that the pins in the port looked like 0.1″ pitch, so I rummaged through my stash to see what I could find. To my surprise, I had not only a kit of 0.1″ female crimps and housings, but I also had the crimping tool for them! I had no memory of making the purchase, but I thanked my lucky stars that I did, and got on with the job.
We think it’s pretty safe to assume that most of the electrical connections our readers are making out there involve solder or solder paste. But we’ve all made a crimp connection or two in our lifetimes. Maybe you’ve squeezed a butt connector here and there, or made an Ethernet cable. Beyond getting the wiring order right in the Ethernet cable, how much did you wonder about what was happening inside the connector?
It may seem like solder is the superior option for making a low-resistance electrical connection. After all, you’re welding metals together with another metal. And this is usually all fine and good for circuit boards with sedentary indoor lives. But if a joint needs to be mechanically stable and survive in potentially harsh environments, you don’t want an alloy holding things together. You want metal to metal contact, and crimping is where it’s at.
At some point in your electrical pursuits, you’ll need to make a connector. Maybe you’re designing something that will connect to another device, or maybe the spaghetti mess of wires coming out of your Raspberry Pi has become a pain to deal with. Whatever the reason, a proper connector can solve a lot of headaches in electronics projects.
Your first thought might be to run to your favorite component distributor and order the connectors, terminals, and crimping tool. Unfortunately, those tools can cost thousands of dollars. Maybe you’ll just solder the connectors instead? Don’t! It makes for easily damaged connections.
Fortunately, [Matt Millman] has a great guide on wire-to-board connectors. This guide will explain why you should never solder crimp terminals and then get into working with some of the most common wire-to-board connector families.
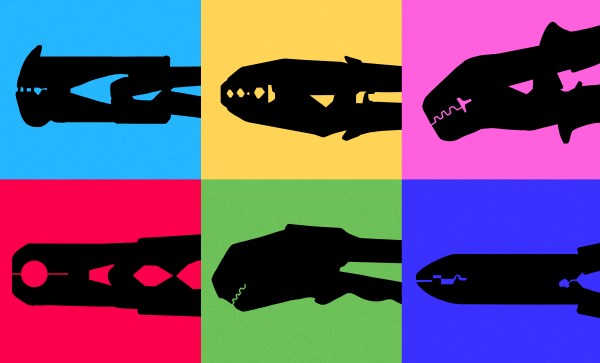
For example, the Mini-PV series (which often get called “Dupont”) are one of the most ubiquitous connectors in hobbyist electronics. They’re the connector on those rainbow colored jumper wire sets, and connect perfectly to 0.1″ pin headers. The connectors and terminals are cheap, but the official HT-0095 crimp tool costs over $1500. Most crimp tools make a mess of these terminals since they require a cylindrical jaw to crimp correctly. By using a combination of two unofficial tools, you can crimp these connectors properly for under $60.
If you want to learn more about the art of wiring, the NASA Workmanship Standards are an interesting read.
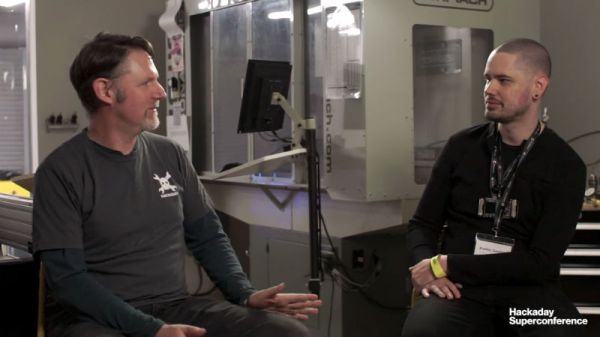
Wiring is one of those things that we’ve all had to do on a project, but probably didn’t give a lot of thought to. It’s often the last thing that happens during the build, and almost certainly doesn’t get approached with any kind of foresight. You look at the components you need to connect, dig through the parts bins until you find something that looks like it should fit, and tack it in with a blob of solder and perhaps some hot glue if you’re feeling really fancy. We’re all guilty of it from time to time, but Bradley Gawthrop is here to tell you there’s a better way.
If you’re hoping his talk from the 2017 Hackaday Superconference contains “One crazy trick” for turning your normal rat’s nest of wiring into a harness worthy of the Space Shuttle, sorry to disappoint. Bradley acknowledges it takes some extra planning and a couple specialized tools, but the end results speak for themselves. While his talk is a must-watch for anyone looking to master the arcane arts of electron corralling, his post-talk chat with Elliot Williams after the break is a great primer for the how and why of everyone’s least favorite part of building their own hardware.
Bradley will be at Supercon again this year. It’s one anecdote for the concentration of awesome people you find at the event. We’re now just two seeks away so go get your ticket and then join us after the break for the interview.
We recently posted about a spectacular 3D-printer fire that was thankfully caught and extinguished before spreading to the hacker’s house or injuring his family. Analyzing the remains of the printer, the hacker determined that the fire was caused when a loose grub screw let the extruder’s heater cartridge fall out and touch the ABS fan shroud. It ran full-on and set things on fire.
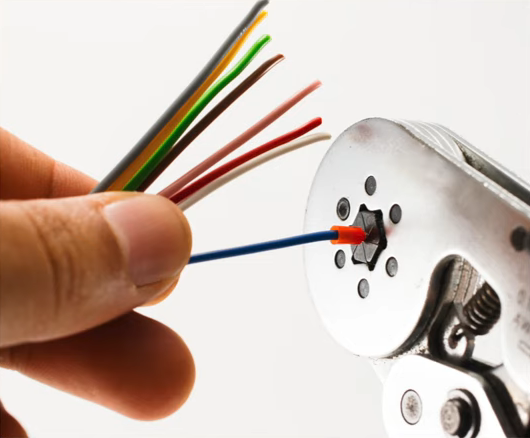
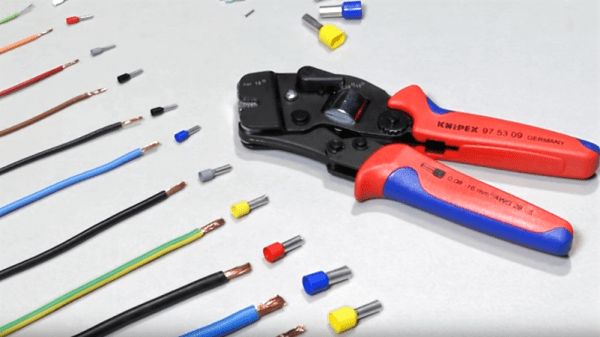
A number of us have similar 3D printers, so the comments for this article were understandably lively, but one comment stood out by listing a number of best practices for wiring, including the use of ferrules. In particular, many 3D printers connect the heated bed, which draws a lot of current, with screw terminals to the motherboard. While not the cause of the fire in the original post, melted terminal blocks are a common complaint with many DIY 3D printer kits, and one reason is that simply jamming thick stranded wire into a screw terminal and hoping for the best can result in increased resistance, and heat, at the joint. In such situations, the absolutely right thing to do is to crimp on a ferrule. So let’s talk about that.
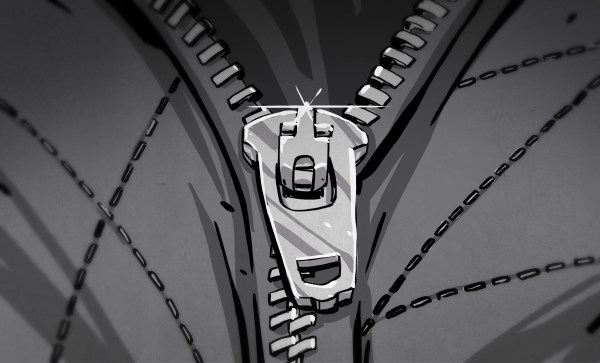
Look around yourself right now and chances are pretty good that you’ll quickly lay eyes on a zipper. Zippers are incredibly commonplace artifacts, a commodity item produced by the mile that we rarely give a second thought to until they break or get stuck. But zippers are a fairly modern convenience, and the story of their invention is one that shows even the best ideas can be delayed by overly complicated designs and lack of a practical method for manufacturing.
Try and Try Again
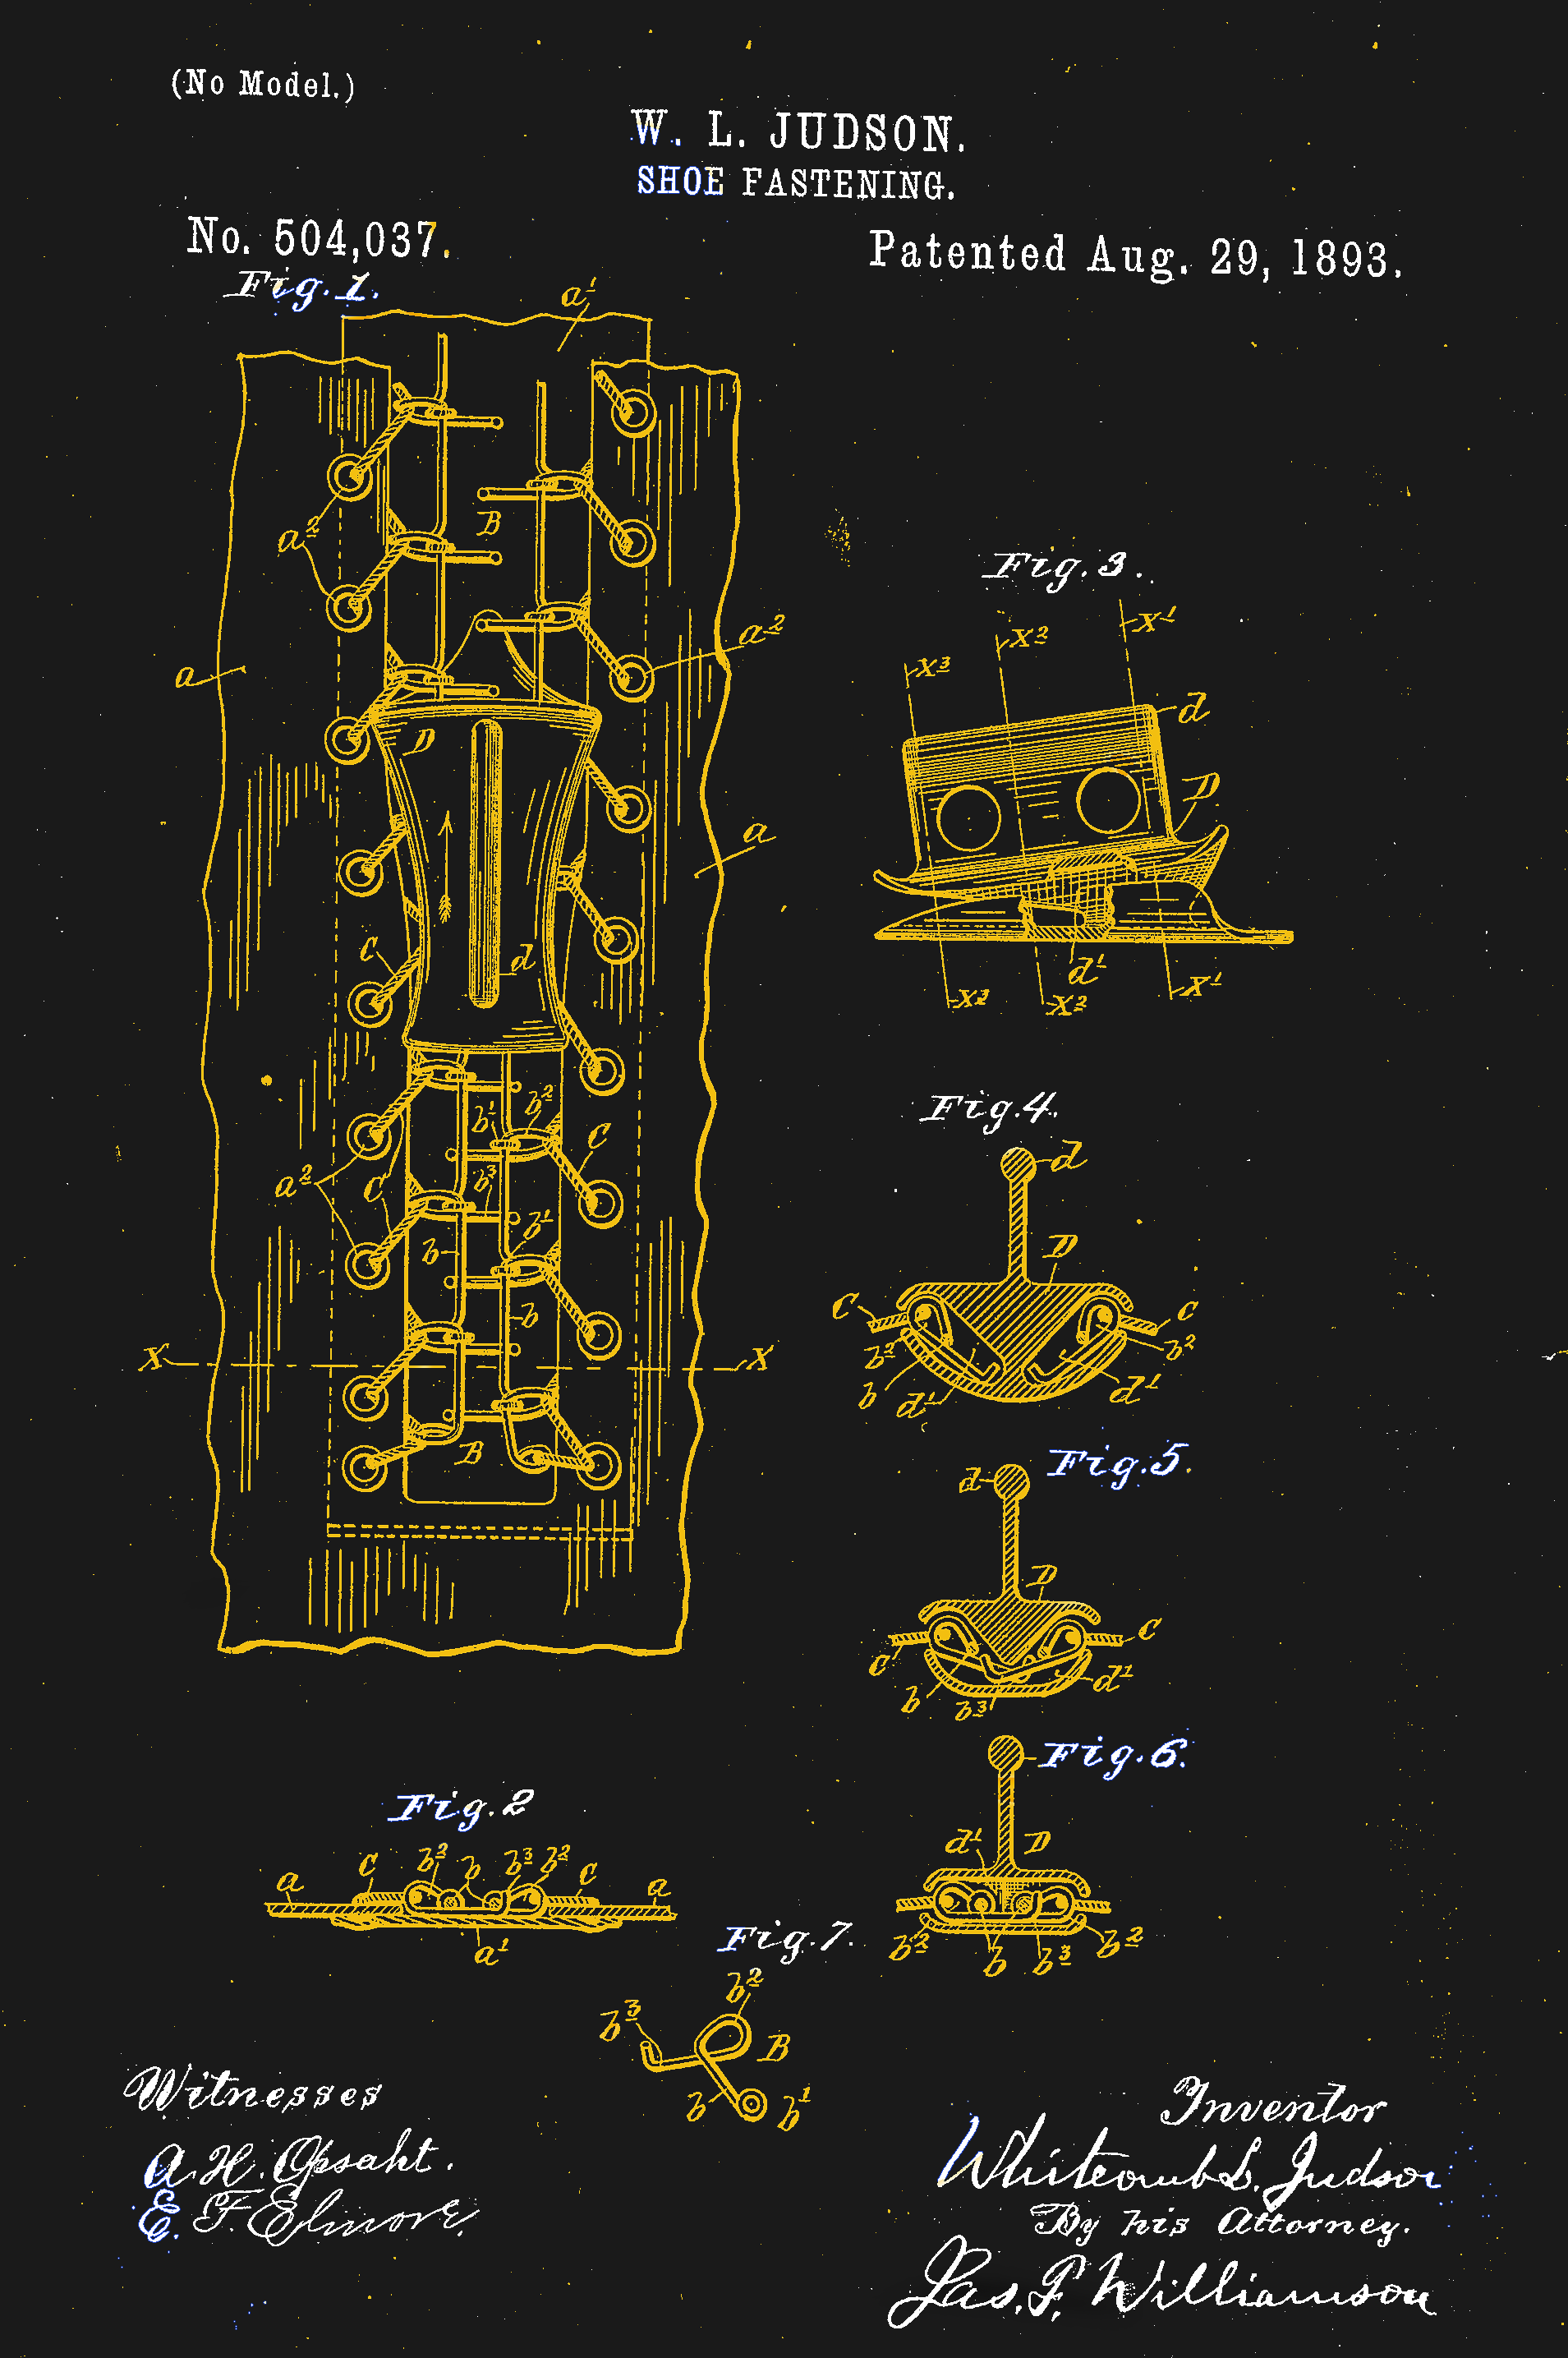
US Patent #504,307. One of the many iterations of Judson’s design. Like the others, it didn’t work.
Ideas for fasteners to replace buttons and laces have been kicking around since the mid-19th century. The first patent for a zipper-like fastener was issued to Elias Howe, inventor of the sewing machine. Though he was no slouch at engineering intricate mechanisms, Howe was never able to make his “Automatic, Continuous Clothing Closure” a workable product, and Howe shifted his inventive energies to other projects.
The world would wait another forty years for further development of a hookless fastener, when a Chicago-born inventor of little prior success named Whitcomb Judson began work on a “Clasp Locker or Unlocker.” Intended for the shoe and boot market, Judson’s device has all the recognizable parts of a modern zipper — rows of interlocking teeth with a slide mechanism to mesh and unmesh the two sides. The device was debuted at the Chicago World’s Fair in 1893 and was met with almost no commercial interest.
Judson went through several iterations of designs for his clasp locker, looking for the right combination of ideas that would result in a workable fastener that was easy enough to manufacture profitably. He lined up backers, formed a company, and marketed various versions of his improved products. But everything he tried seemed to have one or more serious drawbacks. When his fasteners were used in shoes, unexpected failure was a mere inconvenience. If a fastener on a lady’s dress opened unexpectedly, it could have been a social catastrophe. Coupled with a price tag that was exorbitantly high to cover the manual labor needed to assemble them, almost every version of Judson’s invention flopped.
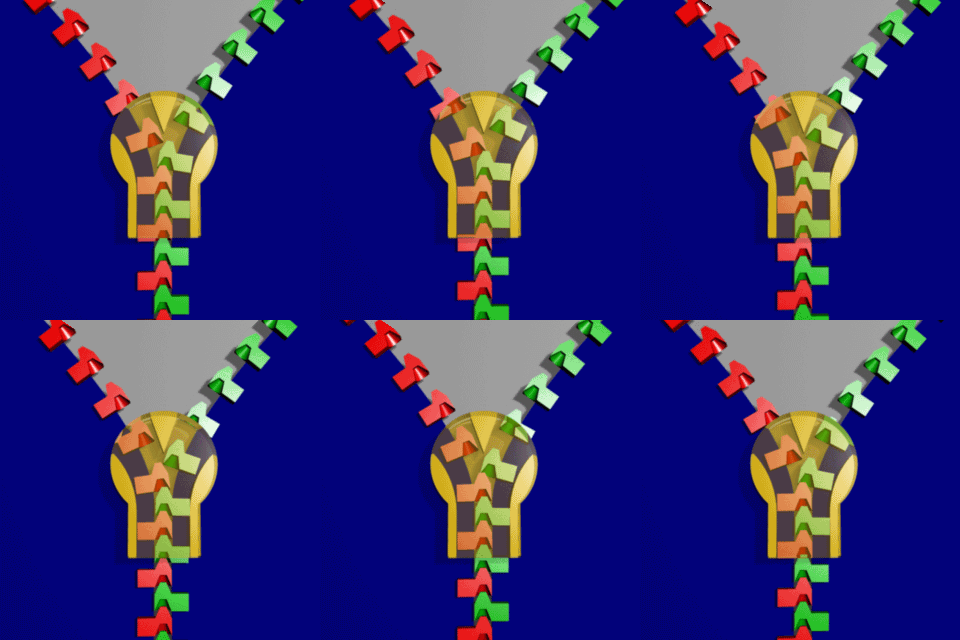
It would take another decade, a change of company name, a cross-country move, and the hiring of a bright young engineer before the world would have what we would recognize as the first modern zipper. Judson hired Gideon Sundback in 1901, and by 1913 he was head designer at the Fastener Manufacturing and Machine Company, newly relocated to Meadville, Pennsylvania after a stop in Hoboken, New Jersey. Sundback’s design called for rows of identical teeth with cups on the underside and nibs on the upper, set on fabric tapes. A slide with a Y-shaped channel bent the tapes to open the gap between teeth, allowing the cups to nest on the nibs and mesh the teeth together strongly.
Sundback’s design had significant advantages over any of Judson’s attempts. First, it worked, and it was reliable enough to start quickly making inroads into fashionable apparel beyond its initial marketing toward more utilitarian products like tobacco pouches. Secondly, and perhaps more importantly, Sundback invented machinery that could make hundreds of feet of the fasteners in a day. This gave the invention an economy of scale that none of Judson’s fasteners could ever have achieved.
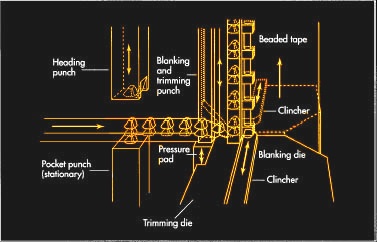
The machinery that Sundback invented to make his “Separable Fastener” has been much improved since the early 1900s, but the current process still looks similar, at least for metal zippers. Stringers, which are the fabric tapes with teeth attached, are formed in a continuous process by a multi-step punching and crimping machine. For metal stringers, a coil of flat metal is fed into a punch and die to form hollow scoops. The strip is then punched again to form a Y-shape around the scoop and cut it free from the web. The legs of the Y straddle the edge of the fabric tape, and a set of dies then crimps the legs to the tape. A modern zipper machine can make stringers at a rate of 2000 teeth per minute.
Plastic zippers are common these days, too, and manufacturing methods vary by zipper style. One method has the fabric tapes squeezed between the halves of a die while teeth are injection molded around the tape to form two parallel stringers. A sprue connected the stringers by the teeth breaks free after molding, and the completed stringers are assembled later.
Zippers have come a long way since Sundback’s first successful design, with manufacturing improvements that have eliminated many of the manual operations once required. Specialized zippers have made it from the depths of the oceans to the surface of the Moon, and chances are pretty good that if we ever get to Mars, one way or another, zippers will go with us.