We doubt that few of us ever thought that snow globes contain real snow, but now that we’ve seen a snow globe that makes its own snow, we have to admit the water-filled holiday decorating mainstay looks a little disappointing.
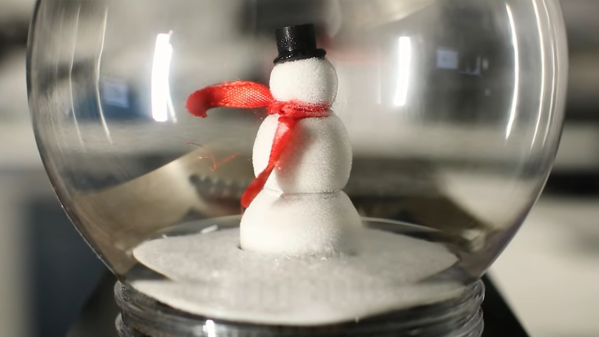
Like a lot of the Christmas decorations [Sean Hodgins] has come up with over the years, this self-frosting snowman is both clever in design and cute in execution. The working end is a piece of aluminum turned down into the classic snowman configuration; the lathe-less could probably do the same thing by sticking some ball bearings together with CA glue. Adorned with 3D-printed accessories, the sculpture sits on a pedestal of Peltier coolers, stacked on top of a big CPU cooler. Flanking the as-yet underdressed snowman is a pair of big power resistors, which serve as heating elements to fill the globe with vapor. [Sean]’s liquid of choice is isopropyl alcohol, and it seems to work very well as the figurine is quickly enrobed with frost.
But wait, there’s more — as [Sean] points out, the apparatus is 90% of the way to being a cloud chamber. Maybe we’ll see a less festive version after the holidays. Until then, enjoy his ornament that prints other ornaments, his blinkenlight PCB tree-hangers, or his tiny TV that plays holiday commercials.
Continue reading “Peltier Snow Globe Features Snowman Who Dresses Himself In Real Frost”