Visual Raspberry Pi With Node-Red And TensorFlow

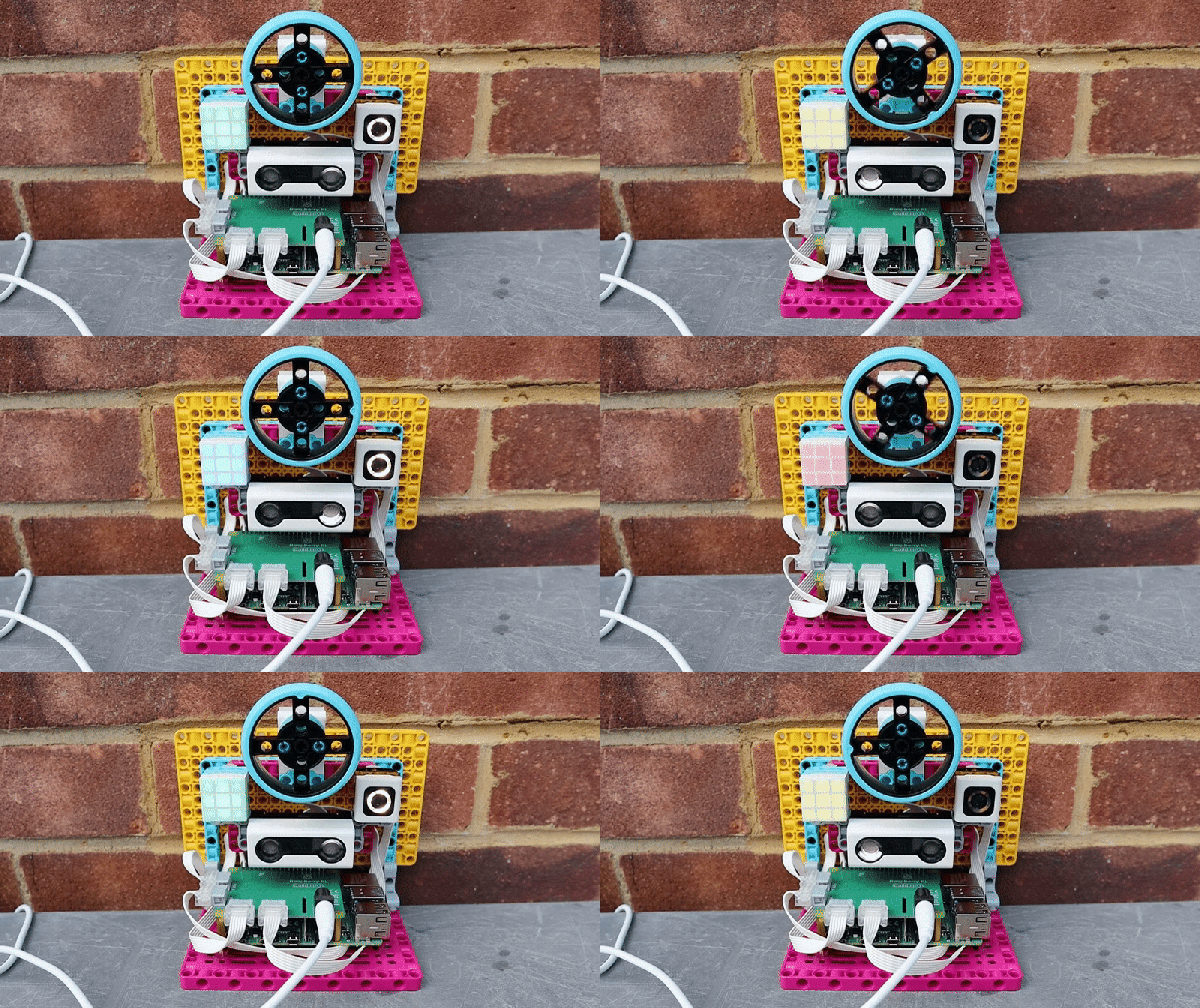
If you prefer to draw boxes instead of writing code, you may have tried IBM’s Node-RED to create logic with drag-and-drop flows. A recent [TensorFlow] video shows an interview between [Jason Mayes] and [Paul Van Eck] about using TensorFlow.js with Node-RED to create machine learning applications for Raspberry Pi visually. You can see the video, below.

The video doesn’t go into much detail since it is only ten minutes long. But it does show how easy it is to do things like identify images using an existing TensorFlow model. There is a more detailed tutorial available, as well as a corresponding video, which you can see below.

Continue reading “Visual Raspberry Pi With Node-Red And TensorFlow”

TR-109 Raspberry Picorder 2 Really Nails The Star Trek Aesthetic

Star Trek famously showed its medical staff using a multifunctional device by the name of the tricorder. While no such devices are regularly used by current medical staff in this timeline, the concept is nonetheless appealing to fans of the show. [directive0] is one such person, and built himself a replica by the name of the Picorder 2.

Picorder 2 is inspired by the tricorders from Star Trek: The Next Generation. The name is an indication that this isn’t a first attempt; it builds upon an earlier project based on the models from the original series. It’s built with a nifty 3D printed case that folds in half, just like the real deal. Plenty of attention to detail has been invested in the decals and backlit controls to really complete the look.

Inside, a Raspberry Pi Zero W runs the show, paired with a bunch of sensors and accessories to get the job done. The human interface is via capacitive touch, and data is displayed on an ST7735 LCD display for output. The graphing software [directive0] built does a great job of creating a Trekesque aesthetic, displaying data from various in-built sensors, such as temperature, humidity, and barometric pressure. There’s also a low-resolution thermal imaging camera – and it’s hard to get more sci-fi than that.

While we’re a ways off from medically-useful tricorders, it’s nonetheless fun to see replica props that have some life and functionality built into them. The tricorder remains a popular build – we see them pretty regularly! – and we can’t wait to see where the fandom takes them over the next few years.  Video after the break.

Continue reading “TR-109 Raspberry Picorder 2 Really Nails The Star Trek Aesthetic”

Tightly Packed Raspberry Pi Tricorder Impresses

We’ll say upfront that we don’t have nearly as much information about this 3D printed Star Trek: The Next Generation tricorder as we’d like. But from the image galleries [Himmelen] has posted we know it’s running on the Raspberry Pi Zero W, has a color LCD in addition to a monochrome OLED, and that it’s absolutely packed with gear.

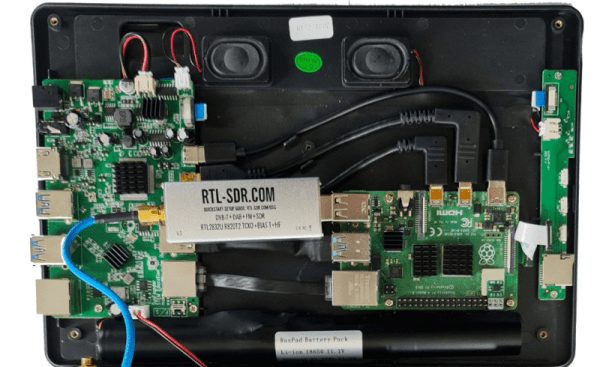
So far, [Himmelen] has fit an NESDR RTL-SDR dongle, a GPS receiver, an accelerometer, and the battery charging circuitry in the top half of the case. Calling it a tight fit would be something of an understatement, especially when you take into account all the wires snaking around in there. But as mentioned in the Reddit thread about the device, a custom PCB backplane of sorts is in the works so all these modules will have something a little neater to plug into.

There are a lot of fantastic little details in this build that have us very excited to see it cross the finish line. The female USB port that’s been embedded into the top of the device is a nice touch, as it will make it easy to add storage or additional hardware in the field. We also love the keyboard, made up of 30 individual tact switches with 3D printed caps. It’s hard to imagine what actually typing on such an input device would be like, but even if each button just fired off its own program or function, we’d be happy.

Judging by the fact that the LCD shows the Pi sitting at a login prompt in all the images, we’re going to go out on a limb and assume [Himmelen] hasn’t gotten to writing much software for this little gadget yet. Once the hardware is done and it’s time to start pushing pixels though, something like Pygame could be used to make short work of a LCARS-style user interface that would fit the visual style of The Next Generation. In fact, off the top of our heads we can think of a few turn-key projects out there designed for creating Trek UIs, though the relatively limited computational power of the Pi Zero might be a problem.

We’ve seen several projects that tried to turn the iconic tricorder into a functional device. Some have focused on the arguably more recognizable Next Generation style such as this one, and others have targeted the more forgiving brick-shaped unit from Kirk and Spock’s era. The Wand Company is even working on a officially licensed tricorder that will supposedly be as close to we can get to the real thing with modern tech and a $250 USD price tag, though we’d wager COVID has slowed progress down on that one. In any event, whether you build it or buy it, the tricorder seems destined to become reality before too long.

New HackadayU Classes: Antenna Basics, Raspberry Pi Pico, And Designing Complex Geometry

Get ’em while they’re hot: a new session of HackadayU just opened with classes from three fantastic instructors and seats are filling up fast.

Introduction to Antenna Basics — Instructor Karen Rucker teaches the fundamentals of antenna design as if it were your first year on-the-job. She’ll cover the common types of antenna designs and the fundamentals of radio frequency engineering that go into them. Begins Thursday, May 6th.

Raspberry Pi Pico and RP2040 – The Deep Dive — Instructor Uri Shaked guides the class through the internals of the RP2040 microcontroller, covering system architecture, hardware peripherals, and dipping into some ARM assembly language examples. Begins Wednesday, May 5th.

Designing with Complex Geometry — Instructor James McBennett helps you up your 3D modelling game with a course on using complex geometries in Grasshopper3D (part of Rhino3D). Dive into Non-uniform rational B-spline (NURBS) and go from simple shapes to incredibly complex objects with a bit of code. Begins Tuesday, May 4th.

Each course includes five weekly classes beginning in May. Being part of the live class via Zoom offers interactivity with the instructor and other attendees. All tickets are “pay-as-you-wish” with a $20 suggested donation; all proceeds go to socially conscious charities.

For the benefit of all, each class will be edited and published on Hackaday’s YouTube channel once this session has wrapped up. Check out our playlists for past HackadayU courses, or watch them all in one giant playlist.

You might also consider becoming an Engineering Liaison for HackadayU. These volunteers help keep the class humming along for the best experience for students and instructors alike. Liaison applications are now open.

Continue reading “New HackadayU Classes: Antenna Basics, Raspberry Pi Pico, And Designing Complex Geometry”

Fan-tastic Misuse Of Raspberry Pi GPIO

[River] is a big fan of home automation. After moving into a new house, he wanted to assimilate two wirelessly controlled fan lights into his home automation system. The problem was this: although the fans were wireless, their frequency and protocol were incompatible with the home automation system.

Step one was to determine the frequency the fan’s remote used. Although public FCC records will reveal the frequency of operation, [River] thought it would be faster to use an inexpensive USB RTL-SDR with the Spektrum program to sweep the range of likely frequencies, and quickly found the fans speak 304.2 MHz.

Next was to reverse-engineer the protocol. Universal Radio Hacker is a tool designed to make deciphering unknown wireless protocols relatively painless using an RTL-SDR. [River] digitized a button press with it and immediately recognized it as simple on-off keying (OOK). With that knowledge, he digitized the radio commands from all seven buttons and was quickly able to reverse-engineer the entire protocol.

[River] wanted to use a Raspberry Pi to bring the fans into his home automation system, but the Raspberry Pi doesn’t have a 304.2 MHz radio. What it does have is user-programmable GPIO and the rpitx package, which converts a GPIO pin into a basic radio transmitter. Of course, the Pi’s GPIO pin’s aren’t long enough to efficiently transmit at 304.2 MHz, so [River] added a proper antenna, as well as a low-pass filter to clean up the transmitted signal. The rpitx package supports OOK out of the box, so [River] was quickly able get the Pi controlling his fan in no time!

If you’d like to do some more low-cost home automation, check out this approach to using a Raspberry Pi to control some bargain-bin smart plugs.

Raspberry Pi Spigot Puts Digits Of Pi On Tap

What did you do for Pi Day? Play with your Raspberry Pi 400? Eat some pizza or other typically round objects and recite all nine digits you’ve got memorized? That’s about where we were at this year. But not [bornach], no. [bornach] went all out and built a spigot that spews digits of Pi well past the first nine decimal places.

This clever spigot sculpture implements the spigot algorithm for generating digits of Pi one-by-one in a stream on to a chain of 8×8 matrices, and does so using a Raspberry Pi (of course). The point of the spigot algorithm is to store as few numbers as possible at any given time by reusing variables. We love the way the digits materialize on the matrix, almost as if they are ink being activated by water. Be sure to check out the build and demo video after the break.

That 10k pot on the top really does control the spigot — since the Pi has no ADC, [bornach] is using the potentiometer to charge a capacitor and using the time it takes to reach the threshold to decide whether the faucet is open or closed. There are a couple of hacks at play here, including the Popsicle-stick LED matrix bracing and the HAT [bornach] fashioned so the daisy-chained 8×8 LED modules could interface with the Pi.

We love Raspberry Pis of all eras around here, especially the darling new Pico. Diminutive as it may be, the Pico can be sliced even smaller with a hacksaw if you don’t mind losing a few GPIO pins.

Continue reading “Raspberry Pi Spigot Puts Digits Of Pi On Tap”

Slimming The Raspberry Pi Pico With A Hacksaw

The Raspberry Pi Pico is the hot new star of the microcontroller scene, with its fancy IO hardware and serious name recognition. Based on the RP2040 “Raspberry Silicon” chip, it’s introducing fans of the single-board computer line to a lower level of embedded development. The Pico isn’t big, as its name suggests, but miniaturization is a never ending quest for improvement – so [That Dragon Guy] decided to see if the devboard could be smallified further at a minimum of cost.

While other smaller RP2040 boards are reaching the marketplace, they all cost a lot more than the $4 of the Pico. Thus, [That Dragon Guy] got creative. Having realised that the bottom section of the board was only full of passive traces and pads, he simply hacked it off with a scroll saw and sander. This gives a 30% reduction in footprint, at the cost of some mounting holes, GPIO pins and the debug interface.

In testing, the rest of the board continued to function perfectly well, so we’re calling this a win. It builds on amusing experiments [That Dragon Guy] had done before with the Raspberry Pi B+ which gave us a good chuckle. The Raspberry Pi has always been a minimalist darling, with the Pi Zero of 2015 being a bit of a gamechanger, and much beloved by this writer. Video after the break.

Continue reading “Slimming The Raspberry Pi Pico With A Hacksaw”