One of the most thrilling childhood toys for the adventurous 1970s or 1980s kid was probably the toy walkie-talkie. It didn’t matter that they were a very simple AM low-end-VHF radio with a range of about 500m and a Morse key of debatable utility, you could talk clandestinely with your friends, and be a more convincing spy, or commando, or whatever was the game of the moment. It’s a memory conjured up for grown-ups by [Chris G] with his ESP32 walkie-talkie, which replaces a shaky 49MHz connection with one a bit more robust through the magic of WiFi.
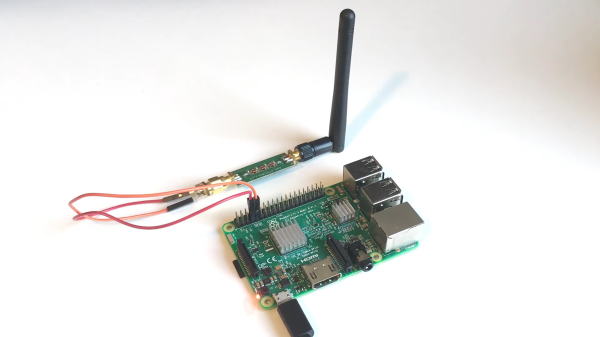
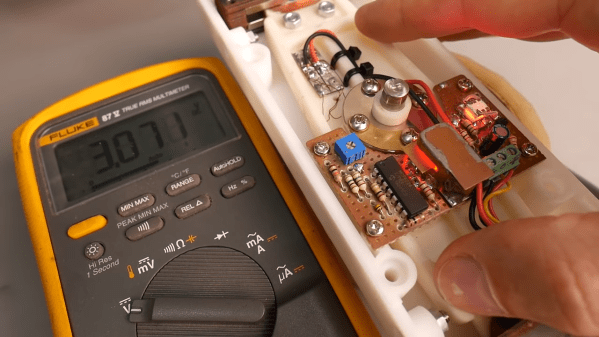
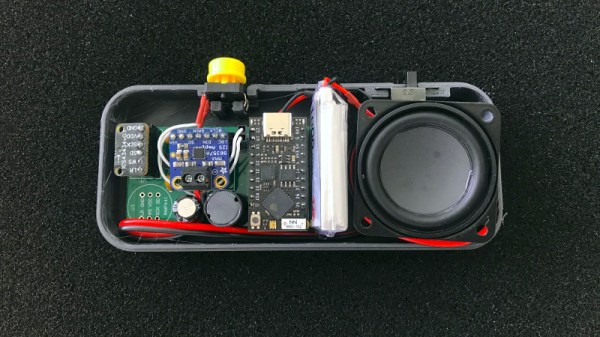
The hardware is a collection of modules on a custom PCB, aside from the ESP32 there’s an I2S microphone and I2S audio amplifier, which along with battery and speaker are housed in a neat 3D printed case. I2S is used for simplicity, but there is no reason why analogue components couldn’t be used with a few code changes. Connection is made via UDP over a WiFi network, or should there be no network via ESP-NOW. We’re not sure the range will be brilliant with those little on-board chip antennas, but with the wide range of 2.4GHz antennas to be had it’s likely a better result could easily be achieved if the stock item disappoints.
We like this project, and it’s one that’s especially pleasing to see given that we saw the potential a few years ago in a less successful walkie-talkie using the ESP8266.