 The Bosch BME680 is a super-capable environmental sensor, and [Random Nerd Tutorials] has married it to the ESP32 to create an air quality meter that serves as a great tutorial on not just getting the sensor up and running, but also in setting up a simple (and optional) web server to deliver the readings. It’s a great project that steps through everything from beginning to end, including how to install the necessary libraries and how to program the ESP32, so it’s the perfect weekend project for anyone who wants to learn.
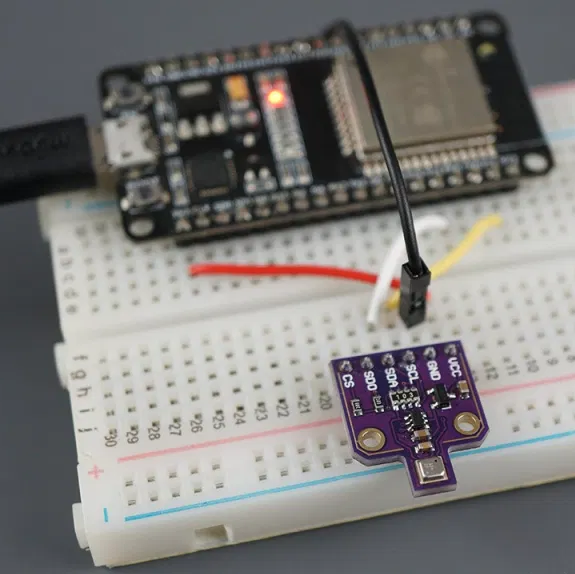
The BME680 is a small part that communicates over SPI or I2C and combines gas, pressure, temperature, and humidity sensors. The gas sensor part detects a wide range of volatile organic compounds (VOCs) and contaminants, including carbon monoxide, which makes it a useful indoor air quality sensor. It provides only a relative measurement (lower resistance corresponds to lower air quality) so for best results it should be calibrated against a known source.
 The tutorial uses the Arduino IDE with an add-on to support the ESP32, and libraries from Adafruit. Unfamiliar with such things? The tutorial walks through the installation of both. There’s a good explanation of the source code, and guidance on entering setup values (such as local air pressure, a function of sea level) for best results.
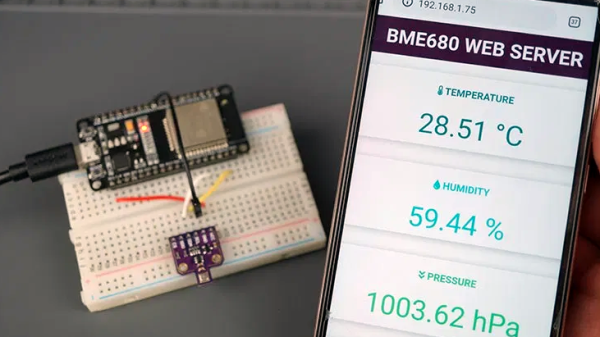
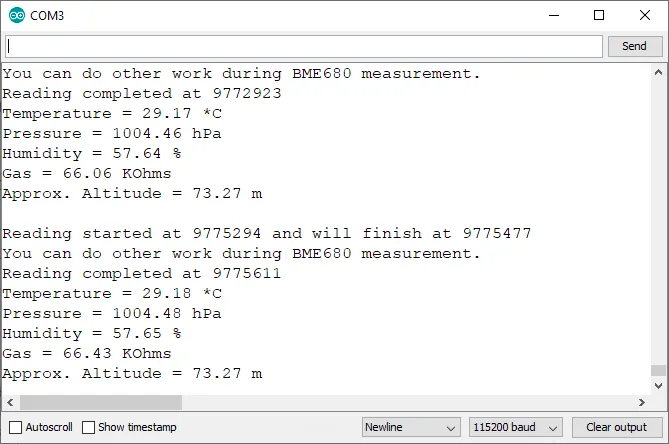
Once the software is on the ESP32, the results can be read from the serial port monitor. By going one step further, the ESP32 can run a small web server (using ESPAsyncWebServer) to serve the data to any device wirelessly. It’s a well-written tutorial that covers every element well, and complements this other BME680-based air quality meter that uses MQTT and Raspberry Pi.