Gears of War is a franchise famous for its giant gun with a big chainsaw on the front. [Eric] laid his hands on a toy replica, and decided it had to become a usable motion controller for the game.
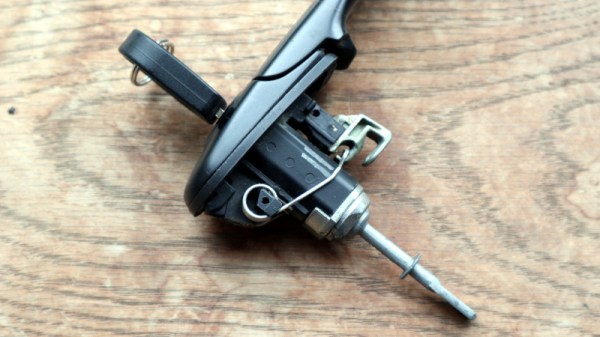
The build is straightforward, following the usual format for motion controller builds. Fitted with a gyroscope and accelerometer, it’s interfaced to the PC using a microcontroller. The toy has a trigger which is hooked up to the fire button in game. Additional buttons were added to the shell for movement and other actions such as reloading and finding cover. As a nice final touch, the large pull handle on the left of the weapon is used to activate the chain saw in-game.
While it’s unlikely to be competitive with a mouse or even gamepad in practice, it’s hard to argue against the fun of wielding a full-size, 10-pound weapon when playing Gears of War 5. [Eric] has also shared a basic controller hacking guide for those eager to get into similar builds themselves. We’ve featured [Eric]’s work before, too – with this epic Minecraft pickaxe build. Video after the break.
Continue reading “Life Size Lancer Becomes Gears Of War Motion Controller”