In the late 1970s and early 1980s, if you had a personal computer there was a fair chance it either booted into some version of Microsoft Basic or you could load and run Basic. There were other versions, of course, especially for very small computers, but the gold standard for home computer Basic was Microsoft’s version, known then as GW-Basic. Now you can get the once-coveted Microsoft Basic source code for the 8086/8088 directly from Microsoft in the state you would have found it in 1983. They put up a read only GW-BASIC repository, presumably to stop a flood of feature requests for GPU acceleration.
You might wonder why they would do this? It is certainly educational, especially if you are interested in assembly language. For historical reasons, you might want to get a copy you could modify, too, for your latest retrocomputer project.
There are a few tidbits of interest. Some of the source is marked that it was translated. Apparently, Microsoft had a master implementation for some processor — real or imagined — and could translate from that code to 8088, Z-80, 6502, or any other processor they wanted to target.
From what we understand, GW-Basic was identical to IBM’s BASICA, but didn’t require certain IBM PC ROMs to operate. Of course, BASICA, itself, came from MBASIC, Microsoft’s CP/M language that originated with Altair Basic. A long lineage that influenced personal computers for many years. On a side note, there’s debate on what the GW stands for. Gee-Whiz is a popular vote, but it could stand for ‘Gates, William’, Greg Whitten (an early Microsoft employee), or Gates-Whitten. The source code doesn’t appear to answer that question.
We did enjoy the 1975 copyright message, though:
ORIGINALLY WRITTEN ON THE PDP-10 FROM
FEBRUARY 9 TO APRIL 9 1975

BILL GATES WROTE A LOT OF STUFF.
PAUL ALLEN WROTE A LOT OF OTHER STUFF AND FAST CODE.
MONTE DAVIDOFF WROTE THE MATH PACKAGE (F4I.MAC).
It wasn’t long ago that Microsoft released some old versions of MSDOS. If you have the urge to write some Basic, you might pass on GW-Basic and try QB64, instead.
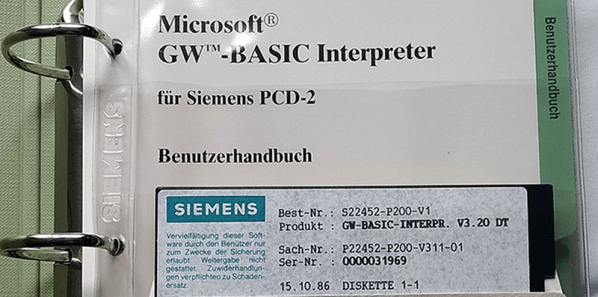
GW-Basic Disk and Manual photo by [Palatinatian] CC-SA-4.0.