Phones are getting increasingly more complex, more difficult to repair, and phone manufacturers don’t like you tinkering with their stuff. It’s a portable version of a John Deere tractor in your pocket, and Apple doesn’t want you replacing a battery by yourself. What if there was a phone that respected your freedom? That’s the idea behind the WiPhone, and soon it’s going to be be a crowdfunding campaign. Yes, you will soon be able to buy a phone that respects your freedom.
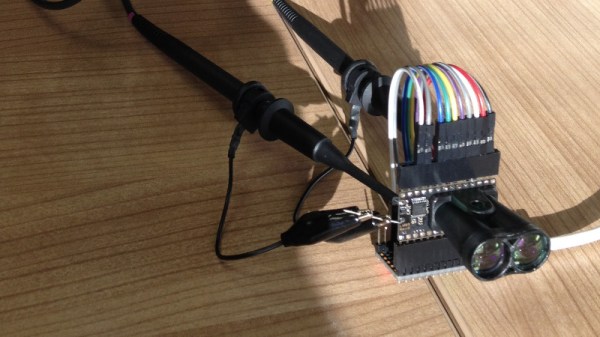
We took a look at the WiPhone a few months ago, and the idea was solid: make a simple, cheap, handheld device based on the ESP32 WiFi/Bluetooth wonder microcontroller. There are a few other various bits of electronic ephemera for scanning the buttons, an audio codec, and a speaker driver, but the basics of the build are just an LCD and ESP32. The entire idea of this phone is to make calls through WiFi, and given the state of VoIP, it’s a marketable product.
Astute readers may notice that the WiPhone doesn’t have a cellular modem. Yes, this is true, but putting a baseband in a small, low-volume project is incredibly hard. You’re limited to 2G if you don’t want to deal with Broadcom or Qualcomm, and they’re not going to be interested in you if you’re not moving a hundred thousand units, anyway. Also, you’ve got service plans to deal with, multi-country radios, and you’re probably next to a trusted WiFi network right now, anyway.
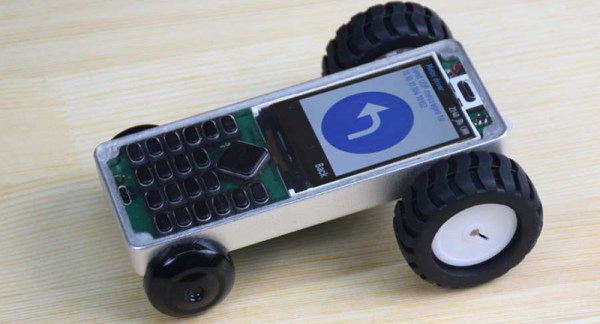
The WiPhone is designed to be hackable, with daughter boards that turn it into a rainbow or RC car, and easy to assemble. It’s also going to be a crowdfunding campaign at the end of the month. If you want a phone that respects your right to repair, this is the project to look at, even if you don’t need a cellular modem all the time.