A hundred years or more of consumer-level recorded music have moved us to a position in which most of us unconsciously consider music to be a recorded rather than live experience. Over a century ago this was not the case, and instead of a hi-fi or other device, many households would have had some form of musical instrument for their own entertainment. The more expensive ones could become significant status symbols, and there was a thriving industry producing pianos and other instruments for well-to-do parlours everywhere.
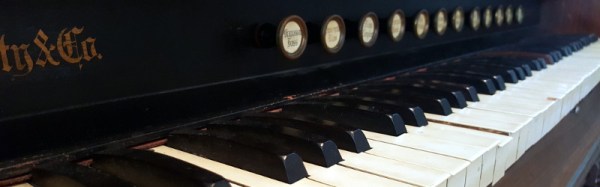
One of these parlour instruments came the way of [Alec Smecher], a pump organ, also known as a harmonium, or a melodeon. He’s carefully added a MIDI capability to it, and thus replaced its broken “Vox Humana” tremolo effect intended as a 19th century simulation of a choir, with a set of genuine human sounds. There is an almost Monty Python quality to his demonstration of this real Vox Humana, as you can see in the video below.
Lest you think though that he’s gutted the organ in the process of conversion, be rest assured that this is a sensitively applied piece of work. A microswitch has been placed beneath each key, leaving the original mechanism intact and working. An Arduino Leonardo has the microswitches multiplexed into a matrix similar to a keyboard, and emulates a USB MIDI device. It’s fair to say that it therefore lacks the force sensitivity you might need to emulate a piano, but it does result in rather an attractive MIDI instrument that also doubles as a real organ.
Continue reading “MIDI And A Real Vox Humana Come To A Century-Old Melodeon”
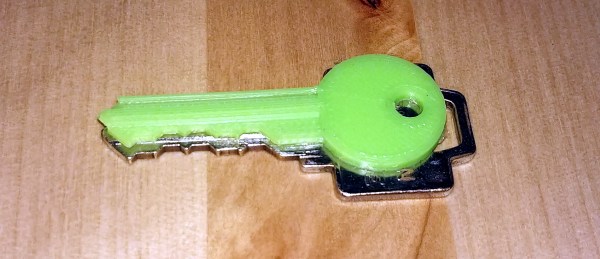
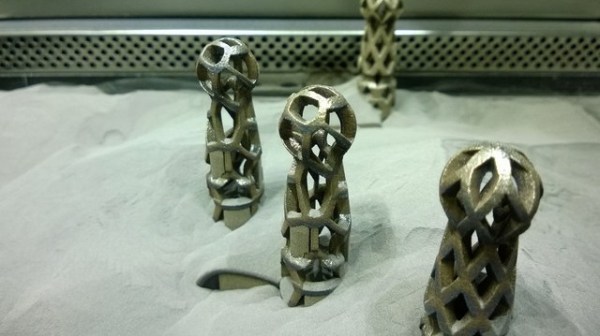
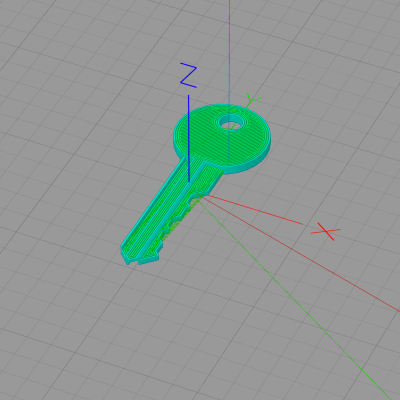 Rather than simply duplicating an existing key, [Dave] created a parametric key blank in OpenSCAD; he just enters his pin settings and the model generator creates the print file. He printed ABS on a glass plate with a schmeer of acetone on it, and .15mm layer heights. Another reason [Dave] chose Kwikset is that the one he had was super old and super loose — he theorizes that a newer, tighter lock might simply break the key.