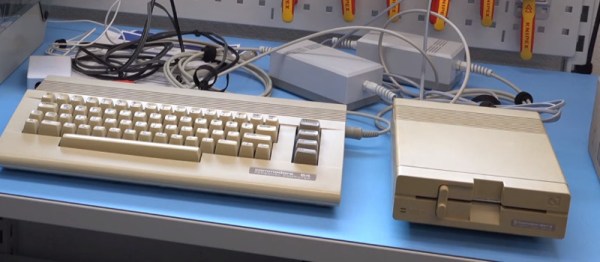
The Commodore 64 was the computer of the 8-bit era, and remains the highest selling computer of all time. In addition to disk and tape drives, it also had a cartridge interface. A popular extension cartridge was the Final Cartridge III, which offered a variety of disk utilities and a GUI. [Greisi] was in possession of a no longer functional cartridge, and decided to reverse engineer the device.
[Greisi] started by desoldering all the ICs and mapping out a schematic for the board. The design centers around common parts for the era, such as a UV-erasable EPROM and some 74-series logic. [Greisi] decided to then modernise the design and make some improvements. Adding a fuse should avoid the cartridge catching on fire, and a bunch of decoupling capacitors on all the ICs should reduce noise. A FLASH chip is used instead of the old school UV-erasable part, which makes writing to the device much easier.
It’s a great build performed in a stunningly tidy workshop, and [Greisi] has provided the schematics and PCB designs to the public here. That means that many more users can build their own Final Cartridge III without having to hunt for original hardware which is growing scarcer. You can learn more about the Final Cartridge III on Wikipedia.
We’ve actually seen the Final Cartridge III before – used in this blinkenwall installation. Video below the break.
[Thanks Adrian!]
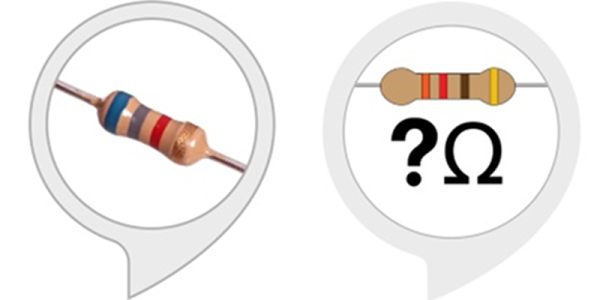
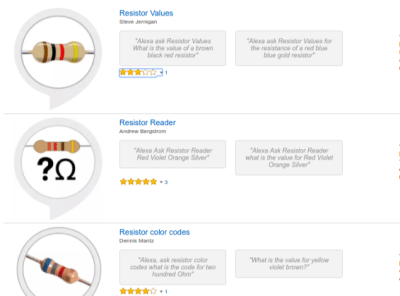 Today’s devices utilize two rather rudimentary parts to provide an interaction with users. The first is how the devices pattern match language; it isn’t all that sophisticated. The other is the trivial nature of many of the apps, or — as Alexa calls them — skills. There are some good ones to be sure, but for every one useful application of the technology, there’s a dozen that are just text-to-speech of an RSS feed. Looking through the skills available we were amused at how many different offerings convert resistor color codes back and forth to values.