It’s time to talk about something of supreme importance to all Hackaday readers. The first trailer for the new Star Trek series is out. Some initial thoughts: the production values are through the roof, and some of this was filmed in Jordan (thank the king for that). The writers have thrown in some obvious references to classic Trek in this trailer (taking a spacesuit into a gigantic alien thing a la TMP). There are a few new species, even though this is set about 10 years before waaaait a second, those are the Klingons?
In other news, [Seth MacFarlane] is doing a thing that looks like a Galaxy Quest series. We can only hope it’s half as good as a Galaxy Quest series could be.
The Dayton Hamvention should have been this week, but it’s never going to happen again. The Hara Arena, the traditional venue for the biggest amateur radio meet on the continent (thankfully) closed this year. Last year it was looking old and tired. This year, Hamvention moved to Xenia, Ohio, and it looks like we’re still getting the best ham swap meet on the planet. Remember: if you drove out to Hamvention, the Air Force museum is well worth the visit. This year they have the fourth hangar open, full of space craft goodness.
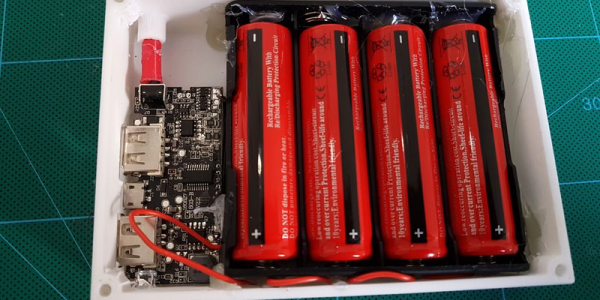
Last week we saw an Open Source firmware for hoverboards, electric unicycles, and other explodey bits of self-balancing transportation. [Casainho], the brains behind this outfit, recently received an eBike controller from China. As you would expect, it’s based on the same hardware as these hoverboards and unicycles. That means there’s now Open Source firmware for eBikes.
Last year, [Cisco] built a cute little walking robot. Now it’s up on Kickstarter.
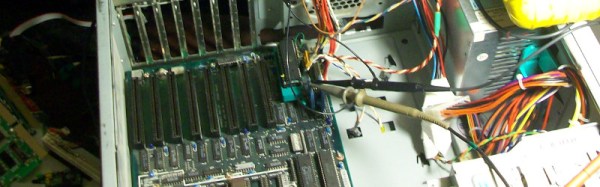
This week saw the announcement of the Monoprice Mini Delta, the much-anticipated 3D printer that will sell for less than $200. For one reason or another, I was cruising eBay this week and came upon this. They say yesterday’s trash is tomorrow’s collectors’ item, you know…
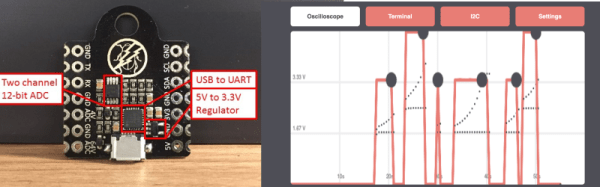
A new Tek scope will be announced in the coming weeks. What are the cool bits? It has a big touchscreen. That’s about all we know.
The ESP32 is the next great wonderchip, and has been for a while now. The ESP32 also has a CAN peripheral stuffed in there somewhere, and that means WiFi and Bluetooth-enabled cars. [Thomas] has been working on getting a driver up and running. There’s a thread on the ESP32 forum, a Hackaday.io page, and a GitHub page.
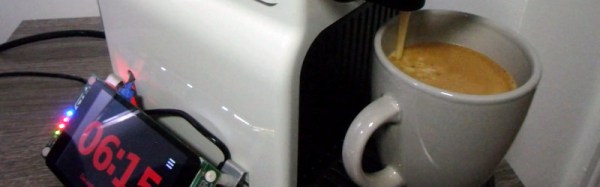
What do you do when you have a nice old Vacuum Fluorescent Display and want to show some stats from your computer? You build a thing that looks like it’s taken from a cash register. This is a project from [Micah Scott], and it has everything: electronics 3D modeling, magnets, print smoothing, creating snap-fit parts, and beautiful old displays.
Here’s something that randomly showed up in our Tip Line. [Mark] recently found some unused HP 5082-7000 segment displays in a collection of electronic components (pics below). According to some relevant literature, these were the first LED display package available, ever. They were released in 1969, they’re BCD, and were obviously very expensive. [Mark] is wondering how many of these were actually produced, and we’re all interested in the actual value of these things. If anyone knows if these are just prototypes, or if they went into production (and what they were used for), leave a note in the comments.