A few weeks ago, we took Hackaday IRL and into hackerspaces around the globe. This was World Create Day, a community effort to come together and build something that matters. Think of it as the pre-game for the Hackaday Prize, our online competition to change the world by building hardware. The groups at these hacker meetups have sent in pictures and reported on what they created. What happened during this worldwide hacker meetup? So much awesome stuff.
The SupplyFrame Design Lab
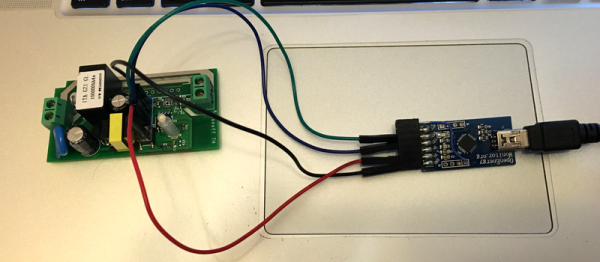
 Did you know Hackaday has its own Hackerspace? It’s true! We have an eight-foot ShopBot, a Tormach, we just got a rig to do injection molding, and apparently, the intern is busy setting up a resin printer.
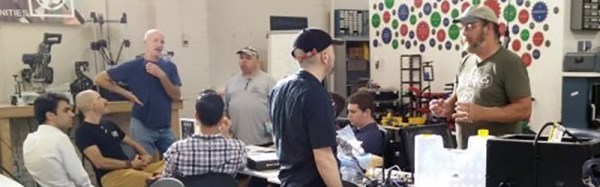
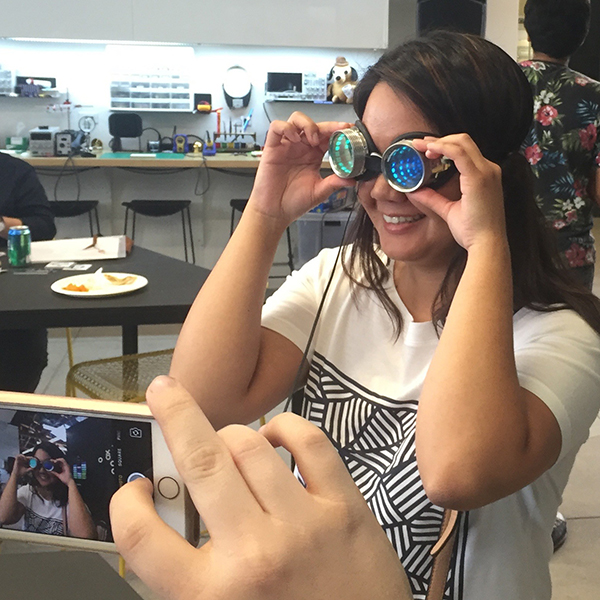
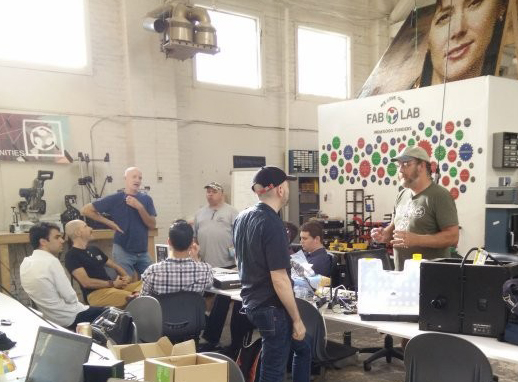
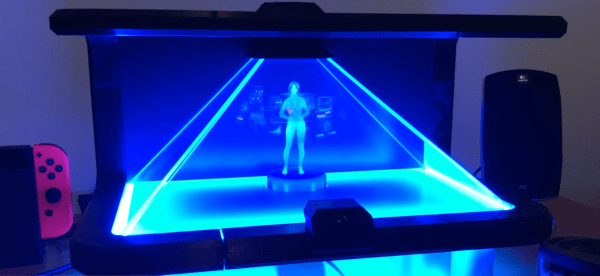
There are a ton of really talented people associated with the Design Lab, and they were out in full force on World Create Day. [Diego] from Deezmaker has been working on robot muscles and customizable linear actuators for a while, so that was obviously the focus of his World Create Day. Everyone needs mirrored LED-equipped welding/steampunk goggles, so that was [Rich Cameron]’s build, pictured to the right.
A fabulous time was had by all, but just because this was only one of three World Create Day meetups hosted ‘officially’ by Hackaday doesn’t mean it was the biggest or the best. There was plenty of fun the world over.
Amritsar, India
World Create Day is a worldwide event, so of course we had a few events in the second most populous country on Earth. [Inderpreet], [Shubham], [Simrat], and [Navjeet] put together a World Create Day event at the Department of Electronics Technology at GNDU Amritsar, their local university. A slew of people showed up, [Inderpreet] gave a talk on The Hackaday Prize, and much fun was had by all.


FabLab San Diego
 The Fab Lab in San Diego also hosted a World Create Day event, Projects that made the cut included a real time, IRL closed captioning device. Think of this one as a universal translator, but only one language, with a screen. Or a voice to text thing running on a phone. Either way. Other ideas included an improved mobility cart, an underwater autonomous robot, wireless communication nodes, pressurized algae incubators, and a whole bunch more.
The folks at the San Diego Fab Lab also produced a short video of their World Create Day activities, you can check that out below.
Continue reading “From Amritsar To Busselton; More World Create Day Stories”

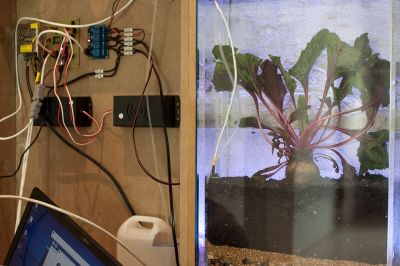 s to the sensors. The higher the temperature, the more folds in the shape. More distortions appear when there’s more humidity in the soil, while rotation speed increases with air humidity. Adding food increases the size of the visualization, and music triggers more vibrations.